


32
Before installation
• Install the equipment in a secure place and if is possible, locked to
avoid any bad use or theft.
• Choose a stable and ventilated place; away from heat sources (heating,
fi replaces, kitchens) or vibes.
• Consider the enough space to place the device and the wires of the
camera.
• Connect the device to a no break to protect it from an electric shock in
order to keep working in case of an outage.
• Avoid to connect it to a multicontact, others devices connected may
cause current variations.
• It’s recommendable that install it close from a router or modem.
• Review regularly the correct functions of the camera and the available
memory in the hard disk.
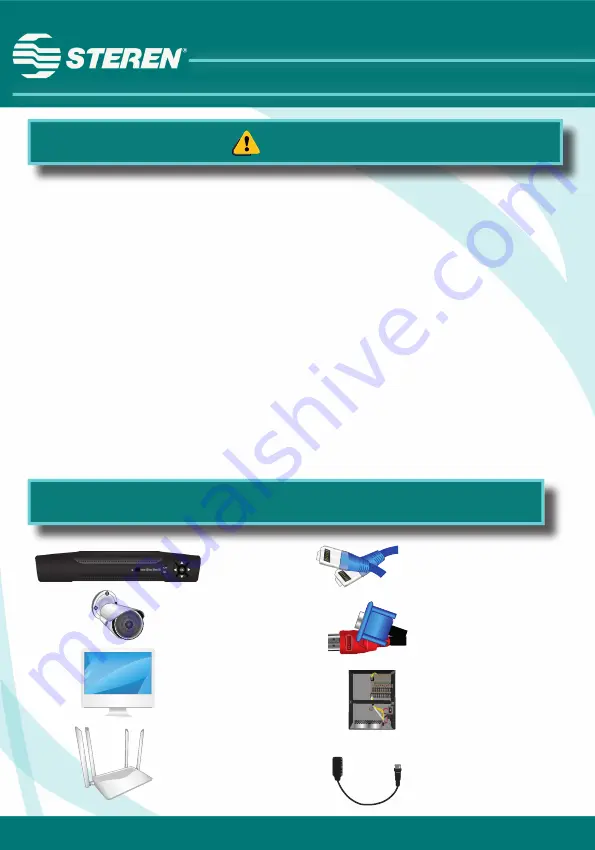
Devices and accessories you may need
DVR
Camera
Monitor
Router
Ethernet cables and
UTP CAT 5e cable
VGA cables or
HDMI cable
Multiple power source for
cameras or power
adapter per camera
Transceivers
Содержание CCTV-944
Страница 2: ...2 Contenido DVR Mouse Adaptador de corriente CD de instalación Guía rápida ...
Страница 7: ...7 Diagrama de conexión ...
Страница 10: ...10 2 Dé clic en OK b Cambiar idioma y horario 1 En el Menú principal elija la opción System ...
Страница 13: ...13 6 Una vez que el equipo se haya reiniciado dé clic en próximo y en OK como se muestra en las imágenes ...
Страница 19: ...19 3 Oprima ff547407 4 Cambie el nombre CAM 1 por DVR y guarde con 5 Regrese con ...
Страница 20: ...20 6 Oprima y después presione para visualizar los canales activos ...
Страница 21: ...21 b Conexión manual 1 Seleccione 2 Elija la opción Manually enter ...
Страница 26: ...26 8 Seleccione algún canal y espere hasta que se visualice la imagen ...
Страница 29: ...29 QUICK GUIDE QUICK GUIDE CCTV 944 V0 0 0915 Digital analog 4 channel DVR ...
Страница 30: ...30 Content DVR Mouse Power adapter Installation CD Quick guide ...
Страница 35: ...35 Connection diagram ...
Страница 38: ...38 2 Click OK b Language and time set 1 In the Main menu choose the System option ...
Страница 40: ...40 4 Select the desired language and click in App 5 You need to restart the PC to save changes Click OK ...
Страница 41: ...41 6 Once that the device click Next and OK as shown in the next images ...
Страница 47: ...47 3 Push ff547407 4 Change the name CAM 1 by DVR and save with 5 Return with ...
Страница 48: ...48 6 Click to visualize the active channels ...
Страница 49: ...49 b Manual monitoring 1 Select 2 Choose Manually enter option ...
Страница 53: ...53 6 Click in Permit 7 Click in Allow access 5 Click in Device login to load the page again ...
Страница 54: ...54 8 Select some channel and wait until that the image visualize ...


