background image

STE302NP0711

3

•   close to a window, on an external wall, or close to 

a door leading outside;

•   exposed directly to the light or heat of the sun, a 

lamp, a fireplace or any other heat source;

•   close or in front of an air outlet;
•   close to concealed ducts or a chimney; and
•   in a location with poor air flow (e.g. behind a door), 

or with frequent air drafts (e.g. head of stairs).

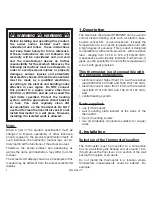
Thermostat mounting and connection

1.  

 Cut off power supply on lead wires at 
the electrical panel in order to avoid any 
risk of electric shock.

2.  Ensure that the air vents of the thermostat are 

clean and clear of any obstruction.

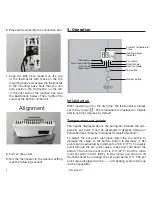
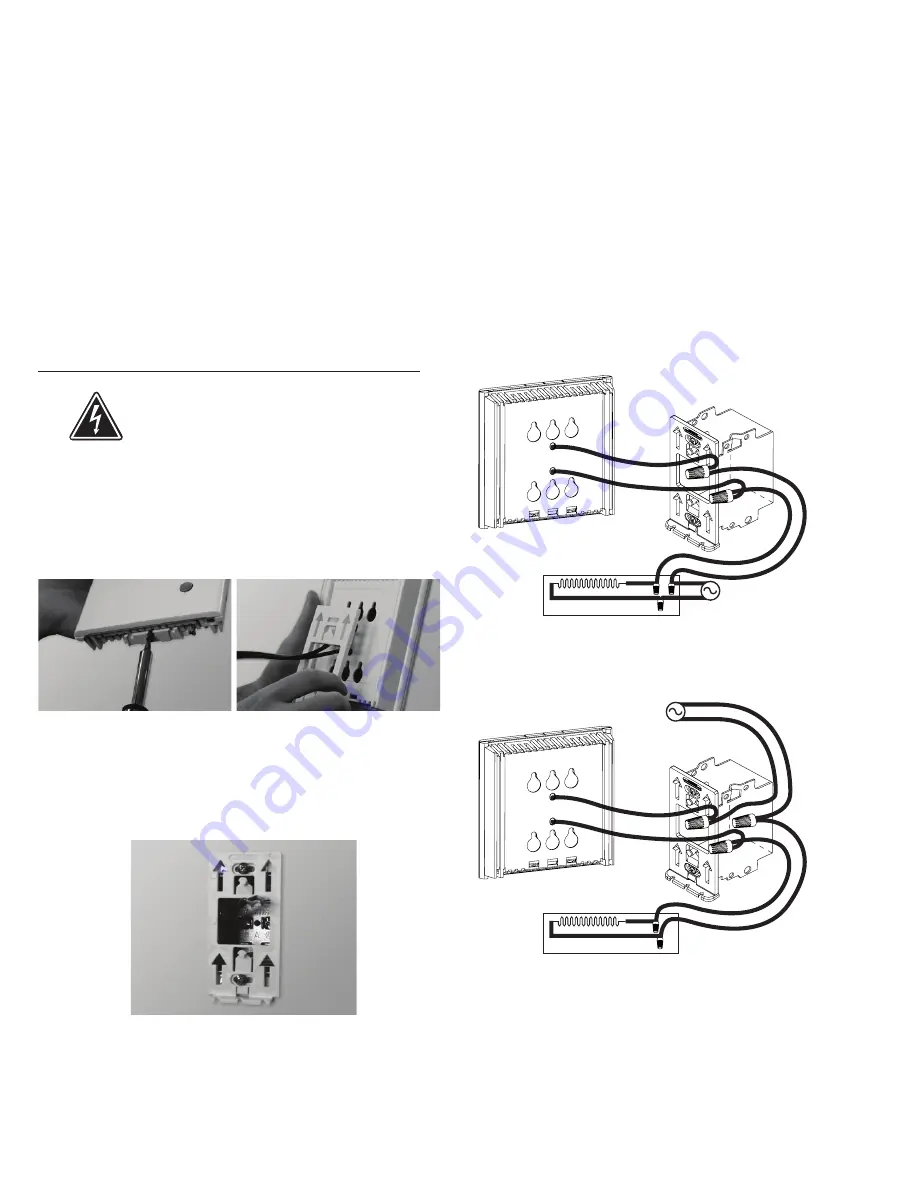
3.  Using a screwdriver, loosen the screw retaining the 

mounting base of the thermostat until you feel a 
loose (do not completely remove the screw).

Then, remove the mounting base at the back of the 
thermostat by tilting it downward, then towards you.
4.  Align and secure the mounting base to the connec-

tion box using the two screws supplied.

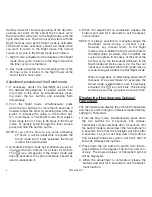
5.  Pass the wires from the wall through the hole at 

the base of the mounting base and connect them 
using the supplied solderless connectors. When 
making the connection with aluminum wire, make 
sure that you are using connectors identified CO/
ALR. Please note that the thermostat wires do not 
have polarity. Therefore, the way they are connect-
ed is not important.

2-wire installation

4-wire installation

Содержание STE302NP

Страница 1: ...her information or to consult this guide online please visit our Web site STE302NP Electronic thermostat with or without backlight Add W for white or A for almond and for the backlight option User s g...

Страница 2: ...ore the actual product and packaging as well as the name and illustration may differ from the manual The screen LCD display shown as an example in this manual may be different from the actual screen L...

Страница 3: ...clear of any obstruction 3 Using a screwdriver loosen the screw retaining the mounting base of the thermostat until you feel a loose do not completely remove the screw Then remove the mounting base a...

Страница 4: ...rt up When powering on for the first time the thermostat is initially set to Day mode The temperature is displayed in Celsius and is set at 21 degrees by default Temperature set points The figures dis...

Страница 5: ...re 1 If necessary adjust the Day Night mode set points at the desired temperatures If needed switch from one mode to the other by simultaneously press ing down the two buttons and releasing them immed...

Страница 6: ...r at least 3 seconds The icon will appear If the Smart mode was already activated the same procedure should be used to deactivate it 4 When the adjustment is completed release the buttons and wait for...

Страница 7: ...pressed down 3 Release the buttons The thermostat is now locked Procedures to deactivate the Security mode 1 To deactivate the Security mode start by cutting off the thermostat power at circuit breake...

Страница 8: ...Fahrenheit symbol the Fan mode the number of minutes associated to a heating cycle the number of hours of the night time switch the number of hours remaining on the night time switch and the current...

Страница 9: ...s off a few minutes and then turns on again The thermal protection of the heating unit has opened due to overheating Check if the heating unit is in good condition of operation and that clearance arou...

Страница 10: ...ecomes defective it must be returned to its place of purchase with the invoice copy or simply contact our customer service department with an invoice copy in hand In order for the warranty to be valid...

Отзывы: