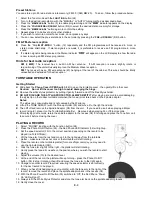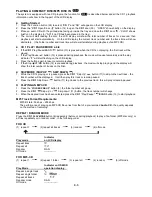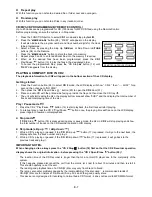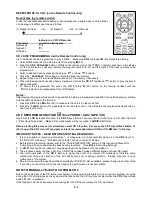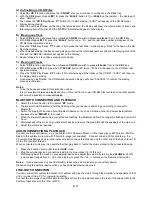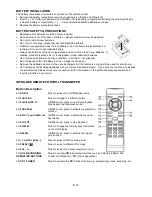
LISTENING TO CASSETTE TAPE
General operation
Press the “
FUNCTION
” button (24) to select and activate the TAPE Mode, the LCD display will show “TAPE”:
Cassette Playback
The system will start playback automatically after a pre-recorded cassette tape has been
inserted into the Cassette slot of the unit (see line drawing below for the correct direction in
which to insert the tape).
The “Tape Forward /
EJECT
“ button (21) will stay at full height position while playing the tape.
Stop and Ejection
P
ress the “Tape Forward /
EJECT
“ button (21) completely inwards
- the cassette tape will be ejected though the Cassette Door
Cover (22).
The “Tape Forward / Eject“ button will stay at the lowest height position.
Fast forward
P
ress the “
TAPE FORWARD
/
EJECT
“ (21) button halfway in during Playback Mode - the tape
will wind in a forward direction. The button will stay at mid-height position.
S
lightly press the “Tape Forward /
EJECT
“ button in again to resume normal playback - the
“Tape Forward / Eject“ button will resume at the highest position while playing.
Notes:
-
Make sure the direction is correct when inserting a tape into the cassette slot. Some searching noise will be
heard, this is quite normal.
-
The system cannot perform the normal playback function during Fast Forward mode.
-
It is strongly recommended the cassette tape is removed from the Cassette Player slot after each use -
don’t
leave the cassette tape inside the system when you do not intend to play it.
Cassette Care
Two common causes of trouble experienced when using cassettes are:
1. Tape jamming, leading to uneven speed during playback.
2. Tape entangling, when the tape wraps itself around vital parts of the mechanism.
To avoid these problems occurring, take the following precautions:
a) Check that there are no loose layers of tape visible through the cassette centre window
(see fig. 1).
b) Take up any loose layers (using a pencil or ballpoint pen with hexagonal barrel) before
inserting the cassette (see fig. 2) into the mechanism.
Notes:
If the cassette feels tight whilst performing this operation (see fig. 2), the tape may
be jamming due to ridges formed in the winding of the tape (visible through the centre
window). In most cases, these may be removed by
fast rewinding
of the cassette from
one end to the other, turning it over and repeating this action again.
Do not expose cassettes to direct sunlight, dust or oil, and do not touch the tape surfaces.
Compact Disc Care
To remove a disc from its storage case, press down on the centre of the case and lift the disc out, holding it carefully
by the edges. Fingerprints and dust should be carefully wiped of
f the disc’s recorded surface with a soft cloth.
Unlike conventional Vinyl or Shellac records, compact discs have no grooves to collect dust and microscopic debris,
so a gentle wipe with a soft, lint-free dry and clean cloth should remove most particles. Wipe in a straight line from
the inside to the outside of the disc. Never use detergents or abrasive cleaners to clean the disc. If necessary,
use a CD cleaning kit. Small dust particles and light stains will have absolutely no effect on sound reproduction
quality. Never fix labels to the surface of compact discs or write on them, except gently with a special CD-R Pen.
E-5


