background image

Instruction Manual

7

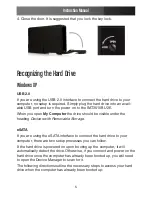
Windows Vista™

USB 2.0
If you are using the USB 2.0 interface to connect the hard drive to your 
computer, no setup is required. Simply plug the hard drive into an avail-
able USB port and turn the power on to the SAT3510BU2E. Open My 
Computer and the drive should be visible under the heading “Devices with 
Removable Storage.”
 

eSATA
If you are using the eSATA interface to connect the hard drive to your 
computer, there are two setup processes you can follow. 
If the hard drive is powered on upon booting up the computer, it will 
automatically detect the drive. Otherwise, if you connect and power on the 
hard drive once the computer has already been booted up, you will need 
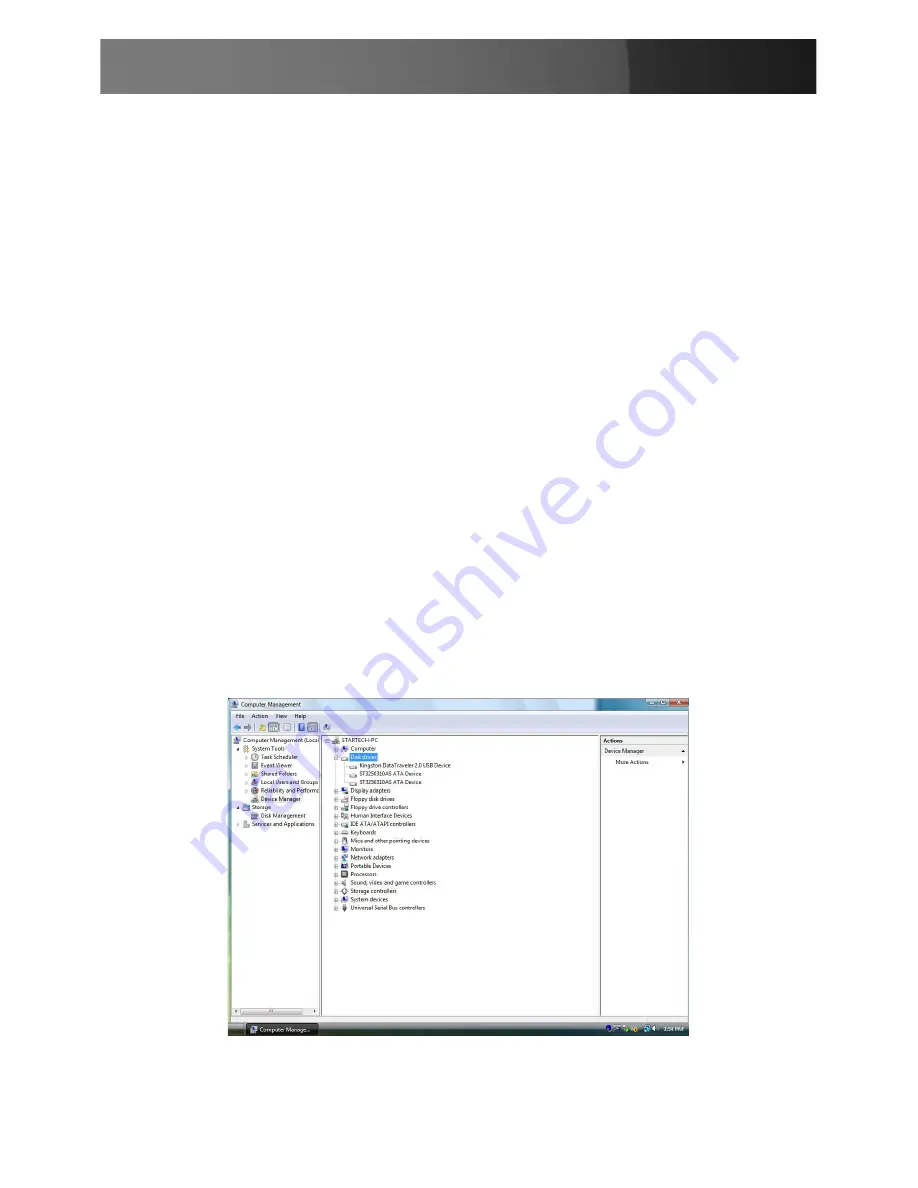
to open the Device Manager to scan for it. The following directions outline 
the necessary steps to access your hard drive when the computer has 
already been booted up: 

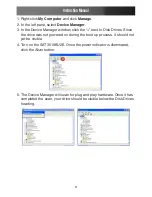
Right-click 

1. 

Computer, and select Manage.

Содержание SAT3510BU2E

Страница 1: ...SAT3510BU2E 3 5 eSATA USB 2 0 Removable SATAHard Drive Enclosure Instruction Manual...

Страница 2: ...antenna Increase the separation between the equipment and receiver Connect the equipment into an outlet on a circuit different from that to which the receiver is connected Consult the dealer or an exp...

Страница 3: ...nts 1 Hardware Guide 2 Rear Panel 2 Hardware Installation 2 Inserting a Hard Drive 2 Removing a Hard Drive 4 Recognizing the Hard Drive 5 Windows XP 5 USB 2 0 5 eSATA 5 Windows Vista 7 USB 2 0 7 eSATA...

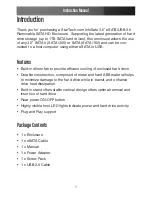
Страница 4: ...tures Built in 40mm fan to provide efficient cooling of enclosed hard drive Durable construction comprised of metal and hard ABS material helps to minimize damage to the hard drive while in transit an...

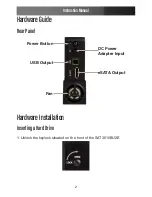
Страница 5: ...on Manual 2 Hardware Guide Rear Panel Hardware Installation Inserting a Hard Drive Unlock the keylock situated on the front of the SAT3510BU2E 1 DC Power Adapter Input Power Button USB Output Fan eSAT...

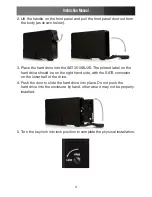
Страница 6: ...0BU2E The printed label on the 3 hard drive should be on the right hand side with the SATA connector on the lower half of the drive Push the door to slide the hard drive into place Do not push the 4 h...

Страница 7: ...nstruction Manual 4 Removing a Hard Drive Unlock the key lock 1 Lift the handle on the front panel and pull the front panel door out from 2 the body Carefully remove the hard drive from the enclosure...

Страница 8: ...be visible under the heading Devices with Removable Storage eSATA If you are using the eSATA interface to connect the hard drive to your computer there are two setup processes you can follow If the ha...

Страница 9: ...xt to Disk Drives Since 3 the drive was not powered on during the boot up process it should not yet be visible Turn on the SAT3510BU2E Once the power indicator is illuminated 4 click the Scan button T...

Страница 10: ...If you are using the eSATA interface to connect the hard drive to your computer there are two setup processes you can follow If the hard drive is powered on upon booting up the computer it will autom...

Страница 11: ...Safe Drive Removal Ensure that any programs that have accessed the drive are closed You may wish to use your operating system s safe removal feature to be absolutely sure that no data is being written...

Страница 12: ...Types 1 x eSATA Plug 1 x USB B Female Chipset INIC 1611 Data Transfer Rate 3Gb s eSATA 480Mbps USB 2 0 Drive Capacity Support Up to 1 TB Drive Type Compatibility SATA 300 SATA II SATA 150 SATA I O S C...

Страница 13: ...with equivalent products at our discretion The warranty covers parts and labor costs only StarTech com does not warrant its products from defects or damages arising from misuse abuse alteration or no...

Страница 14: ...name just a few We offer an unmatched selection of computer parts cables A V products KVM and Serv er Management solutions serving a worldwide market through our locations in the United States Canada...

Отзывы: