4
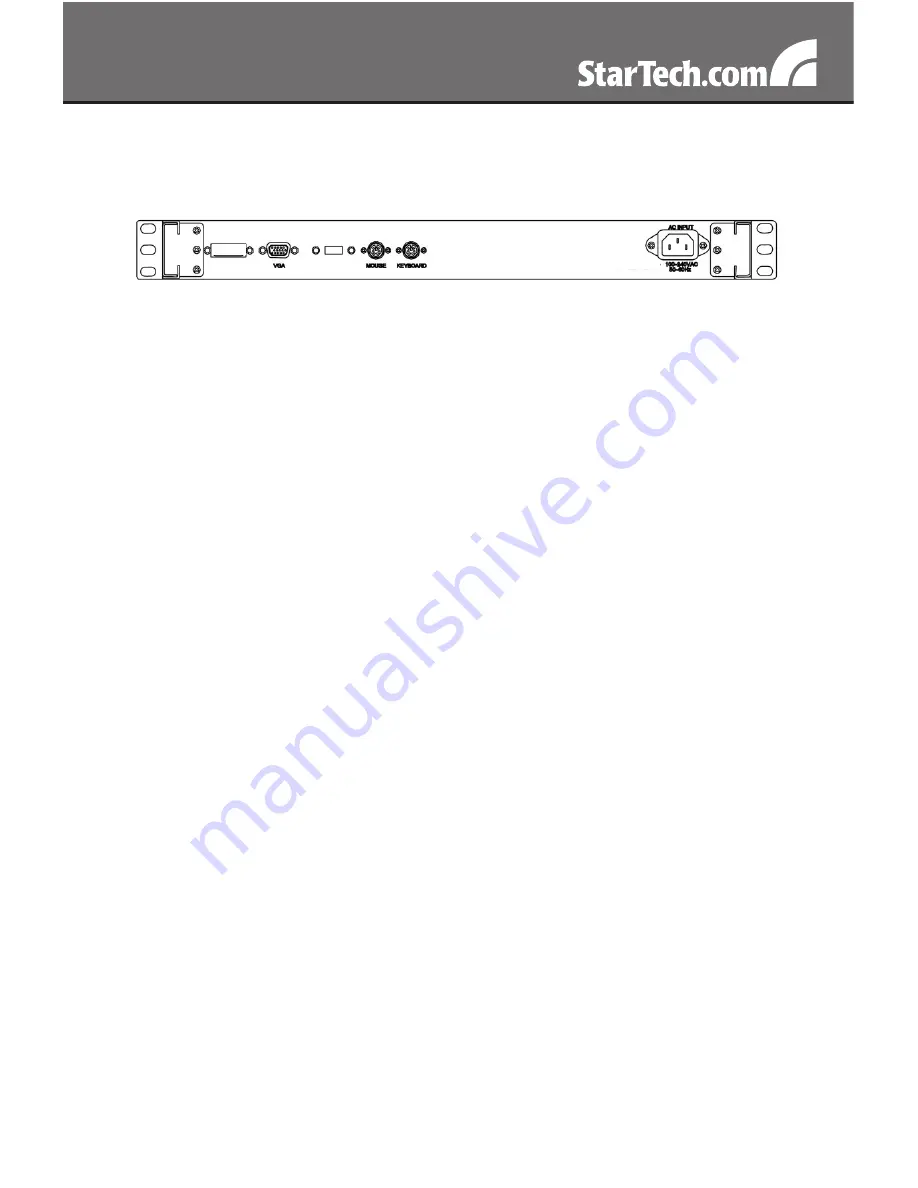
1. Turn off your computer.
2. Insert the video (VGA) connector of the KVM cable into the video
card connector on the rear panel of your computer.
3. Identify and connect the PS/2 mouse and PS/2 keyboard connector
to the correct PS/2 ports on the rear panel of your computer.
4. Connect the AC power cord to the power inlet on the console. Con-
nect the remaining end of the AC power cord to an available power
outlet.
Turning on the console
Make sure all cables and the power cord are connected properly. Using
two hands, grasp the rear of the drawer, lift the tab and pull the panel
up and forward. This will disengage the momentary on/off switch and
the unit should power on.
The LED located to the left of the monitor panel should turn from
orange to green, verifying that the unit is operational.
Configuring display settings
After connecting the drawer and turning on your computer, you may
need to configure one or more of the following display settings to
allow the computer to display at the console’s native resolution. See
Specifications on page 9 for the correct resolution mode for your model.
• Display mode (also called desktop area or video resolution)
• Refresh rate (also called vertical scan rate or vertical sync)
USB
Connecting the console
To connect an LCD console to a computer, perform the following steps:


