IIn
ns
stta
alllla
attiio
on
n
NOTE:
Before you use the drive enclosure with a USB product, the hard drive must be
formatted using the FAT32 file system. The option to format a drive using this file system
is available in Windows 98 and later versions. Other operating systems, such as Mac OS
and Linux, may also offer the option to format the drive using this file system.
If the
drive is formatted using something other than FAT32 (including NTFS), you will not
be able to directly connect the drive to a USB device and transfer files.
You could
continue to connect the drive to a computer as a typical portable hard drive.
These instructions assume that this drive has already been partitioned and formatted
prior to connecting the enclosure to a USB device or a computer. If you are unsure on
how to format a drive with FAT32 on your computer, consult your documentation or an
experienced computer user for assistance.
Installing a Hard Drive in the Enclosure
Use caution when installing a hard drive in the enclosure. Excessive shock or force
could damage the drive and/or the enclosure, resulting in data loss.
CAUTION:
Always ensure that you are properly grounded when handling a hard drive or
the enclosure tray, since electronic components can be damaged by static electricity. If
an anti-static mat or similar product is not available, ground yourself by touching a
computer case or other metal surface for several seconds before handling any
components.
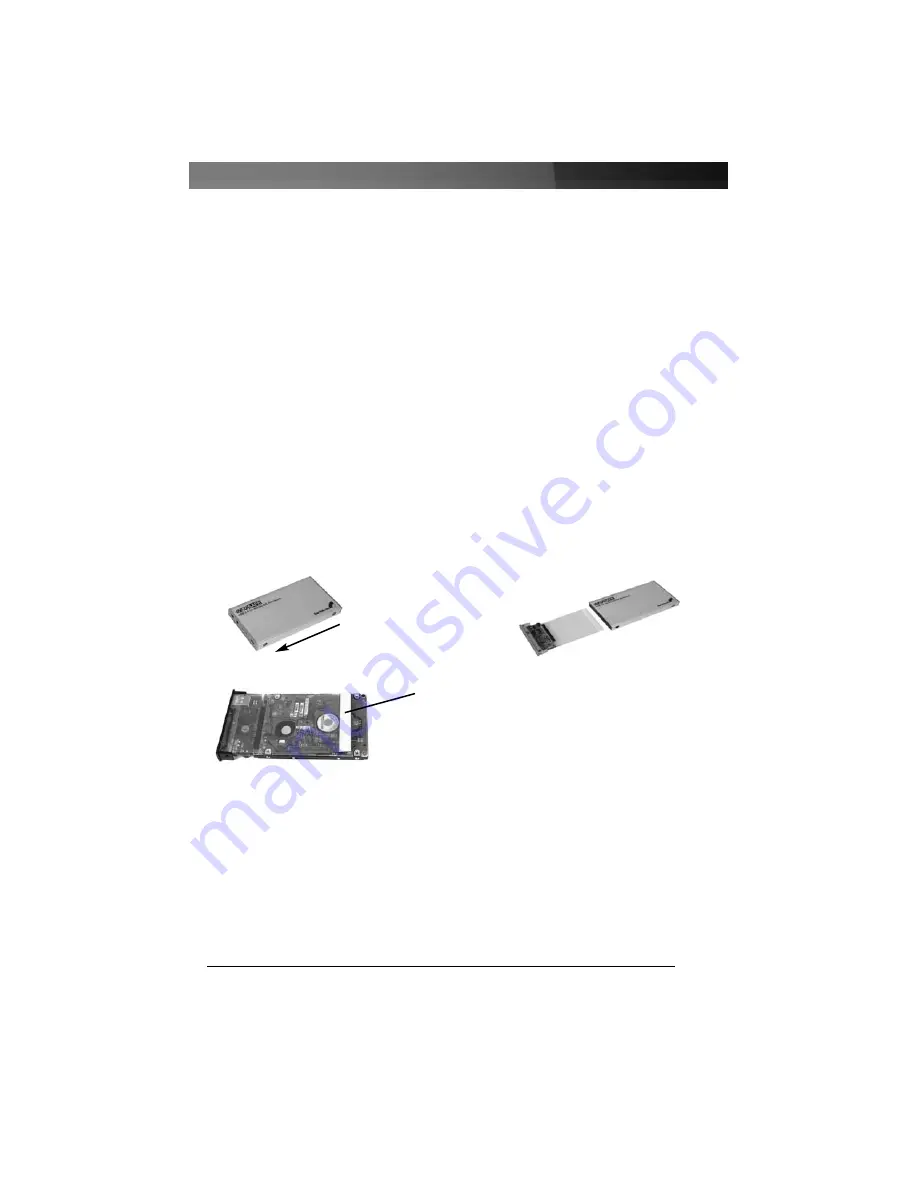
1. Using a pen or small screwdriver, press in the tabs holding the tray in the
enclosure, marked with an “x” in the picture above.
2. Gently slide the tray out of the enclosure in the direction noted above.
3. Carefully remove the white protective strip from the end of the tray. This will expose
an adhesive surface that will hold the hard drive in place. Keep the protective strip in
a safe location to re-cover the adhesive when the enclosure is not in use, if desired.
4. Line up the connectors on the hard drive with the connector on the tray. Gently slide
the hard drive into place until there is a snug fit between the tray and the hard drive.
Do not use excessive force to avoid damaging the drive and the the enclosure.
5. Gently turn the tray over. Carefully apply slight pressure to the adhesive strip to
Instruction Manual
2
X
X
Slide tr
ay out this direction
Adhesive strip


