2
Installation
Driver Installation
Windows XP/Server 2003/Vista/Server 2008 R2/7
Turn the computer on and boot into Windows. Do not have the USB adapter plugged into the
1.
computer.
Insert the Driver CD into your CD/DVD drive. If AutoPlay runs, then choose to “Browse the CD”,
2.
otherwise access the contents of the CD via “My Computer”.
In the “Prolific/PL2303X” location, open the appropriate folder for your operating system and run
3.
the setup.exe file. This will launch the driver installation wizard.
Once the installation wizard completes, the drivers will be installed and ready for use.
4.
Hardware Installation
Make sure the driver installation has been completed first.
1.
Plug the USB adapter into an available USB port on the computer system.
2.
Windows will automatically detect the USB adapter and install the drivers.
3.
Once installation is complete, the serial port will be ready for use.
4.
If connecting the serial port to a DB25 interface, use the included DB9 to DB25 (male) adapter.
5.
Verifying Installation
Windows XP/Server 2003/Vista/Server 2008 R2/7
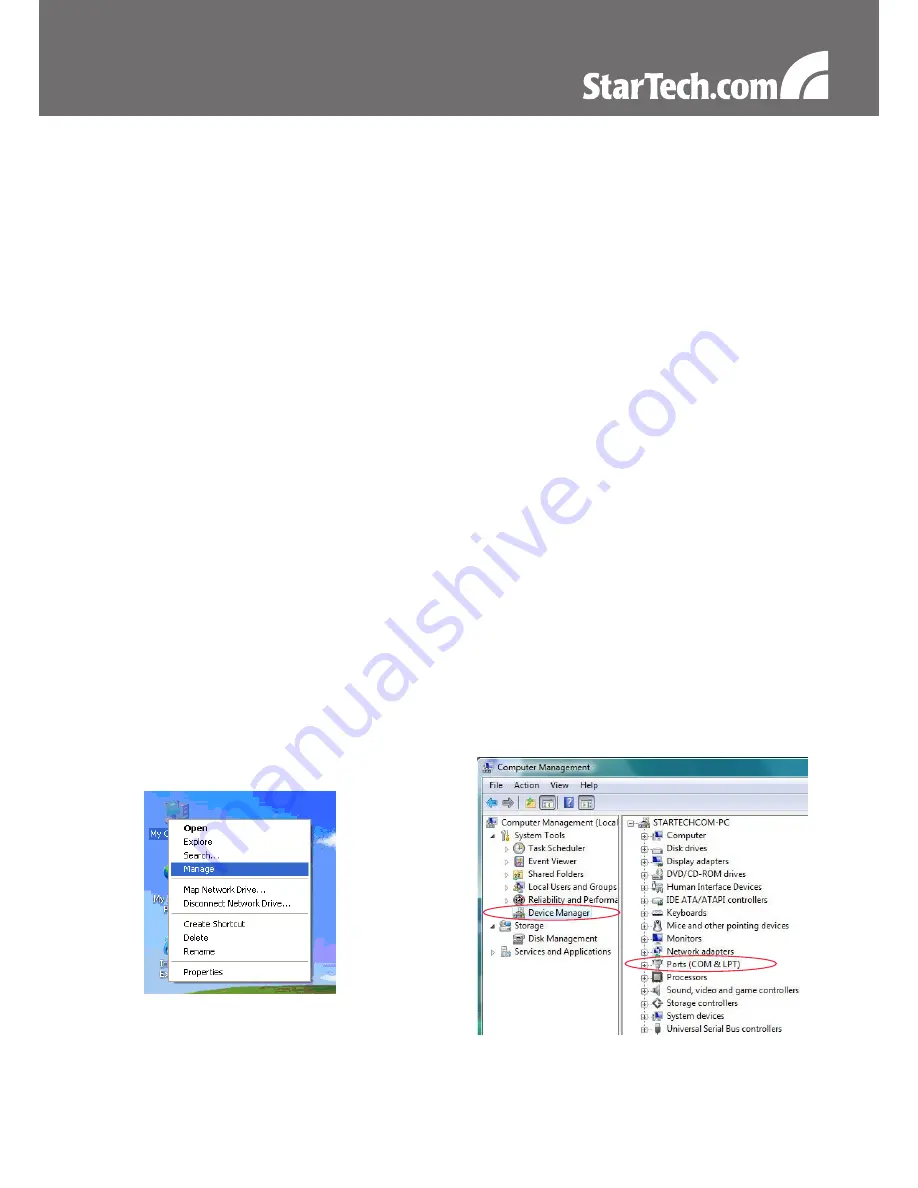
From the main desktop, right-click on “My Computer” (“Computer” in Vista/7), then select Manage. In
the new Computer Management window, select Device Manager from the left window panel.
Double-click on the “Ports (COM & LPT)” option. The additional COM port should be visible.


