background image

Instruction Manual

3

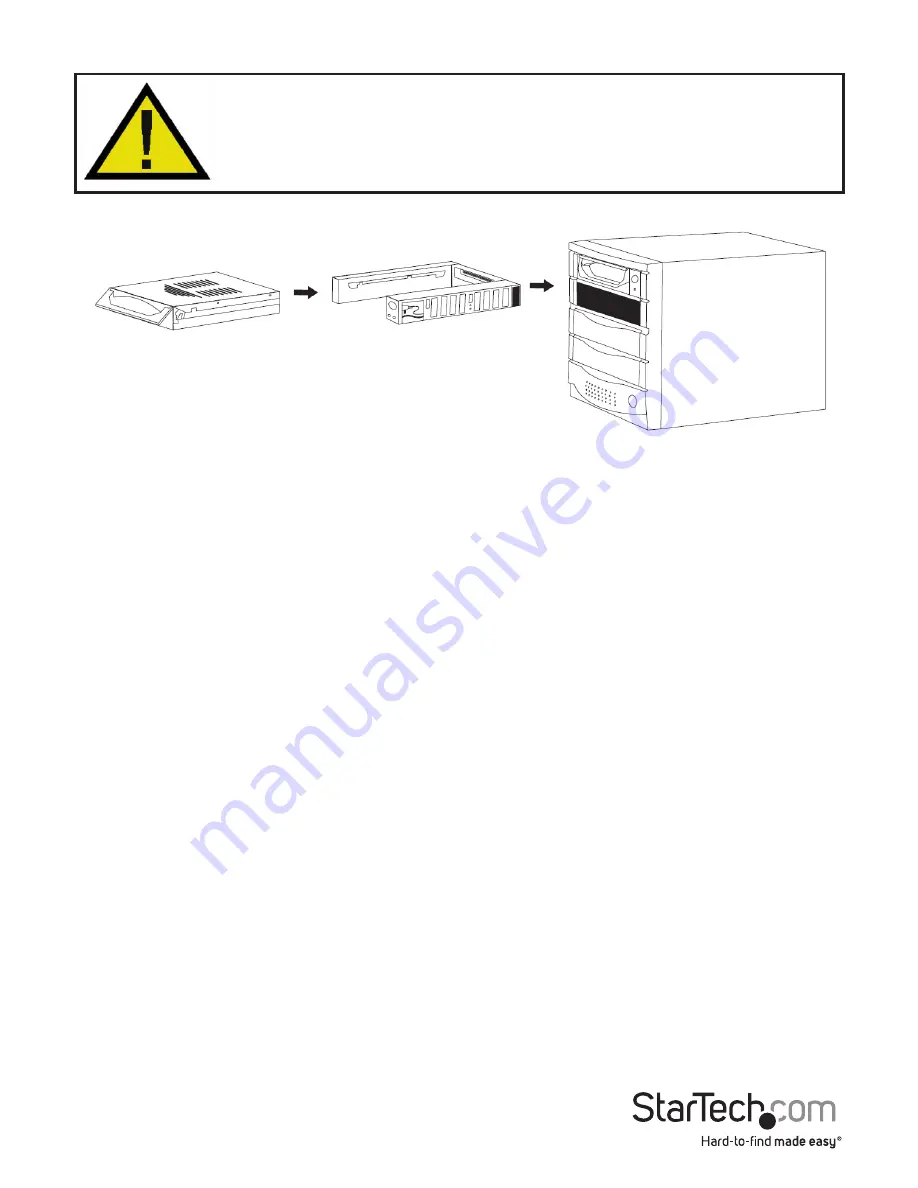
Installing the Bay in the PC

WARNING! 

Computer parts can be severely damaged by static electricity. Be 

sure  that  you  are  properly  grounded  before  opening  your  computer  case. 

StarTech.com recommends that you wear an anti-static strap when installing 

any  computer  component.  If  an  anti-static  strap  is  unavailable,  discharge 

yourself of any static electricity build-up by touching a large grounded metal 

surface (such as the computer case) for several seconds.

1.  Turn your computer off and any peripherals connected to the computer (i.e. Printers, 

external hard drives, etc.). Unplug the power cable from the rear of the power 

supply on the back of the computer and disconnect all peripheral devices.

2.  Remove the side covers from your system and remove the front cover from an 

available 5.25” drive bay (see your computer’s user manual for details, if necessary).

3.  Insert the bay into the 5.25” bay slot, making sure that the screw-holes on the side of 

the bay line up with the holes in the bay slot.

4.  Connect an IDE data and LP4 Molex power cable to the rear of the bay from the 

computer systems IDE controller and power supply respectively.

NOTE:

  The “System” drive cannot be hot-swapped, as it contains the operating 

system.  Only secondary drives can be hot-swapped through the operating system or 

SwapManager software
5.  Place the cover back onto the computer case.
6.  Insert the power cable into the socket on the power supply and reconnect all other 

connectors removed in Step 1.

Installing the Caddy in the Bay

1.  With the handle on the caddy fully raised, insert the caddy into the bay.
2.  Once inserted as far as it will allow, lower the handle to firmly seat the caddy into 

the bay.

3.  Use the provided key to lock the caddy into the bay by turning the lock counter-

clockwise.  The caddy must be locked in order for the drive to power up.

Содержание DRW115ATABK

Страница 1: ...de startech com FR Guide de l utilisateur fr startech com ES Gu a del usuario es startech com IT Guida per l uso it startech com NL Gebruiksaanwijzing nl startech com PT Guia do usu rio pt startech co...

Страница 2: ...ceiving antenna Increase the separation between the equipment and receiver Connect the equipment into an outlet on a circuit different from that to which the receiver is connected Consult the dealer o...

Страница 3: ...the Bay in the PC 3 Installing the Caddy in the Bay 3 Removing the Drive Drawer 4 Swap Manager Software 4 To convert a dynamic disk to a basic disk 4 To install the Swap Manager Software 5 Using Your...

Страница 4: ...HDD drawer supports IDE modes up to ATA 133 allowing you to swap in large amounts of data in a matter of seconds With support for IDE HDD speeds up to 133 MBps the mobile rack backplane is fully compa...

Страница 5: ...eral seconds 1 Remove the drive caddy from the bay by lifting the handle and sliding the caddy out of the bay 2 Remove the top panel from the caddy by pressing the cover release button and sliding the...

Страница 6: ...r computer s user manual for details if necessary 3 Insert the bay into the 5 25 bay slot making sure that the screw holes on the side of the bay line up with the holes in the bay slot 4 Connect an ID...

Страница 7: ...ust convert the volume back to a basic disk to use Swap Manager To convert a dynamic disk to a basic disk 1 Back up all the data on all the volumes on the disk you want to convert to a basic disk 2 Lo...

Страница 8: ...bring up the Swap Manager window The Swap Manager window displays a list of all the drives attached to your computer The window also lists information about each drive s IDE channel Remember that whil...

Страница 9: ...Manager Make sure that the drive caddy is firmly seated in the bay and that the bay has been locked If the bay is not locked no power will be supplied to the drive and Swap Manager will not detect it...

Страница 10: ...s through Host Connectors 1 x 40 pin IDE data male 1 x 4 pin LP4 Molex male LEDs 1 x Power 1 x Fan Failure Compatible Hard Drives 3 5in ATA IDE Fans 2 x 40mm ball bearing Insertion Rating 7 000 cycles...

Страница 11: ...returned for repair or replacement with equivalent products at our discretion The warranty covers parts and labor costs only StarTech com does not warrant its products from defects or damages arising...

Страница 12: ...ts and we quickly deliver them wherever they need to go Just talk to one of our tech advisors or visit our website You ll be connected to the products you need in no time Visit www startech com for co...

Отзывы: