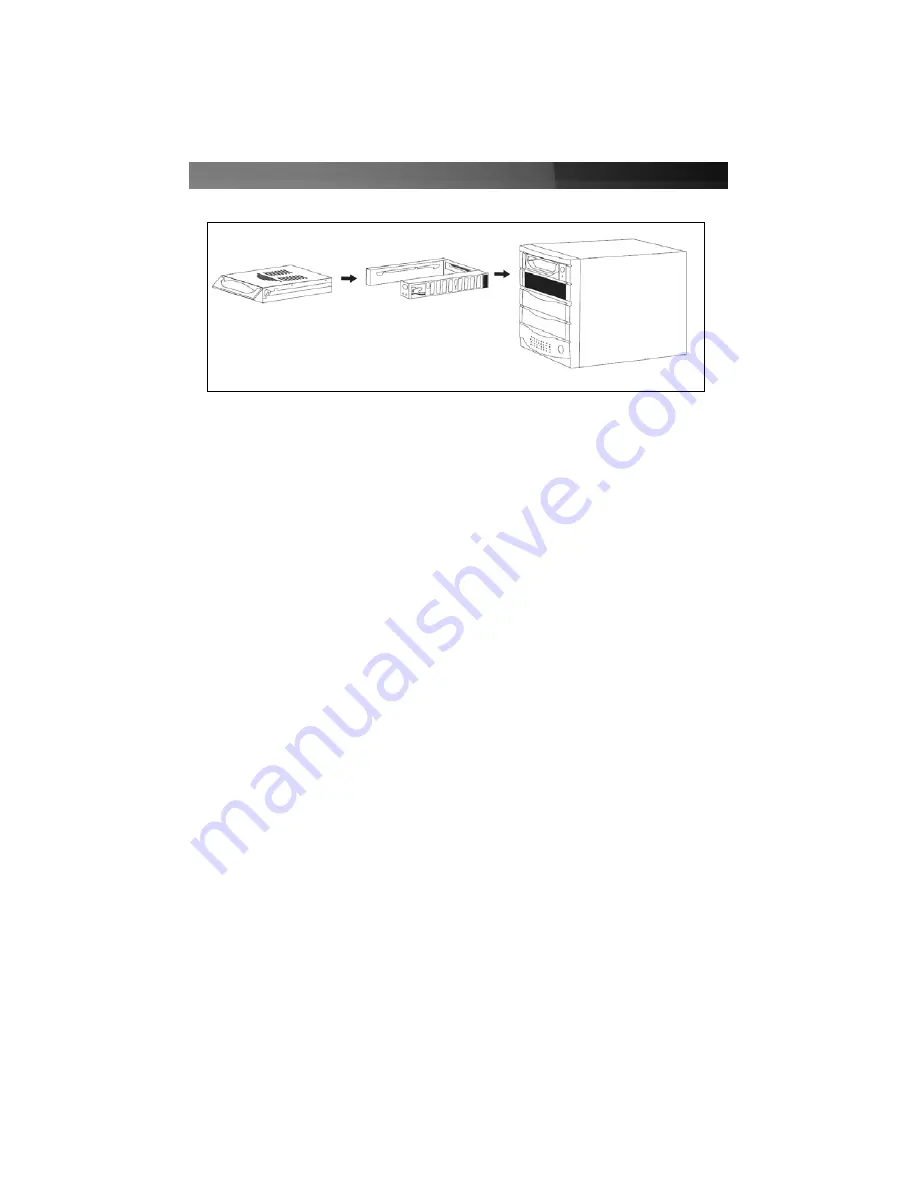
Installing the Bay in the PC
1. Make sure your system is unplugged and you are grounded.
2. Remove the side covers from your system and remove the front cover from an
available 5 1/4” drive bay (see your computer’s user manual for details, if necessary).
3. Insert the bay into the 5 1/4” bay slot, making sure that the screw-holes on the side of
the bay line up with the holes in the bay slot.
4. Connect your computer’s cable ribbon to the connector on the back of the bay,
NOTE
: Only drives that are connected to the secondary SATA controller can be
hotswapped with Swap Manager software (DRW113SAT / DRW113SATBK /
DRW115SAT / DRW115SATBK ONLY). It is not possible to hot-swap the C: or any other
drives on the primary controller.
5. Plug a connector from your computer’s power supply into the power port on the back
of the bay.
6. Using the M3 x 1/4” long (fine thread) screws, mount the bay into the PC.
Installing the Caddy in the Bay
1. With the handle lifted, slide the caddy into the bay until it is firmly seated. Lower the
handle to to click the caddy into its proper position.
2. Insert the key and turn clockwise to lock the drive into place and supply the drive with
power. The drive will not function if the drawer has not been locked.
Removing the Drive Drawer
1. Insert the key and turn counter-clockwise to unlock the drive drawer.
2. Lift the handle and gently pull the caddy out of the bay.
NOTE
: Do not unlock the drawer when the hard drive is in use (See “Monitoring Your
Hard Disk Drive and Drawer” below). Only power down the drive when the hard drive is
Instruction Manual
3


