Lodestar X2 handbook Issue 2, August 2014
Once the defaults have been set to values which you think will be approximately correct, save the
settings and open the ‘View’ menu. In this you will see an option called ‘Max palette stretch’. Open
this and check the ‘Activate stretch display’ check box. This will automatically boost the image
brightness so that faint guide stars can be easily seen – if necessary, you can adjust the slider for the
best results.
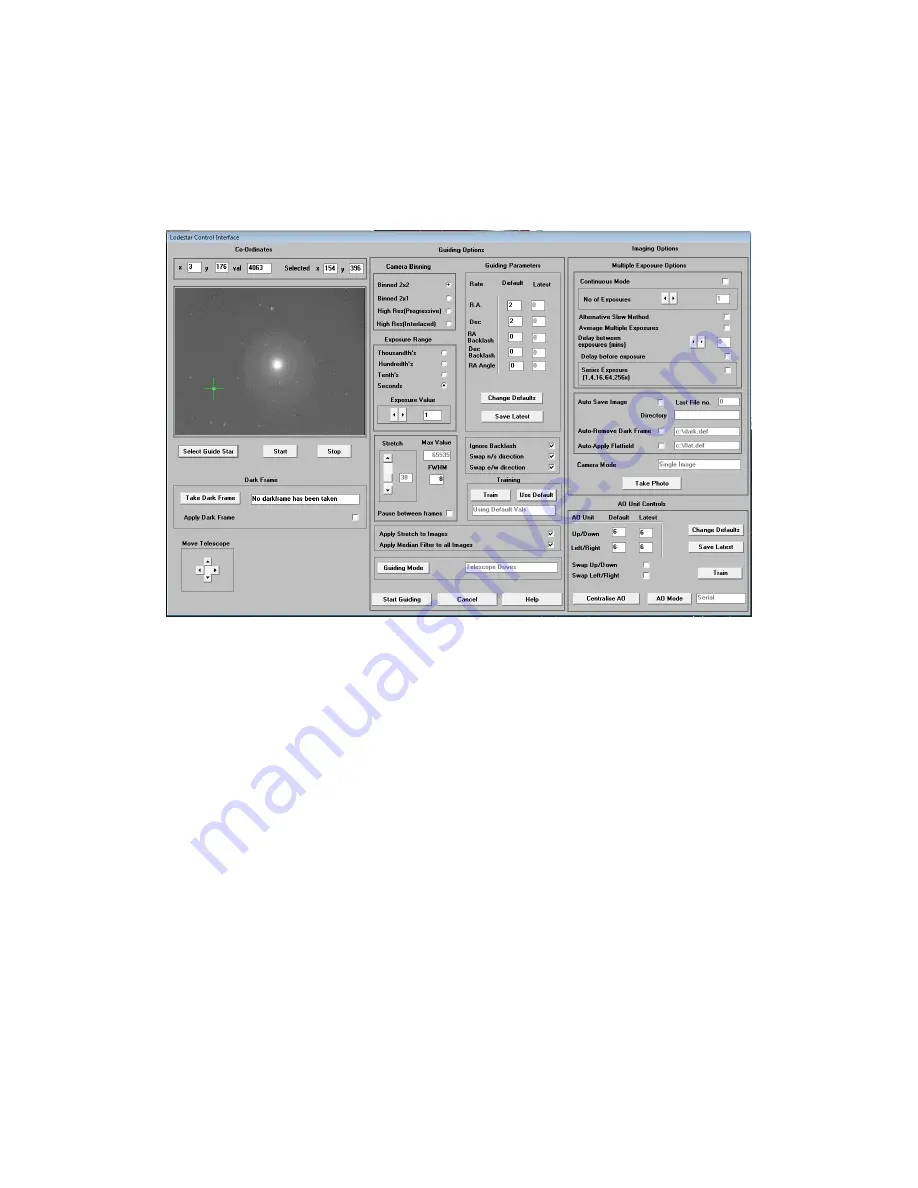
Now click on the camera icon to open the Lodestar X2 control dialog, as below:
The image box will be empty at this point, but we need a frame to select the guide star from, so use the
guiding options to select a suitable exposure time (say 1 second) and press the ‘Start’ button below the
image box. A sequence of images will be shown and you can refine the image focus and centring as
required. Before attempting to guide, it is wise to check that you have control of the telescope drive via
the Lodestar X2 software. This is easily done by pressing the ‘Move Telescope’ buttons at the lower
left of the control box. Check that pressing the arrow buttons causes the star field to drift left, right, up
and down, as appropriate. The LED at the back of the Lodestar X2 should change colour when the
buttons are pressed. If all is well, move onto the next step below:
Once a good guide star has been found, press the ‘Stop’ button and then the ‘Select guide star’ button.
You can now click the mouse arrow on the guide star and a green cross will appear, centred on the star
(see above). Don’t select a very bright guide star, as this will result in poor guiding due to saturation of
the core pixels in the star image. The example above shows the region around Vega and it is clear that
Vega itself would make a very poor guide star due to its large saturated core.
Once the guide star is selected, a small box appears with the star coordinates. If they look good, just
click on OK.
Now click on ‘Start Guiding’:


