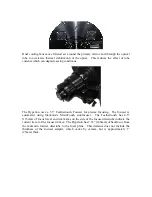
Once the out-of-focus star image is concentric, the secondary mirror is collimated.
Adjustment of the primary mirror is done using the six screws on the back plate of the
telescope. The three smaller screws are lock screws, holding the mirror in place. The
three larger screws are the adjustment screws. These screws have springs on the them
inside the telescope, pushing on the primary mirror cell. Tightening them pulls the mirror
back; loosening them pushes the mirror forward.
Remember that the large screws are the only thing holding the primary mirror assembly
in place, so do not loosen them too much. Very little adjustment should be required.
Bring the telescope to focus. Take a single frame exposure, about 5-10 seconds long, at
1x1 binning (full resolution). Examine the corners of the image at 100% magnification.
The stars should appear equally round in each corner. If using a program such as MaxIm
DL, you can make use of inspection tools to measure the average size of the stars in each
corner of the image.
If the star sizes are not equal, fine tuning is possible by making very small adjustments to
the primary mirror.
Begin by loosening one of the (small) collimation lock screws about 1/8 turn. Then
tighten the (large) adjustment screw.
Take another exposure. If needed, refocus the telescope. If things have improved,
continue until the stars are sharp across the full field. If things got worse, return the
adjusted pair of screws to their original position and select a different set of screws. Your
Hyperion is now perfectly collimated and ready for imaging!


