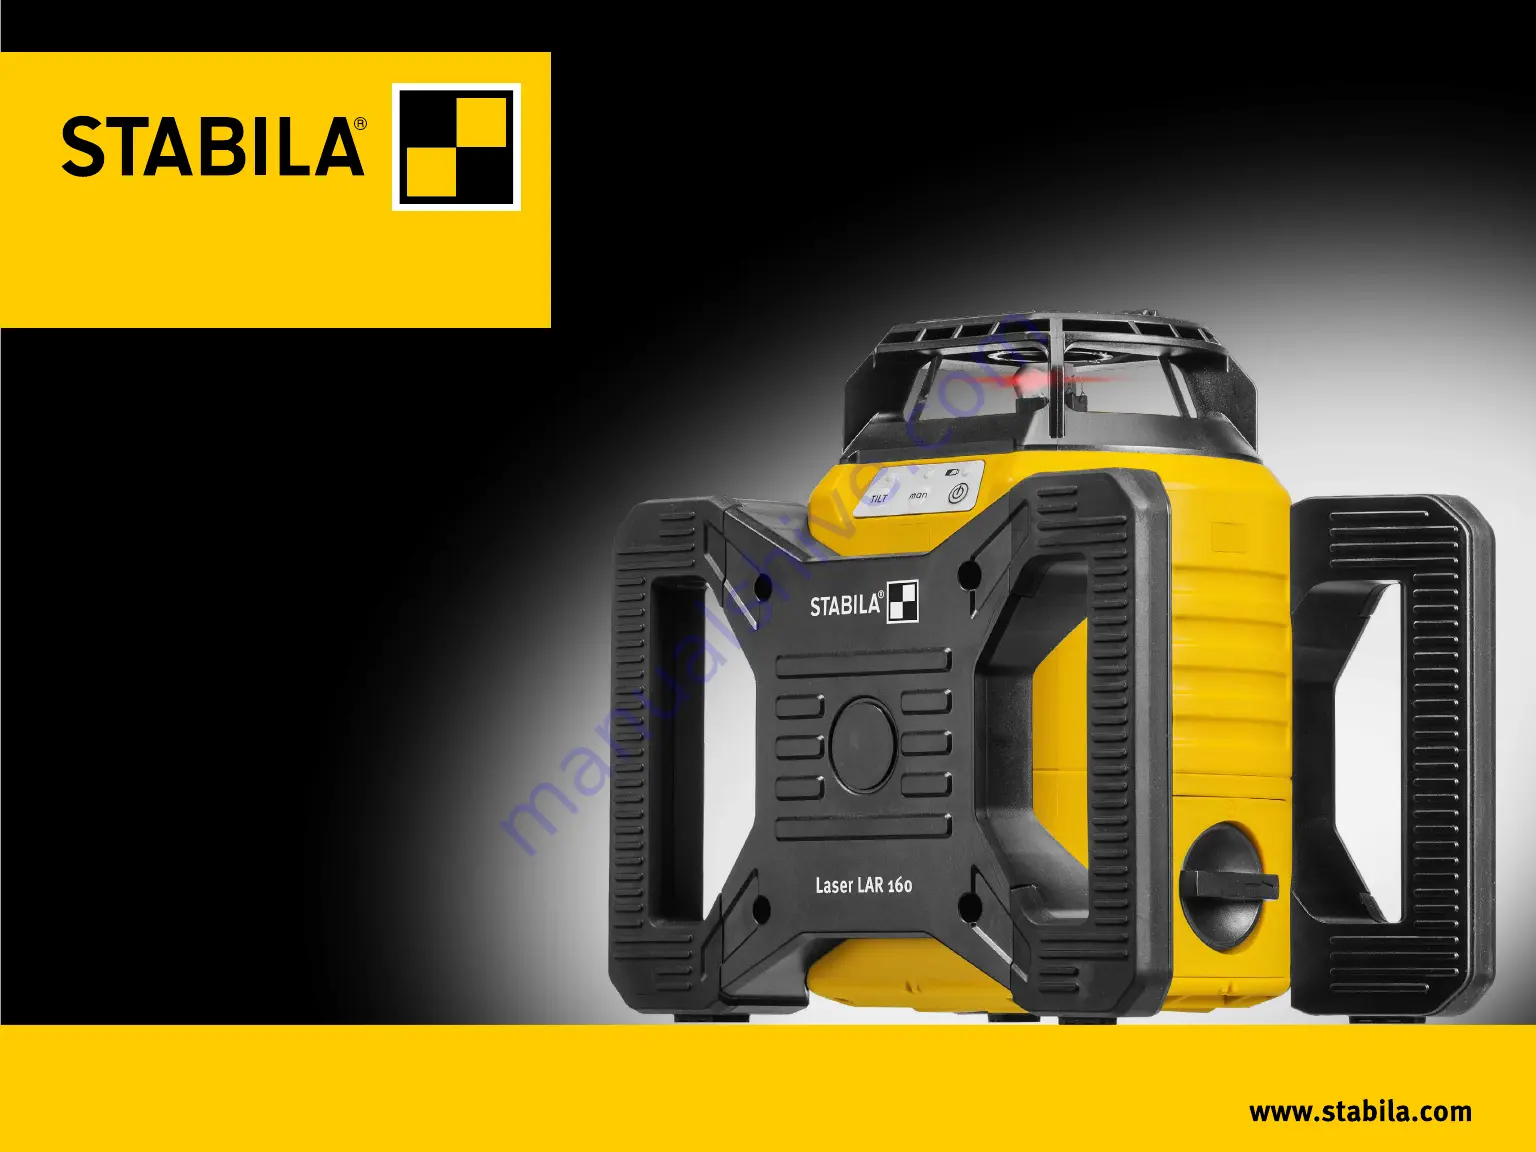
How true pro’s measure
LAR 160
LAR 160 G
Operating instructions
Страница 1: ...How true pro s measure LAR 160 LAR 160 G Operating instructions ...
Страница 2: ...ing 5 4 1 Battery insertion replacement 5 4 2 Switching the unit on 5 5 Operating mode 6 5 1 Automatic operation with tilt function 6 5 2 Automatic operation with relevelling 7 5 3 Manual operation 8 6 Functions 9 7 LED indicators 10 8 1 Checking Accuracy 11 8 2 Horizontal check 11 8 3 Vertical check 12 9 Technical data 13 ...
Страница 3: ... 2 Safety instructions for laser units In Class 2 laser units your eyes are usually protected from accidental short term expo sure to the laser beam by the eyelid closing reflex and or the reflex reaction to turn one s head If a laser beam hits your eye deliberately close your eyes and move your head out of the path of the beam Do not look into the direct or reflected beam The STABILA laser goggle...
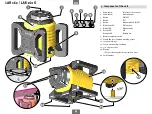
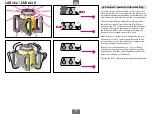
Страница 4: ...on Manual mode ON OFF 6 White red LED Tilt function 7 White LED Manual mode 8 Green LED ON Orange LED Battery low 9 Battery compartment lid 10 Plumb line laser function marking points 11 Locator markings 12 Feet to allow vertical levelling 13 5 8 tripod socket 14 Housing IP 65 protected against water jets and dust xx Serial number ...
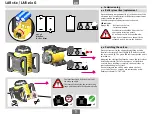
Страница 5: ... seconds These 30 seconds are indicated by a slow flashing of the white TILT LED 4 1 Battery insertion replacement Open thebattery compartment lid 9 in the direction of the arrow and insert new batteries in the battery compartment as indicated by the symbol Suitable rechargeable batteries can also be used LED indicator Orange LED Battery capacity low Insert new battery Used batteries should be dis...
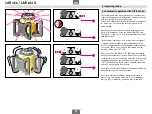
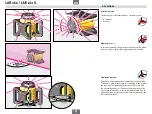
Страница 6: ...eam stays on constantly and begins to rotate Fine adjustments can still be made within the first 30 seconds These 30 seconds are indicated by a slow flashing of the white TILT LED After 30 seconds the white TILT LED lights up steadily meaning the tilt function is active If any event occurs that could result in the laser unit being deflected from its exact alignment and setting the beam ceases to r...
Страница 7: ...function The green LED indicates that the unit is switched on and the laser beam flashes Once levelling is complete the beam stays on constantly and begins to rotate When incidents occur that cause misalignment the laser beam ceases to rotate The laser beam flashes Now the laser unit relevels itself Once levelling is completed the laser beam begins to rotate once more If the unit is inclined at an...
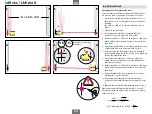
Страница 8: ...that the unit is switched on and the laser beam flashes The white TILT LED flashes Press the man button to deactivate the tilt function and automatic relevelling The white man LED lights up steadily The laser beam rotates The laser plane can be set up by direction finding or by taking measurements The inclinometer available as an accessory can be used to aid setting up the inclination Pressing the...
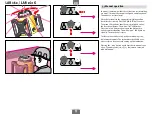
Страница 9: ...angles to be created Plumb line function Transfers a determined point from the floor to the ceiling To transfer a plumb line from a floor marking to the ceiling the laser unit is aligned exactly with the cross mark with the 4 marking points 10 The point of intersection of the cross mark corresponds to the exiting laser plumb line In automatic mode a correct result can only be obtained if the floor...
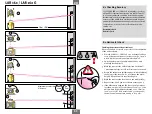
Страница 10: ...ion with tilt function 7 LED indicators Operation without tilt function Automatic operation with relevelling Relevelling after interference Automatic operation with relevelling Operating in manual mode Manual operation Unit is outside self levelling range Commissioning Battery capacity low Battery insertion replacement LED laser beam lights up steadily LED laser beam flashes LED flashes quickly ...
Страница 11: ...tre of the laser line on the wall point 2 6 Repeat steps 4 and 5 twice to obtain points 3 and 4 7 If the differences between the four control points are less than 2 mm 1 8 for a distance of 10 m 50 the unit is within its permitted tolerance of 0 1 mm m 18 over 100ft Here points 1 and 3 correspond to the unit s x axis and points 2 and 4 to its y axis 1 1 8 1 Checking Accuracy The STABILA LAR 160 LA...
Страница 12: ...sition of the plumb line laser point on wall B Point 2 6 Now reposition the laser unit so that it is directly in front of wall B Align the LAR 160 LAR 160 G with wall B using the plumb line laser 7 Once automatic levelling is complete rotate the plumb line laser point and move it vertically until it exactly covers point 2 8 Rotate the LAR 160 LAR 160 G through 180 and align with wall A using the p...
Страница 13: ...FR parts 1040 10 and 1040 11 Self levelling range approx 5 Levelling accuracy 0 1 mm m 1 8 over 50 ft Batteries 2 x 1 5 V alkaline size mono D LR20 Battery life LAR 160 approx 40 hours alkaline LAR 160 G approx 20 hours alkaline Operating temperature range 10 C to 50 C 14 F to 122 F Storage temperature range 25 C to 70 C 13 F to 158 F Subject to technical modifications when operated within the spe...
Страница 14: ...alia Asia Africa STABILA Inc 332 Industrial Drive South Elgin IL 60177 USA 800 869 7460 custservice Stabila com STABILA Messgeräte Gustav Ullrich GmbH P O Box 13 40 D 76851 Annweiler Landauer Str 45 D 76855 Annweiler 49 63 46 309 0 info de stabila com ...