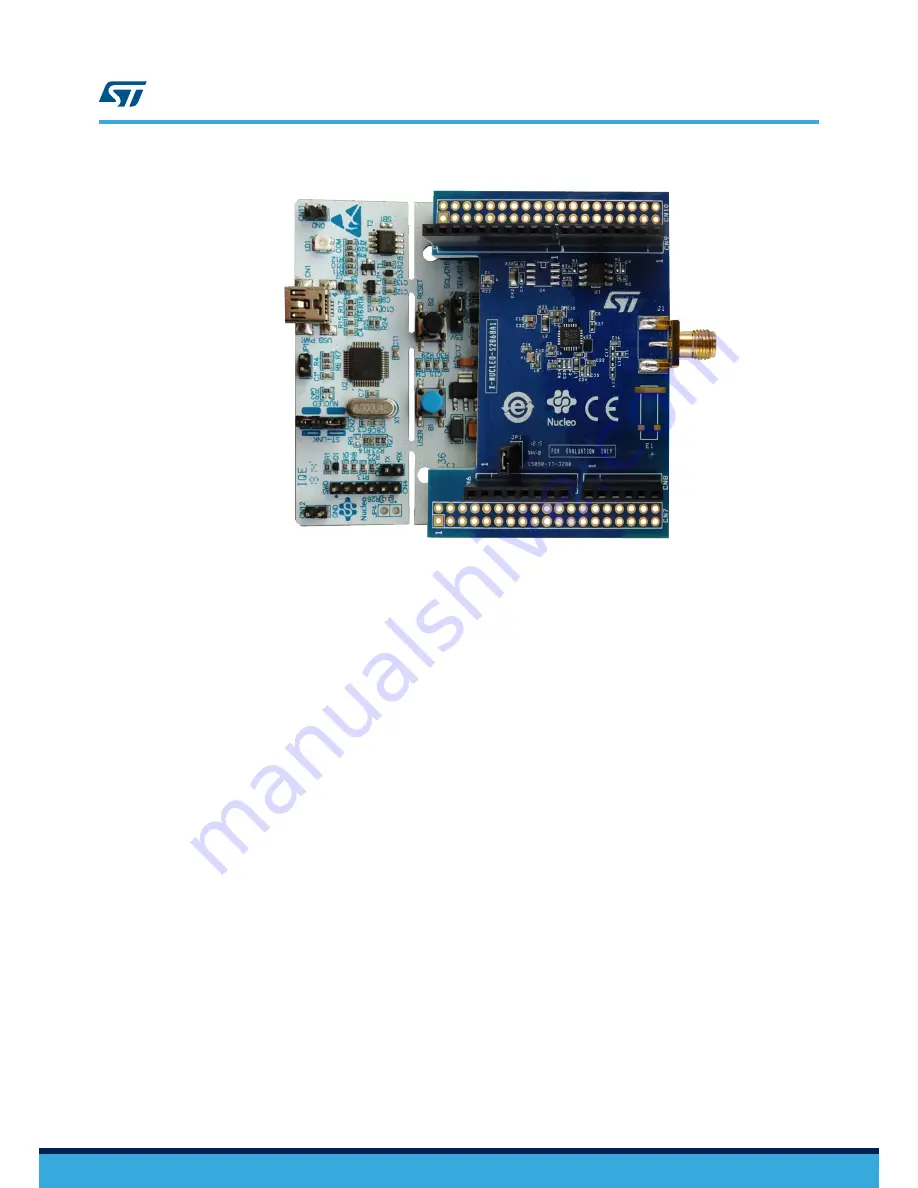
Figure 2.
X-NUCLEO-S2868A1 expansion board connected to an STM32 Nucleo development board
The interconnection between the STM32 Nucleo and the X-NUCLEO-S2868A1 has been designed to allow using
any STM32 Nucleo board, although complete testing has been performed using
NUCLEO-L053R8
,
NUCLEO-
F401RE
and
NUCLEO-L152RE
boards hosting the ultra-low power STM32.
The following software and hardware specifications are required:
•
a PC/laptop with Microsoft Windows (7 and
above
) to install the software package (
X-CUBE-SUBG1
)
•
a type A USB to mini-B USB cable to connect the STM32 Nucleo board to the PC/laptop
•
128 MB of RAM
•
Approximately 40 MB of hard disk space for the firmware
•
Approximately 15 MB of hard disk space for the wM-Bus GUI
The use of the wM-Bus concentrator with the GUI requires additional boards to be connected to the PC. The GUI
can be used to check the wM-Bus communication sample.
2.3
Board setup
Step 1.
Check that the jumper on J1 connector is connected to provide the required voltage to the board
devices.
Step 2.
Connect the
X-NUCLEO-S2868A1
to the
STM32 Nucleo
board as shown in
Figure 2. X-NUCLEO-
S2868A1 expansion board connected to an STM32 Nucleo development board
Step 3.
Power the Nucleo development board using the Mini-B USB cable
Step 4.
Program the firmware in the STM32 on the Nucleo development board using the firmware sample
provided
Step 5.
Reset the MCU board using the reset button on the Nucleo development board
Step 6.
The evaluation kit is ready-to-use
UM2405
Board setup
UM2405
-
Rev 1
page 4/19


