WAVBAND WRISTBAND AUDIO RECORDER USER GUIDE
3
Double click on the drive to see two folders: SetUDiskTime and Record. The former
contains a utility to set the date and time on the WAVband; the latter will contain your
recordings.
To synchronize the current date and time from your computer to the WAVband,
double click on SetUDiskTime. Then double click on the SeUDiskTime(9X)
application. A confirming message that you’ve successfully set the date and time will
appear. (See image on previous page.) You can now remove the WAVband from your
computer and insert it in the wrist strap.
Wearing and Operating
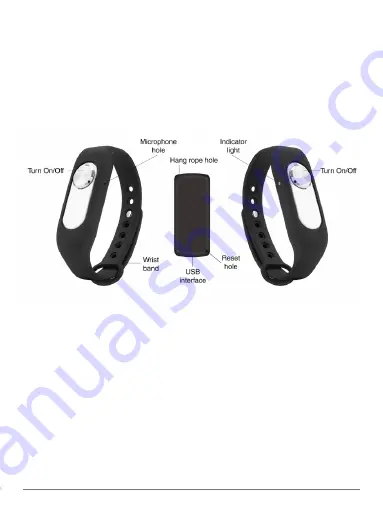
When you insert the recorder into the wristband, make sure to line up the microphone
with the hole on the edge of the band. The mic is on the opposite side of the On
button from the LED indicator. So, if you’re looking at the recorder with the On label
pointed up, the mic is on the right edge from the button.
Place the rubberized band over your wrist. Pull the metal-button tip through the other
end and tug the band into a tight but comfortable position so that you can push the
fastener into one of the holes and it stays in place.
Tip:
Unless you’re doing self-dictation, mount the band on either wrist so that the mic
points outward to pick up voices in front of you.
As an alternative to wearing the recorder in the band, you can thread string or floss
(not included) through the rope hole in a corner of the WAVband and create a loop to
hang the device from clothing or a fashion accessory.


