Hardware description
……
correct method
fault method
Software operation
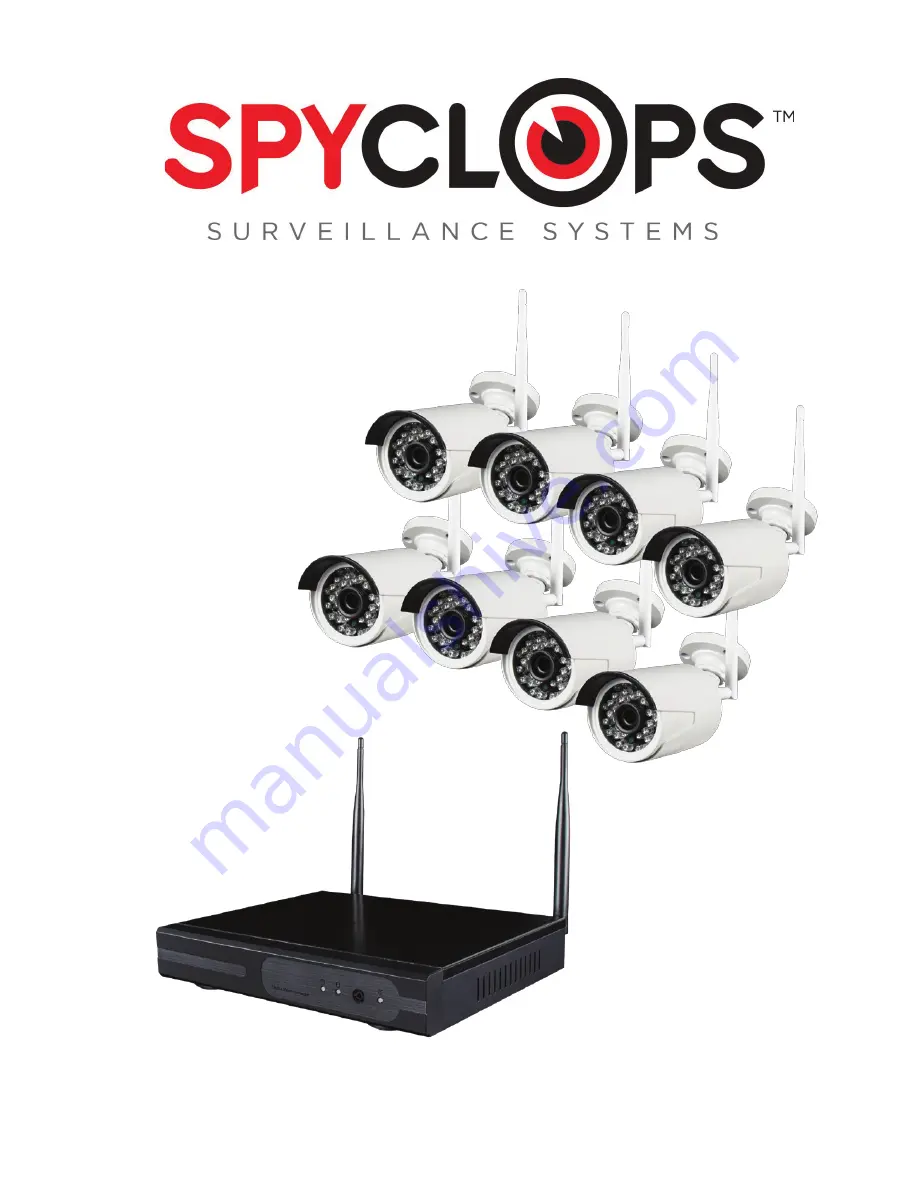
SPY-NVR8720W
Users Manual
1 Statement
Thank you for purchasing the Spyclops SPY-NVR8720W.
Please contact Spyclops Tech Support if any problems arise with this unit.
This user manual is for the Spyclops SPY-NVR8720W.
2 Safety Cautions
1. Do not put containers with liquid near and/or on NVR.
2. NVR should be placed in a well ventilated area for best results.
3. Use only the power supply designated for this NVR. All others may damage
this unit.
4. NVR should only be installed in a temperature controlled environment.
5. Place this NVR on a flat, level surface. Avoid placing NVR on its side or on
any moving surfaces.
6. For long term use of this NVR, owners may take the cover off the NVR
and brush dust off of the PCB (printed circuit board). Dust and moisture
can cause the circuit board to short circuit.
3 Open-package inspection
1. After purchasing your Spyclops SPY-DVR8720W, please open and remove
the NVR. If you have any damaged and/or missing items, please contact
your distributor.
The signal coverage of the antennas are similar to a circle. Keep all camera antennas
parallel with NVR’s antennas as shown in the antenna location diagram. According to
the signal divergence characteristics of the antennas, and in order to guarantee the
Spyclops video quality, cameras antennas must be installed as shown in antenna
location diagram.
6 Hard Drive Install
(All NVR’s come with a preinstalled 1 TB hard drive.
This section is only for those who would like to upgrade the hard drive.)
Install Steps:
1. Unplug and remove power supply from NVR
and let sit for 5 minutes.
2. Remove all screws from the shell and remove
the lid.
3. Unplug the SATA cable from hard drive
and remove all screws on the bottom of the
NVR holding the hard drive in-place. Place new hard drive in place of the old hard
drive and reconnect the SATA cable and all screws on bottom of the NVR.
4. Place the lid back onto the NVR and place all screws back into its proper place.
5. Place power back to the NVR and power the unit back on.
7 Rear Panel Descriptiontion
8 Turn on/off
Before powering up the NVR, make sure the correct power supply is connected. Also,
make sure that the power outlet has a good middle ground. After checking the power
connections, power on the NVR. If the power light on the NVR is flashing, this means
the unit is running properly.
1 Add camera by matching code
Steps:
Right click on the mouse to open menu options.
- Click Video Manage to enter Video Management interface.
There are two ways for the NVR to add IPC, “Code Add” and “Auto Add”. When
adding cameras by matching code, the camera transmits video images wirelessly to
NVR, IP is 172.20.14.X;
When Auto Adding the camera, the camera transmits the video images via the
Ethernet cable to the NVR;
NOTE: The cameras have been matched by the factory, no need to add other
cameras. If you need to do a Match Code, first, take your Ethernet cable and connect
to the camera and then connect to the NVR. Then follow steps above.
2 Video Playback
Step 1: Right click on mouse.
Step 2: Click Video Playback
Step 3: Choose channel number, choose record mode.
Step 4: In Search Time, input your start time and ending time.
Step 5: Click playback to start.
3 Video Backup
Step 1: Right click on mouse.
Step 2: Click Video Backup
Step 3: Choose channel number, choose record mode.
Step 4: In Search Time, input your start time and ending time.
Step 5: Choose which video needing to be backed up and click video backup.
4 Video Detection
Step 1:
• Right click on mouse.
• Click System Setup
• Click Record Setup
• Choose motion, choose ‘ALL’, click ‘Copy To’, click ‘OK’ to save settings.
Step 2:
• Click on Video Detection
• Set sensitivity as required, choose motion, set alarm buzzer or Emil as required.
• Click Copy To then click OK to save your settings.
4 Installation Diagram
5 Antenna Location
9 NVR, IPC Parameter List
Содержание SPY-NVR8720W
Страница 1: ...SPY NVR8720W Users Manual ...
Страница 3: ... correct method fault method 4 Installation Diagram 5 Antenna Location ...
Страница 5: ...9 NVR IPC Parameter List ...
Страница 6: ......
Страница 15: ...866 839 9187 460 Walker Street Holly Hill FL 32117 www spyclopsusa com ...


