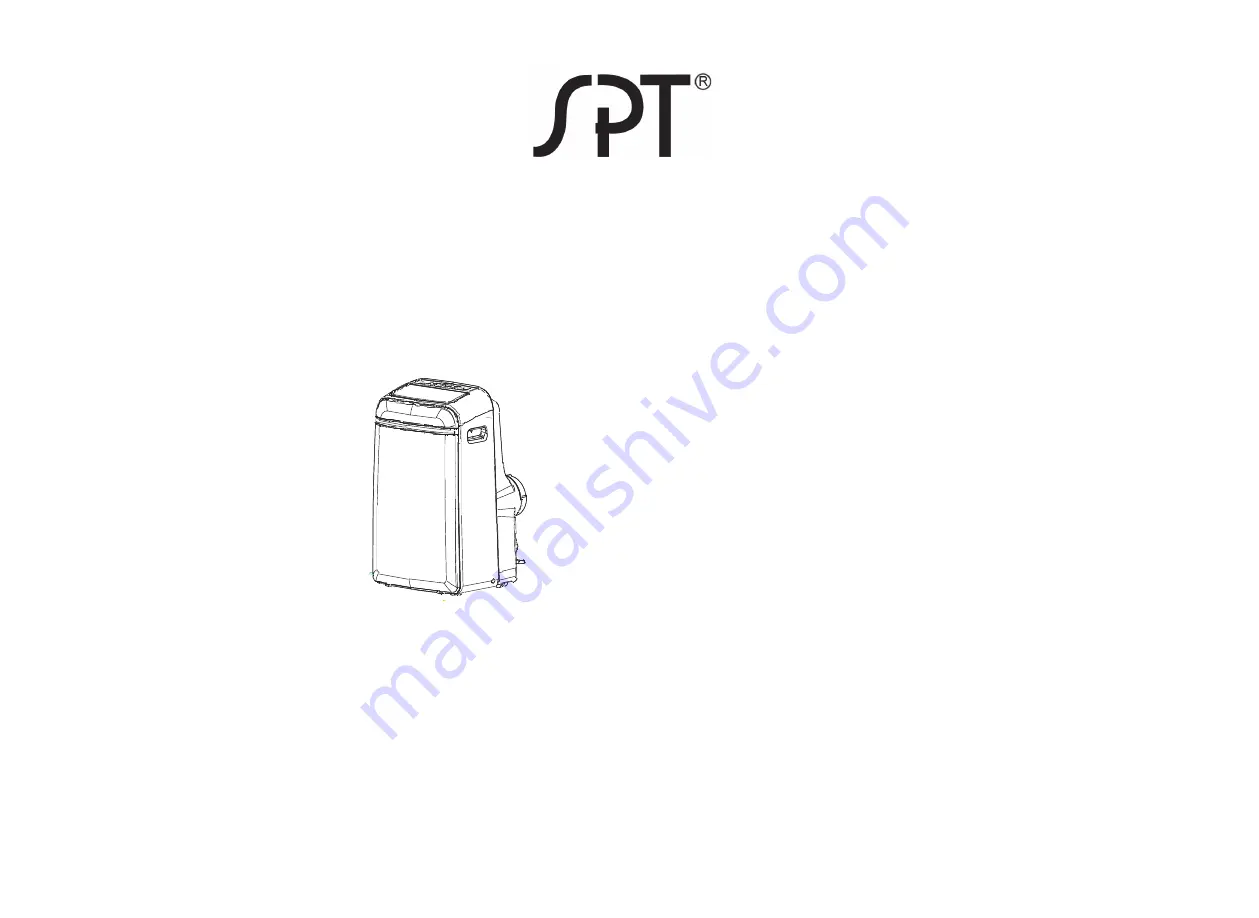
SPT WA-P903E Скачать руководство пользователя страница 1

Thank you for purchasing our Portable Air Conditioner. 

Portable Air Conditioner

Instruction Manual

Before using your air conditioner, please read this instruction manual carefully and keep it for future reference.

READ AND SAVE THESE INSTRUCTIONS!

WA-P903E: 14,000BTU (cooling only)

Содержание WA-P903E

Страница 1: ...Air Conditioner Portable Air Conditioner Instruction Manual Before using your air conditioner please read this instruction manual carefully and keep it for future reference READ AND SAVE THESE INSTRUC...

Страница 2: ......

Страница 3: ...4 14 Contents P repar at io n S afety Preca uti ons Cautio ns Design and Compli ance N otes Install ation O per ation Mainte nance T r o u b l e S h o o t i n g U s i n g t h e R e m o t e C o n t r...

Страница 4: ...uver blade swing automatically Caster power plug socket power cord buckle bottom tray drain outlet lower drain outlet heating models only upper air filter behind the grille upper air intake air outlet...

Страница 5: ...it has wheels to facilitate moving Be cautious when using on thick carpets Do not roll over objects to avoid tipping 3 DO NOT operate an unit that has been dropped or damaged Only use the included acc...

Страница 6: ...sues on repair or maintenance of this unit Contact Sunpentown with questions regarding installation of this unit When there are differences between USERS MANUAL and Remote controller illustration on f...

Страница 7: ...located at least 30cm 12 from the nearest wall to ensure proper air conditioning DO NOT cover the Intakes Outlets or Remote Signal Receptor of the unit as this could cause damage to the unit NOTE All...

Страница 8: ...requires both pieces of the slider kit adjust to needed length and secure with bolt Window slider A Window slider B Bolt Step Two Install the Exhaust hose assembly to the Unit Align the hooks on the...

Страница 9: ...en the glass and the window frame to prevent air and insect from getting into the room If desired install the security bracket with 2 screws Insert the slider kit adaptors into the holes on the slider...

Страница 10: ...hose to the Wall Adaptor max 47 inches min 12 inches Wall Adaptor Expansion plug position Cap CAUTION Note to ensure proper function DO NOT overextend or bend the hose Make sure that there is no obsta...

Страница 11: ...ing mode indicator will illuminate Up and Down buttons Used to increase or decrease temperature setting in 1 C 1 F increments Adjustable range 62 F to 86 F 17 C to 35 C Also used to set timer between...

Страница 12: ...is between 62 F 86 F 17 C 30 C Press the FAN button to choose desired fan speed HEAT operation heating models only Press the MODE button until HEAT indicator lights up Press the or button to set desi...

Страница 13: ...ature setting if there is no activity within a 5 second period After time has been programmed if unit is manually turned ON or OFF or if the timer setting is adjusted to 0 0 all timer programs will be...

Страница 14: ...t leakage Direct the hose towards the drain making sure there are no kinks that may stop the water flow Place the end of the hose into the drain and make sure the end of hose is down to let water flow...

Страница 15: ...e and unplug power source Clean the air lter according to the instructions in the previous section and reinstall Remove the batteries from the remote control Store unit in a cool dark place Exposure t...

Страница 16: ...check the cooling area Turn off the unit disconnect the hose check for blockage and reconnect the hose Remove the heat sources if possible The ground is not level Place the unit on a flat level surfa...

Страница 17: ...ference that may cause undesired operation This equipment has been tested and found to comply with the limits for a Class B digital device pursuant to part 15 of the FCC Rules These limits are designe...

Страница 18: ...O O 1 C 1 F increments Max temperature is O O 30 C 86 F TEMPq Decreases temperature in O O 1 C 1 F increments Min temperature is O O 17 C 62 F TIMER ON Sets timer to turn unit on TIMER OFF Sets timer...

Страница 19: ...ries in the remote control before use 1 Press down on the cover and slide it outwards to remove 2 Insert batteries paying attention to match the and ends of the batteries with the symbols inside the b...

Страница 20: ...et OFF is set DRY HEAT FAN Battery display Low battery detection SLEEP display Displays when SLEEP function is activated FAN SPEED display Displays selected FAN SPEED HIGH MED or LOW This display is b...

Страница 21: ...e Temp Up Down button 3 Press the ON OFF button to start the unit NOTE FAN SPEED can t be set in Auto mode HEAT OPERATION 1 Press the MODE button to select HEAT 2 Set desired temperature using the Tem...

Страница 22: ...LOW MED or HIGH Temp Up Down button 3 Press the ON OFF button to start the unit 3 Press the ON OFF button to start the unit NOTE Temperature cannot be set in FAN NOTE FAN SPEED can not be changed in...

Страница 23: ...ount of time for unit to turn off such as when you pan to leave Press the TIMER OFF button By default the last set time and h will appear on display Press the TIMER OFF button again and repeatedly to...

Страница 24: ...he current time is 1 00 PM and you want the unit to turn on automatically at 7 00 PM which is 6 hours from current time operate for 2 hours then automatically turn off at 9 00 PM which is 8 hours from...

Страница 25: ...see the figure below Your remote display Timer is set Toturn ON 6 hours from current time Timer is set to turn OFF 8 hours from current time Current time 1PM 2PM 3PM 4PM 5PM 6PM 7PM 8PM 9PM Timer sta...

Страница 26: ...will operate on AUTO mode at 26O C 79O F and fan speed is Auto SWING Function Push this button when remote controller is on the system will automatically revert back to Used to stop or start louver mo...

Страница 27: ...f this product is defective or not working properly Please DO NOT return to your retail store Please contact us directly with any Service or Technical Assistance Contact us toll free at 1 800 330 0388...

Страница 28: ...anty does not include freight charges Damage due to installation error product abuse and or misuse Incidental or consequential damage caused by possible defects with this product Labor cost incurred f...

Отзывы: