background image

33

!"#$%&'

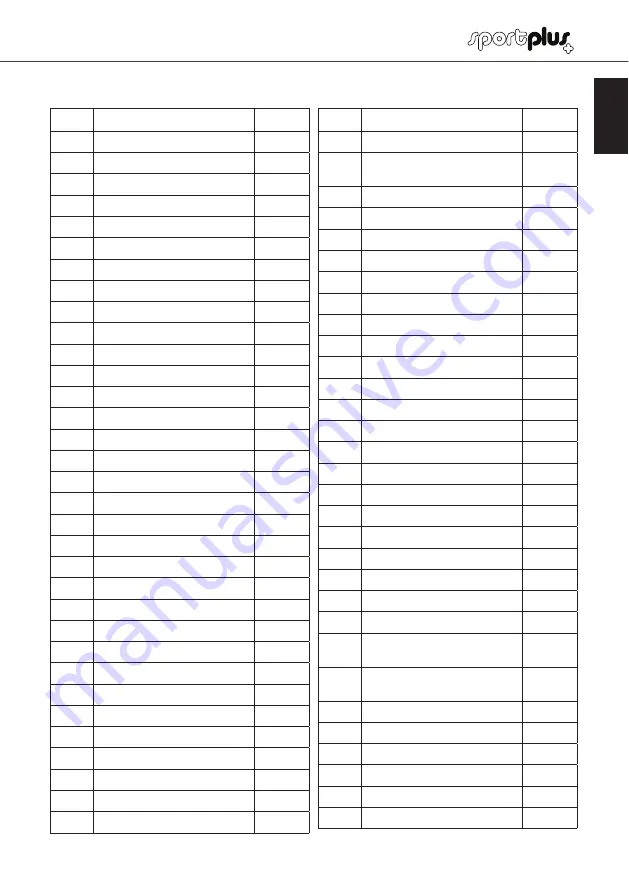
3.  PART LIST

No.

Description

Quantity

1

L

Upper pedal tube, left

1

1

R

Upper pedal tube, right

1

2

Screw

4

3

Upper computer cable

1

4

Computer

1

5

Handlebar foam grip

2

6

Self-tapping screw

2

7

Cover cap (handle)

2

8

Hand pulse cable

1

9

Self-tapping hex screw M

8

x

20

6

10

End cover

2

11

Foam cover

2

12

Hand pulse sensors

1

13

Fixed handlebar

1

14

Cross bar

1

15

Flat Washer

2

16

Curved washer

28

17

Hexagon socket screw

32

18

Connector

10

19

Flat Washer

4

20

Spring washer

38

21

Nut M

10

2

22

Nut

2

23

Washer (C-shaped)

1

24

Wave washer

2

25

Ball bearings

1

26

Flywheel

1

27

Flywheel axle

1

28

Ball bearings

1

29

Belt adjustment

2

 sets

30

R

Chain cover, right

1

31

L

Cover cap, front

1

31

R

Cover cap, rear

1

No.

Description

Quantity

32

Plastic cover

1

33

Hexagon socket screw M

8

x

55


mm

2

34

Flat Washer

10

35

Front Stabilizer

1

36

Round head screw M

5

x

15

6

37

Screw M

5

x

15

6

38

Washer (C-shaped)

1

39

Flat Washer

2

40

Spring

1

41

Round head screw M

4

x

15

4

42

Lever holder

1

43

DC line

1

44

L

Lower swivel rod, right

1

44

R

Lower swivel rod, left

1

45

Screw M

5

x

12

4

46

Motor

1

47

Frame

1

48

Lower computer cable

1

49

Support frame

1

50

Sensor

1

51

Flat Washer

1

52

Flat Washer

1

53

Flat Washer

3

54

L

Plastic cover (lower swivel 
rod, left)

2

54

R

Plastic cover (lower swivel rod, 
right)

2

55

Belt wheel

1

56

Belt

1

57

Pedal Axle

1

58

Self-tapping hex screw M

8

x

15

4

59

crank

2

60

Round cover

2

SP-ET-7000-iE-INT-V04.indb   33

25/1/2018   6:36 PM

Содержание SP-ET-7000-iE

Страница 1: ...0 12 23 401 012 3 4 0 5 5 0 2 5 66 1 GB FR IT ES DE...

Страница 2: ...erence Should you pass on this product ensure to include the corresponding instruction manual CONTENTS 1 TECHNICAL DATA 29 2 SAFETY INSTRUCTIONS 30 3 PART LIST 33 4 EXPLOSION VIEW 36 5 ASSEMBLY INSTRU...

Страница 3: ...ufacturer could cause injuries and damage Only use original accessories Keep the device away from hot surfaces and open flames Always use the device on a flat stable clean and dry surface Protect the...

Страница 4: ...oduct if it is damaged or defective In this case contact a professional workshop or our customer service Always verify that the product is in impeccable condition before use Defective components must...

Страница 5: ...ing materials until assembly is completed Please note that there is always a risk of injury when using tools to carry out manual tasks Therefore please exercise caution when assembling this product Ma...

Страница 6: ...e 1 28 Ball bearings 1 29 Belt adjustment 2 sets 30R Chain cover right 1 31L Cover cap front 1 31R Cover cap rear 1 No Description Quantity 32 Plastic cover 1 33 Hexagon socket screw M8x55 mm 2 34 Fla...

Страница 7: ...12 1 79 Washer C shaped 2 80 Magnetized axle 1 81 Magnet mount 1 82 Spring washer 2 83 Screw M6 2 84 Ball bearings 2 85 Wave washer 1 86 Flat Washer 2 87 Connector 4 88 Nut M10 2 89 Connector 4 No Des...

Страница 8: ...ew M8x20 17 Spring washer 20 Flat washer 34 6 pcs each Hexagon socket screw M8x20 9 Curved washer 16 6 pcs each Hexagon socket screw M8x20 9 Flat washer 19 Spring washer 20 2 pcs each Hexagon socket s...

Страница 9: ...36 4 EXPLOSION VIEW...

Страница 10: ...35 47 33 34 74 34 20 17 104 93 20 16 94 96 1 Fasten the lower tubes 104 to the rear stabilizer 74 Fasten with 12 sets of hex screws 17 spring washers 20 and washers 34 2 Connect the lower tubes 104 wi...

Страница 11: ...omputer cables 3 48 Insert excess cable into the interior of the front support tube 49 Note We recommend 2 persons assembling the product One person can hold the support tube 49 while the other connec...

Страница 12: ...rods 44 R L to the left axle of the front rod 22 Fasten with 2 sets of hex screws 9 bent washers 16 and spring washers 20 Now tighten the hex screws 9 Caution Please note the following when assemblin...

Страница 13: ...92 20 19 71R 9 1 Fasten the pedal tubes 71 L R to the left and right crank 59 Fasten with 2 sets of hex screws 9 bent washers 16 and spring washers 20 2 Place on the cover caps 92 Secure with 2 round...

Страница 14: ...right side Secure with 2 sets of hex screws 68 washers 53 112 and nuts 75 see Illustration 1 2 3 Place on the cover caps 54 L R Secure with 4 round head screws 36 see Illustration 3 4 Mount the fixed...

Страница 15: ...42 5 ASSEMBLY INSTRUCTIONS STEP 6 69L 67L 66 1 Mount the pedals 67 L R to the pedal rods 69 L R Secure with 8 hex screws 66...

Страница 16: ...on the back of the computer 4 2 Connect the computer cables 3 4 Insert excess cable into the interior of the support tube 49 3 Fasten the computer with the previously loosened screws 2 to the computer...

Страница 17: ...rease the values for time distance calories and age or select a program and gender DOWN button Reduce the resistance level during workout In setting mode Decrease the values for time distance calories...

Страница 18: ...ur pulse place your palms on both contact surfaces 18 the computer will display your current pulse per minute IMPORTANT NOTES PRIOR TO WORKOUT MAINS INLET Connect the adapter 109 to a wall socket and...

Страница 19: ...evels and di erent intervals as shown in the picture on the next page PROGRAM SELECTION AND SETTINGS Select the desired program with the UP DOWN buttons and confirm with ENTER Use the UP DOWN buttons...

Страница 20: ...es for time distance calories and pulse Press the START STOP button to start exercising Once you have reached the target entered by you a signal will sound and the workout will stop Note The heart rat...

Страница 21: ...system will decrease the resistance level every 20 seconds Program of max heart rate Calculation of target heart rate P18 55 220 minus age x 55 P19 65 220 minus age x 65 P20 75 220 minus age x 75 P21...

Страница 22: ...49 6 USING THE COMPUTER PROGRAMS P18 TO P22 HEART RATE PROGRAMS OVERVIEW OF THE DISPLAY READINGS P18 55 P19 65 P20 75 P21 85 P22 User defined...

Страница 23: ...DOWN buttons to select program P23 confirm with ENTER Using the UP DOWN buttons you can enter the values for time distance watts calories and pulse one by one Confirm each entered value with ENTER Pre...

Страница 24: ...der 1 male 0 female and age Press START STOP to start the body fat measurement Make sure to securely hold the contact surfaces on the handle with your hands After measuring the computer LCD will displ...

Страница 25: ...ring of the product for any damage or jamming Check the movement range of the brake for any blockage Please contact our customer service E2 ERROR 2 The system cannot recall the program data from the m...

Страница 26: ...ll bolts nuts are complete and correctly attached before assembling and using the product Clean the unit regularly with a slightly damp cloth and a mild cleaning agent This is especially important for...

Страница 27: ...Plus org URL http www SportPlus org German national fixed line network call charges depend on your phone company your phone contract Please have the following information at hand when you call Operati...

Страница 28: ...r improper transport of the product The warranty period is 2 years beginning on the date of purchase If the product you have purchased is defective please contact our service team within 24 months fro...

Страница 29: ...N 2N 2 8 0 2 28 R 8 0 2 2 SA TBU 1 H 1 VH HS 7 WX 0 RRYYYSH HS 7 9 1 0 12 EE B Z56 E6Z 3E H Q 1H N N 2N 2 N R 22 2 0 21 SA _N HH 21 H 1 VH HS 7 91 O2 2 0 RRYYYSH HS 7 12 N1 HH1H 2J E3 B 63 C Z F3 1QQ...

Отзывы: