Installing the Code Composer Studio software
1. Code Composer Studio should be installed before
starting the hardware installation. Please refer to the
Code Composer Studio software installation guide for
the installation of Code Composer Studio. The
baseline Spectrum Digital emulation drivers are
included in CCS v4.2 and higher and these should be
installed.
2. Additional documentation is on the driver CD included
with your XDS560v2 STM product.
Configuring the Emulator Tail
1. The emulator tail is the physical interface between the
emulator and target board. The tail configuration will
consist of 3 parts:
- Emulator tail header
- Emulator tail header to MIPI 60 pin header
- MIPI 60 to target JTAG connector adapter:
MIPI 60 to 20 pin CTI –
installed at the factory
MIPI 60 to TI 14 pin
MIPI 60 to TI 60 pin
MIPI 60 to ARM 20 pin
2. The female JTAG header attached to the end of the
emulator tail plugs onto the target’s male pin header.
The figure below shows how the XDS560v2 STM
emulator header plugs onto the target’s JTAG header.
3. The figure below shows the factory installed
configuration, MIPI 60 to CTI20.
Installing the USB or Ethernet connection to the
host PC
This section provides instructions to install the XDS560v2
STM JTAG emulator using the USB or Ethernet interface.
1. Turn off the power to your target board.
2. The XDS560v2 STM may be connected to the host
PC by either Ethernet or USB. Connect the supplied
Ethernet or USB cable to your PC or laptop. The
XDS560v2 STM may be used with an Ethernet router
or
powered
USB hub.
3. Connect the other end of the Ethernet and/or USB
cable to the XDS560v2 STM.
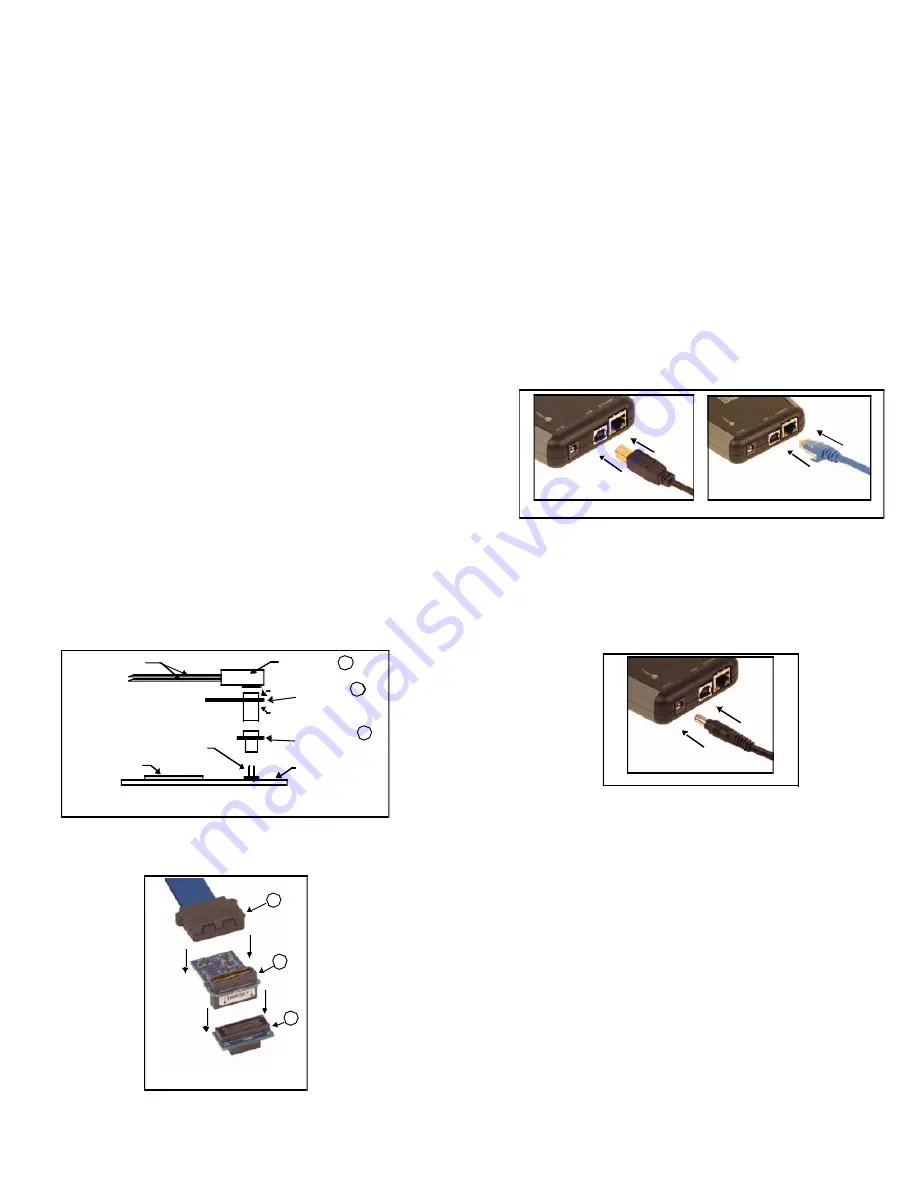
Connecting the Ethernet and/or USB Cable to XDS560v2 STM
4. Connect the in5 volt power supply to your
wall AC power source using the AC power cord.
5. Apply power to the XDS560v2 STM by connecting the
power supply to the +5 volt input on the XDS560v2
STM located on the rear of the emulator.
Target Board
DSP
Emulator Tails
Connecting the XDS560v2 STM
JTAG Emulator to the DSP Target Board
J2
J1
Tail Header
Header to
MIPI 60 Adapter
MIPI 60 to
Target JTAG
Adapter
Target JTAG
Connector
A
B
C
Applying Power to XDS560v2 STM
When power is connected the “PWR” LED on the
XDS560v2 STM should illuminate. After about 45
seconds LEDs “State 2” and “State 3” should come
on. At this point the XDS560v2 STM has booted its
operating system and is ready for connecting via USB
A
B
C
Tail plugs into MIPI60 which
plugs into CTI20 Adapter
or Ethernet.
If this is the first connection over the USB the
Windows Hardware Wizard should find the XDS560v2
STM and install its USB drivers.
512106-4001B Page 2 of 4
12502 Exchange Dr., Ste 440, Stafford, TX. 77477 T:281.494.4505, F:281.494.5310
www.spectrumdigital.com


