11
7.
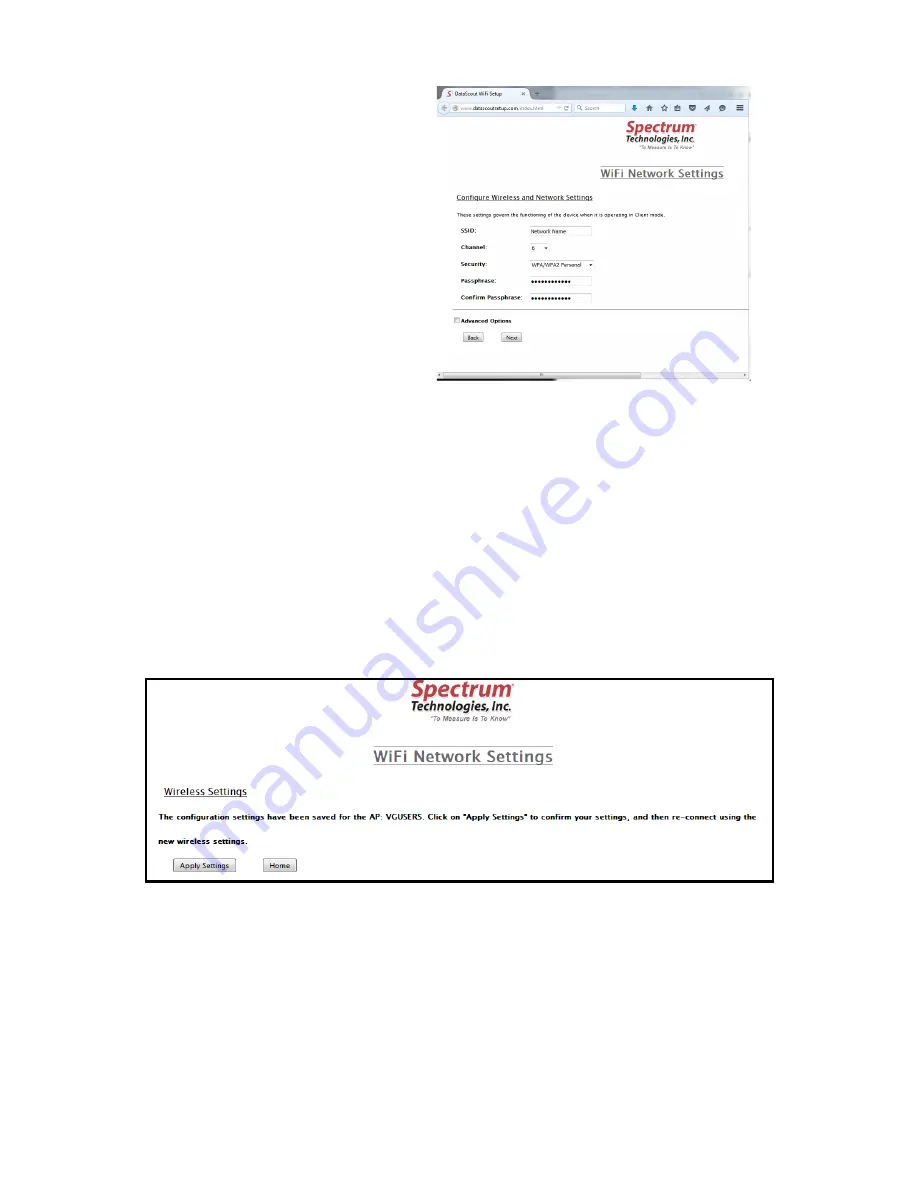
Only the Access Point
name (SSID) and pass-
phrase fields need to be
populated. The pass-
phrase is whatever is
set on the WiFi Access
Point. If either are en-
tered incorrectly, return
to step 1 to repeat the
Access Point Provision-
ing process. Once you
have entered the correct
information, click the
“
Next
”
button.
8.
Click the
“
Save
”
button on the Wireless Configuration Sum-
mary screen to bring up the Wireless Settings screen. Click
“
Apply Settings
”.
The DataScout will attempt to connect to
the WiFi network (the connection with your PC, smart phone
or tablet will be terminated). If successful, the LED will briefly
glow green. After 1 to 2 minutes the LED will flicker green
and then shut off. The PC will display a message that the
wireless settings have been saved. If the light is still blinking
amber after 3 minutes, the provisioning has failed. At this
point, quickly press and release the button to remove it from
provisioning mode. Return to step 1 to repeat the process.
9.
Perform the Signal/Comm test (see p. 13) to confirm the
DataScout modem is now communicating properly with the
network. If no connection is indicated, repeat the process
from step 1.
Содержание DataScout 3920
Страница 1: ...DataScout Modem PRODUCT MANUAL Items 3922 3923 3924 3920 and 3920S ...
Страница 22: ...22 ...
Страница 23: ...23 ...


