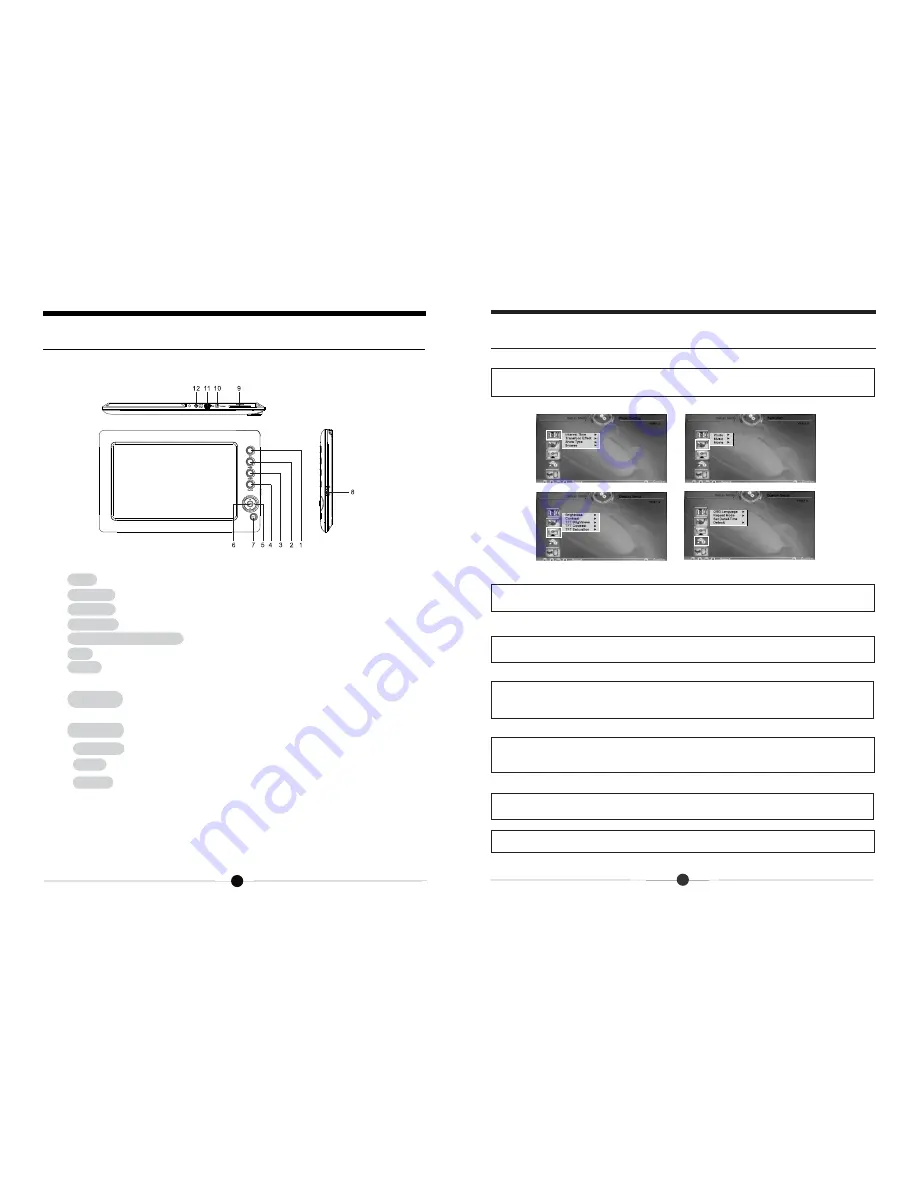
1. TXT:
press to enter the E-book reading mode directly.
2. MOVIE:
press to enter the video mode directly.
3. MUSIC:
press to enter the music and audio mode directly.
4. PHOTO:
press to enter photo slide show mode directly.
5. Navigation buttons:
press to move the cursor up/down/left/right.
6. OK:
press to enter or confirm.
7. EXIT:
press to return the previous menu.
8. OFF/ON:
turn the power on or off.
9. SD/MMC:
insert the SD/MMC cards.
10. PHONE:
insert the earphone.
11. USB:
connection of the USB cable from the unit to PC.
12. DC IN: i
nsert the AC power adapter to the unit for charging or use
from AC power
In the main menu, select the Setup menu, and press OK to enter into the Setup
Menu mode.
In the Setup Menu, use the navigation buttons to select the Photo Setting icon,
and set the Interval Time, Transition Effect, Show Type and Browse mode.
In the Setup Menu, use the navigation buttons to select the Auto-play icon, you
can set Photo/Music/Movie auto-play on or off.
In the Setup Menu, use the navigation buttons to select the Display Setup icon,
you can adjust the Brightness, Contrast, TFT Brightness, TFT Contrast, and FTF
Saturation.
In the Setup Menu, use the navigation buttons to select the Custom Setup icon,
you can select the OSD Language, Repeat mode, Set Date&Time, and Default
mode in the menu.
1. Use the navigation buttons to select the Exit icon, and press OK to return to
the Main Menu.
2. Press the EXIT on the unit to return the Main Menu.
19
Product Overview
Before Operation
NOTE: The unit may differ slightly in appearance with the
provided images.
Advanced Operations
Settings
Photo Setting
Auto-play
Display Setup
Custom Setup
Exit
6


