


7
4.2
Camera Setup
The NVR supports plug and play for IP cameras through the built-in PoE ports.
If desired, you can scan for IP cameras that are on the same local network through the EZ Camera feature.
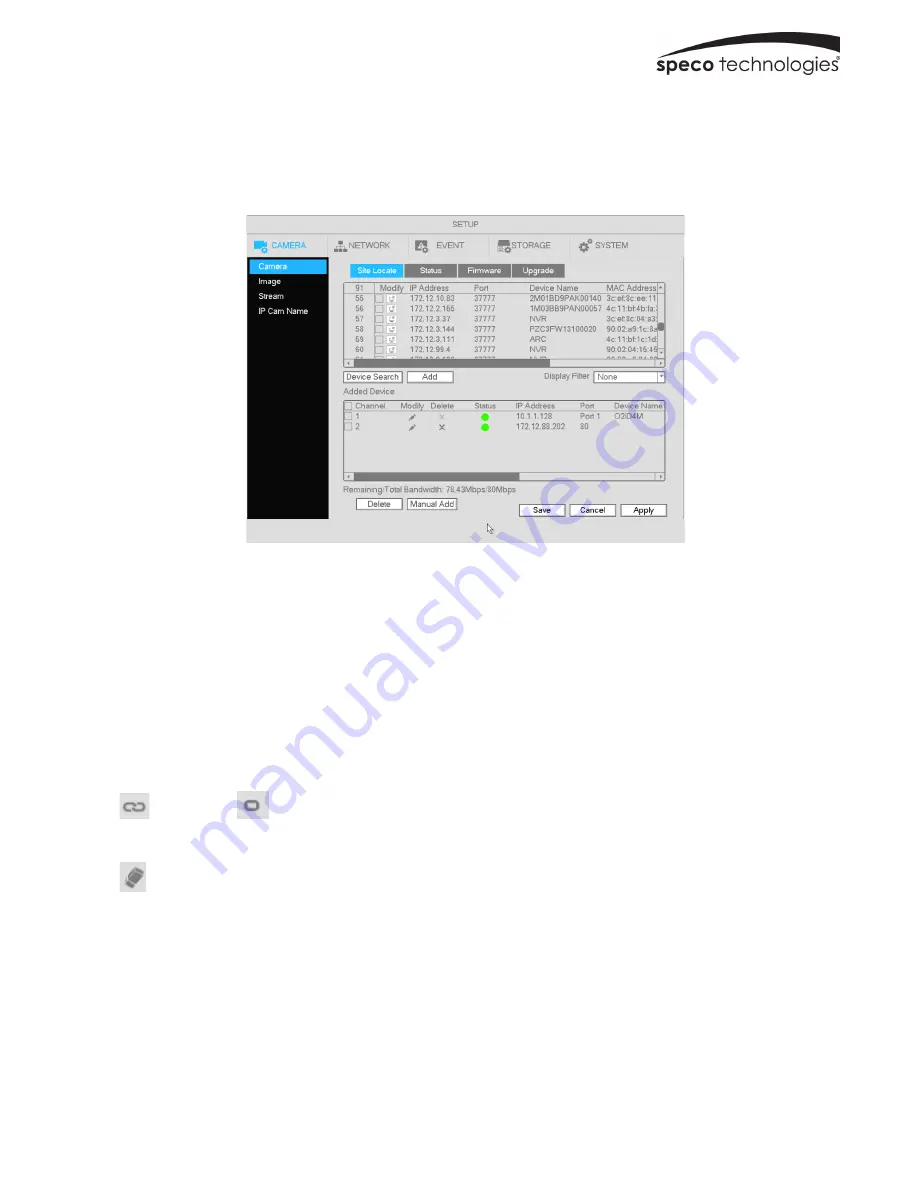
To add cameras, right click and then click on Main menu->Setup->Camera->Site Locate. See Figure 4-2.
Figure 4-2
Click Device Search to find cameras on the local network.
Double click on a camera to add it to the NVR.
4.3
Schedule Setup
To set up schedule recording, go to Main Menu->Setup->Storage->Schedule. See figure 4-3
!
Channel: Select the desired channel number first. You can select “all” if you want to set the schedule for all of the
channels.
"
: Select icon
of multiple days to link them together. This will allow the linked days to be edited
simultaneously.
"
: Click to delete the schedule for the selected recording type from one period.
!
Recording Type: Check the box of the desired recording type. There are three modes for recording: Continuous / Motion
detection / Sensor.
!
Week day: There are eight options: ranges from Saturday to Sunday and all.
!
Holiday: Special schedules can be set for holidays if needed. Holidays must be added manually. To add a holiday, go to
Main Menu->Setup->System->General->Holiday. This option will not be shown if no holidays have been added.
!
Pre-record: This option is to set up the pre-record interval for events. The range is from 1 to 30 seconds.
!
SD Backup: For supported IP camera models, the video can be recorded to an SD card in case the network connection
fails. The time range is from 0 to 43200 seconds. After the network connection resumes, the NVR will retrieve the video
from the SD card.


