


Hardware Assembly
All you need to get started using the Qwiic Shield for Thing Plus is to solder whichever headers you choose to the
shield and, if necessary, to your Thing Plus (or compatible board). If you have never worked with an Arduino
Shield before or need some tips, our Arduino Shields Tutorial provides detailed instructions on how to assemble
and use them.
Once you have soldered headers to your shield and connected it to your Thing Plus, it's time to start connecting
Qwiic devices! Below you can see the Qwiic Shield connected to a SparkFun Thing Plus - SAMD51 using the
Feather Stackable Header Kit along with a couple of Qwiic Devices chained to it.
Resources and Going Further
For more information, take a look at the resources below.
Schematic (PDF)
Eagle Files (ZIP)
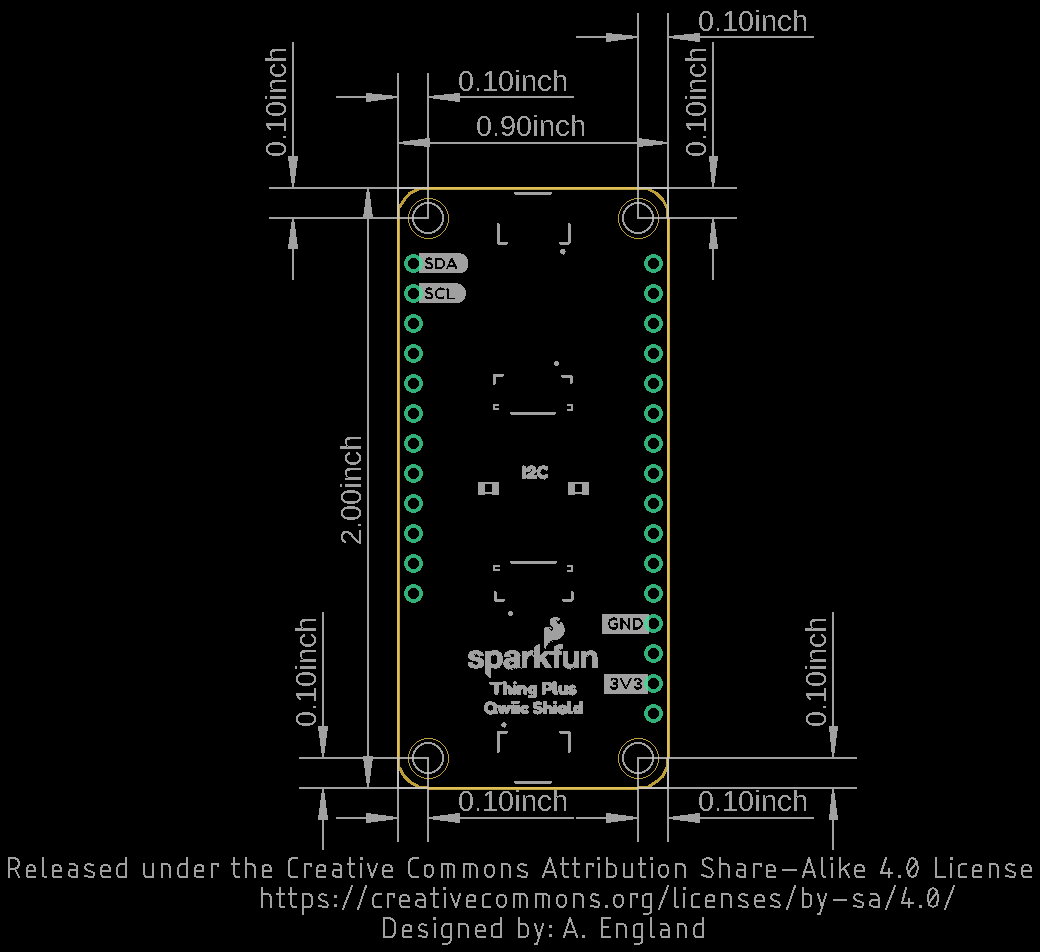
Board Dimensions
GitHub Repository
Qwiic System Landing Page
SFE Product Showcase
If you are having trouble getting your Qwiic devices to connect using your newly assembled Qwiic Shield, you may
want to take a look at these tutorials for help troubleshooting and reworking your shield.


