4
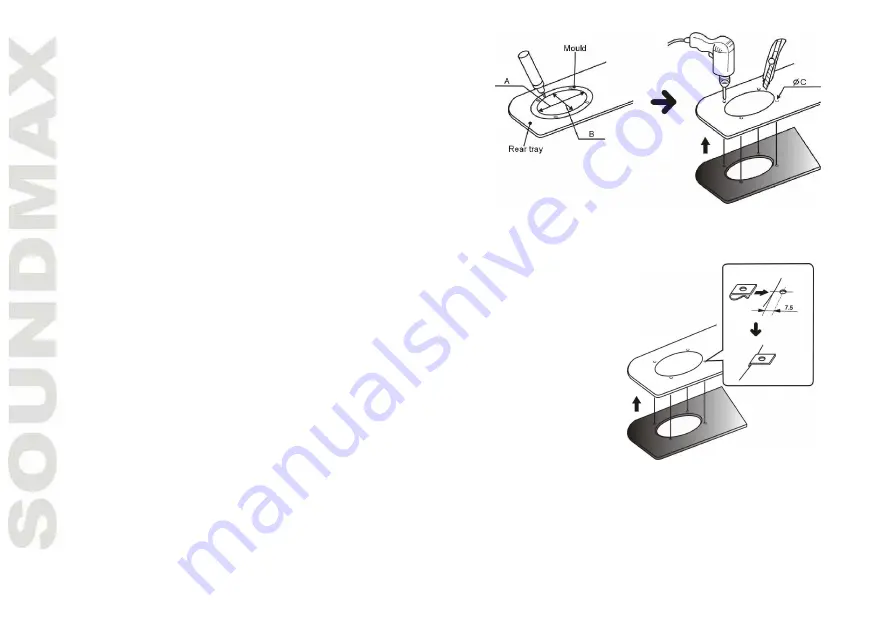
If it will be necessary to cut steel, reinstall the cosmetic
panel in place and use the hole you have previously cut as a
template. This will help to insure proper cutting and a good
fit. Now, mark the locations for the speakers mounting
screws, remove the panel and drill the screw holes. When
finished you may replace the panel.
After cutting and drilling all holes, inspect the mounting
areas for any metal burrs or rough edges. File any area that
may interfere with the mounting of the speaker.
Clean any metal shavings from the mounting area and
check for areas in which water may enter the speaker cavity.
Treat the area for water protection when necessary.
Securing the speakers
Position the speaker into the mounting hole and re-confirm the correct
mounting location and hole placement.
Screw clips are provided to ensure a snug fit. These should be placed over
the metal surface and line up the hole you have previously drilled with the
screw clip. Place the speaker into the hole, align the holes and proceed to insert
the screws. Be sure to tighten the screws evenly so that it will not warp the
speaker frame.
Turn your system back on and confirm the speakers operation first at a low
volume and then you may increase the volume as you desire.
Содержание SM-CSL502
Страница 1: ...SM CSL502 13 2 13 cm 2 way coaxial acoustic system Instruction manual...
Страница 6: ...6 2 8 8 1 8 x 8 x 8...
Страница 7: ...7...
Страница 8: ...8 130 5...
Страница 9: ...9...
Страница 10: ...10 490 1 MM 801 24 26 30 5 4 153 180 70 4 90 70 21000 138 5 49 0 38 SM CSL502_BMI 6273_IM_01...
Страница 11: ...5 15150 10 1 15150 2002 96 11...
Страница 13: ......
Страница 14: ......
Страница 15: ......
Страница 16: ......


