


11
GB
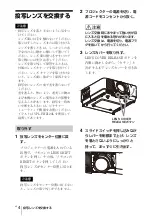
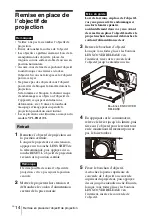
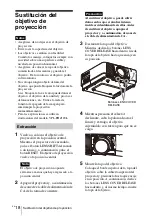
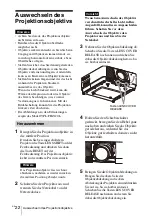
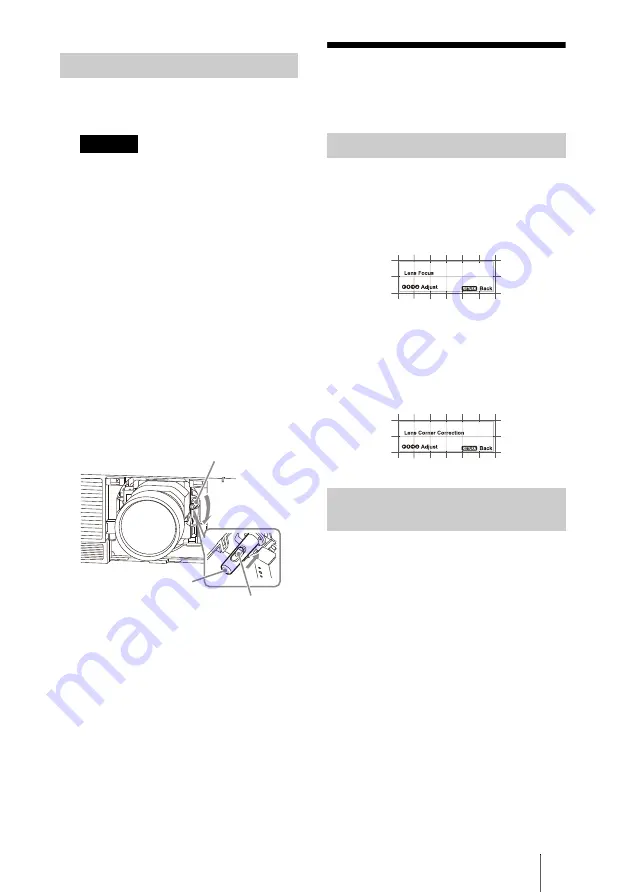
Adjusting the Projection Lens
1
Turn off the projector, then unplug the
AC power cord from the wall outlet.
When replacing the lens, your eyes may
be damaged if a strong light accidentally
gets into your eyes. Before replacing the
lens, turn off the projector and then
unplug the AC power cord.
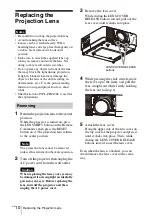
2
Remove the lens cover.
While sliding the LENS COVER
RELEASE buttons inward, pull out the
lens cover until it clicks into place.
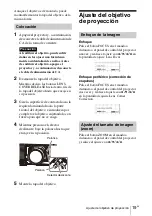
3
Turn the contact substrate to the left
facing the front of the lens and insert
the lens to the end while firmly
holding the lens not to drop it.
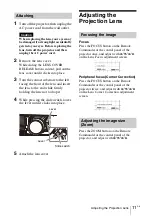
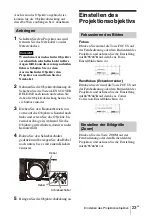
4
While pressing the slide switch, lower
the lever until it clicks into place.
5
Attach the lens cover.
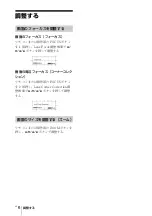
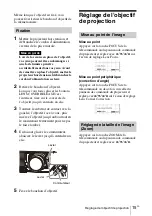
Adjusting the
Projection Lens
Focus
Press the FOCUS button on the Remote
Commander or the control panel of the
projector once, and adjust with
V/v/B/b
on the Lens Focus adjustment screen.
Peripheral focus (Corner Correction)
Press the FOCUS button on the Remote
Commander or the control panel of the
projector twice, and adjust with
V/v/B/b
on the Lens Corner Correction adjustment
screen.
Press the ZOOM button on the Remote
Commander or the control panel of the
projector, and adjust with
V/v/B/b
.
Attaching
Caution
Slide switch
Lever
Lever
Focusing the image
Adjusting the image size
(Zoom)
Содержание VPLL-Z4107
Страница 7: ......
Страница 32: ...Printed in Japan ...


