


17
Getting Started >
Connecting a Power Source
Connecting a Power Source
You can use either an AC adapter or a rechargeable battery pack for supplying power to your computer.
Using the AC Adapter
While your computer is directly connected to an AC power source and has a battery pack installed, it uses power from the
AC outlet.
✍
Use only the supplied AC adapter for your computer.
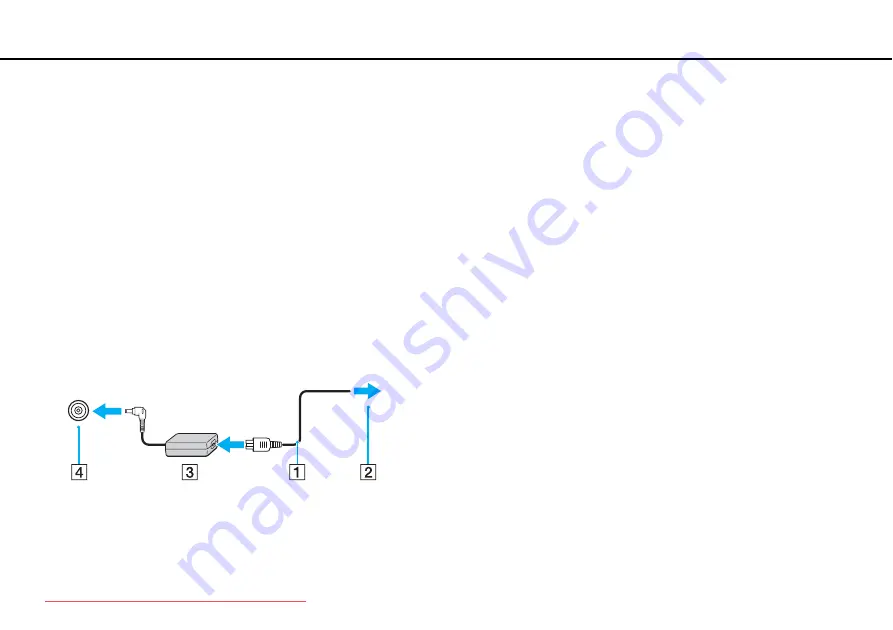
To use the AC adapter
1
Plug one end of the power cord (1) into the AC adapter (3).
2
Plug the other end of the power cord into an AC outlet (2).
3
Plug the cable from the AC adapter (3) into the DC IN port (4) on the computer.
!
The shape of the DC In plug varies depending on the AC adapter.


