background image

Removing the Printer Driver / Removing the Printer Driver

6

8

Click the [Continue Anyway] button.

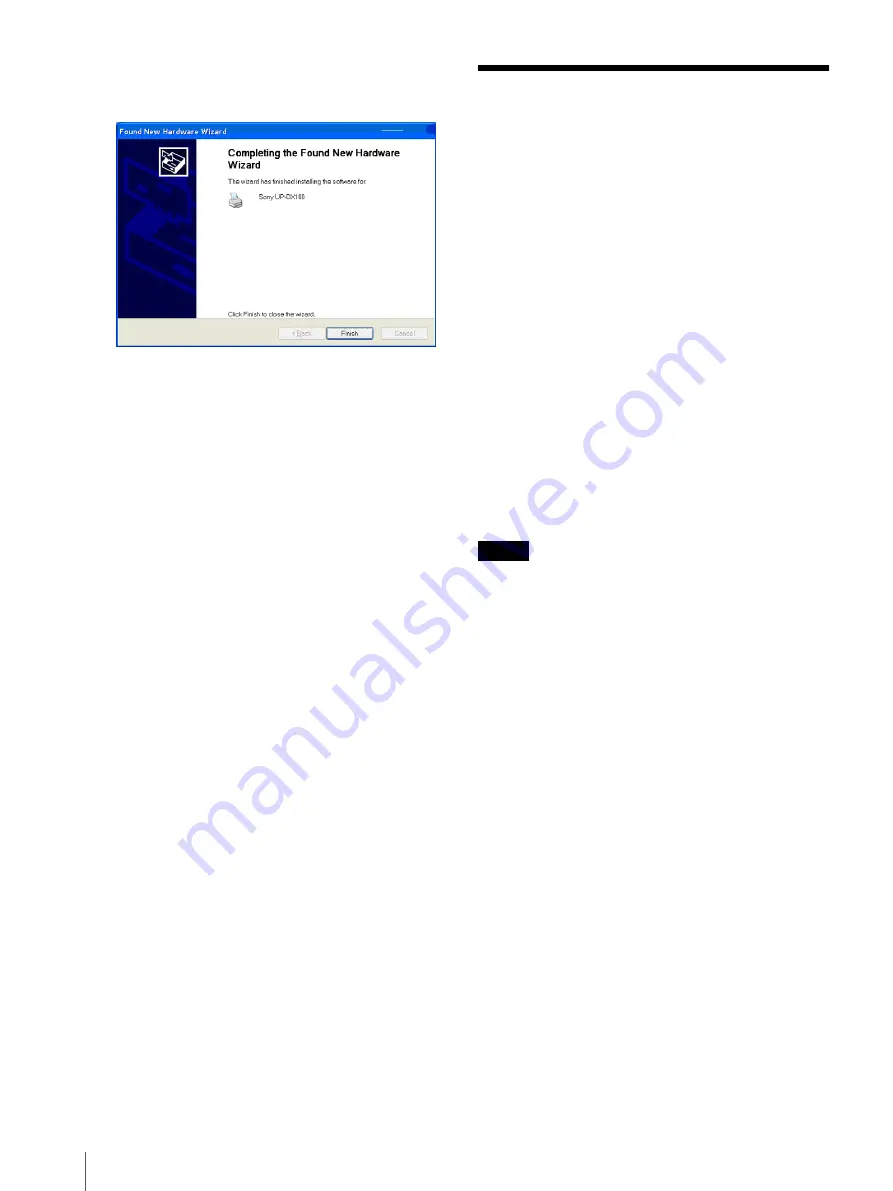
The screen changes as follows.

9

Click the [Finish] button.

10

Restart the computer.

This completes the installation of the printer driver.

Removing the Printer 
Driver

1

Open the [Printers and Faxes] folder in [Control 
Panel], right-click the UP-DX100 printer driver 
icon, and click [Delete] on the shortcut menu.

Repeat this operation for all the UP-DX100 icons in 
the window.

2

Select [Server Properties] from the [File] menu of 
the [Printers and Faxes] folder.

3

Click the [Drivers] tab, select [Sony UP-DX100] 
from the [Installed printer drivers] list, and then 
click the [Remove] button.

4

When the confirmation of deletion message 
appears, click the [Yes] button.

5

Restart your computer.

This completes the removal of the printer driver.

Note

Performing this procedure completely deletes the 
UP-DX100 printer driver from your computer.

Содержание UPD-X100

Страница 1: ...tallation Guide This guide describes installation and use of the Windows XP printer driver Before using the printer driver be sure to read the ReadMe file located on the CD ROM Before Using this Software 2003 Sony Corporation UP DX100 ...

Страница 2: ...n Upgrades 4 About Driver Signing Options 4 Installing the Printer Driver 4 Removing the Printer Driver 6 Using the Printer Driver 6 Paper Tab 6 Graphics Tab 7 Microsoft and Windows are registered trademarks of Microsoft Corporation Other company names and product names mentioned in this guide are also trademarks and registered trademarks ...

Страница 3: ...omputer when the printer is on make sure that the operation of your computer is not suspended or that it is not on stand by Connecting the UP DX100 to your computer when it is in one of the states above may make operation erratic Explanations in this Guide All the explanations requiring the use of Control Panel assume that you are using it in Classic View To switch to Classic View on the Start men...

Страница 4: ...he printer driver Unless you reboot unstable operation may result About Driver Signing Options The present printer driver has not passed Windows Logo testing therefore when you install the driver an error message may appear preventing you from installing the driver In the Driver Signing Options dialog box select Ignore or Warn in the What action do you want Windows to take group box If you select ...

Страница 5: ... The Device Manager window opens 4 Double click Universal Serial Bus controllers 5 Select USB Printing Support and on the Action menu click Uninstall 6 Restart your computer When Windows XP restarts the Found New Hardware Wizard dialog box opens 4 Select Install from a list or specific location Advanced and then click the Next button The screen changes as follows 5 Insert the provided SONY DIGITAL...

Страница 6: ...er icon and click Delete on the shortcut menu Repeat this operation for all the UP DX100 icons in the window 2 Select Server Properties from the File menu of the Printers and Faxes folder 3 Click the Drivers tab select Sony UP DX100 from the Installed printer drivers list and then click the Remove button 4 When the confirmation of deletion message appears click the Yes button 5 Restart your comput...

Страница 7: ... Copies Select the number of copies to print 1 to 9 Scaling Select the rate of enlargement or reduction 10 to 400 Graphics Tab Make settings related to the color brightness and image From the Color Adjust list select Digital Camera Correction Color Balance and Lightness and change each of their settings Digital Camera Correction From the Color Adjust list select Digital Camera Correction If you se...

Страница 8: ...lect Color Balance Adjust the color balance by dragging the sliders left or right or entering numbers in the input boxes Lightness From the Color Adjust list select Lightness Adjust the lightness by dragging the sliders left or right or entering numbers in the input boxes ...

Отзывы: