Op
erat
io
n
Scanning Pictures and Printing
10
How to Scan and Print Pictures
This section describes how to scan pictures, and then
print them.
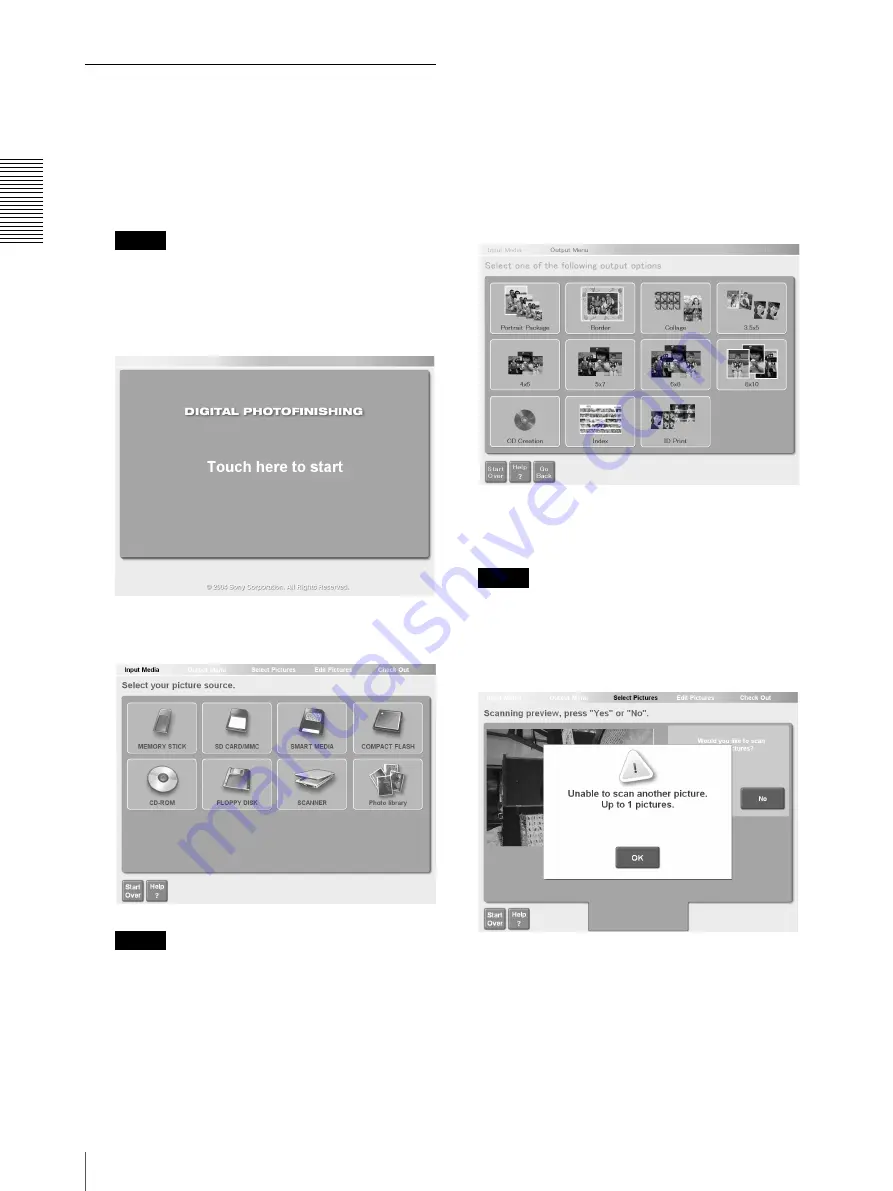
Selecting the Scanner as the Input Device
1
Touch the screen once.
Note
Depending on the settings made in the
Administration screen, the buttons appearing on the
screen that follows may vary. Touch the appropriate
button.
For details about see “[System] Tab” (page 43).
The media selection screen appears.
2
Touch [SCANNER].
Notes
The following buttons are available in this screen
and the screens that follow. Touch the buttons when
required.
• If you touch the [Start Over] button, a message
prompts you to verify that you want to
completely cancel the current operation and
return to the start screen. If you touch the [OK]
button, the display returns to the screen in step 1.
• [Help]. Touch to display online Help for a
description of procedures that apply to the current
screen.
Selecting the Output Service
Touch the appropriate button to select the output service.
For details, see “Output Services” (page 24).
For example, touch [5
×
7].
Scanning Pictures
Scan a picture. Repeat as many times as necessary.
Note
You can scan up to 999 pictures per order. However, if
you write the scanned pictures to CD-R, you can only
scan up to the number set [Scan Max for CD] in the
Administration screen.
For details, see “[Pricing] Tab” (page 39).
1
Follow the on-screen message and place the picture
in the scanner.
For details about how to position pictures for
scanning, refer to the scanner instructions.


