


Making Print Settings
11
Windows 2000
Making Print Settings
Before printing from an application, you should make
print settings on the print sheet.
To bring up the print sheet, access the [File] menu of the
application, select [Print], and select the printer from the
[Printers] popup menu.
Print settings include the number of copies to print, the
use of digital camera correction, color balance settings,
lightness, etc.
Setting the Number of Copies
1
Select the [Copies & Pages] popup menu in the
print sheet.
2
Set the number of copies in the [Copies] field.
The setting range is 1 to 100 copies.
Settings higher than 100 will result in 100 copies
being printed.*
* For some applications, settings higher than 100
may be allowed.
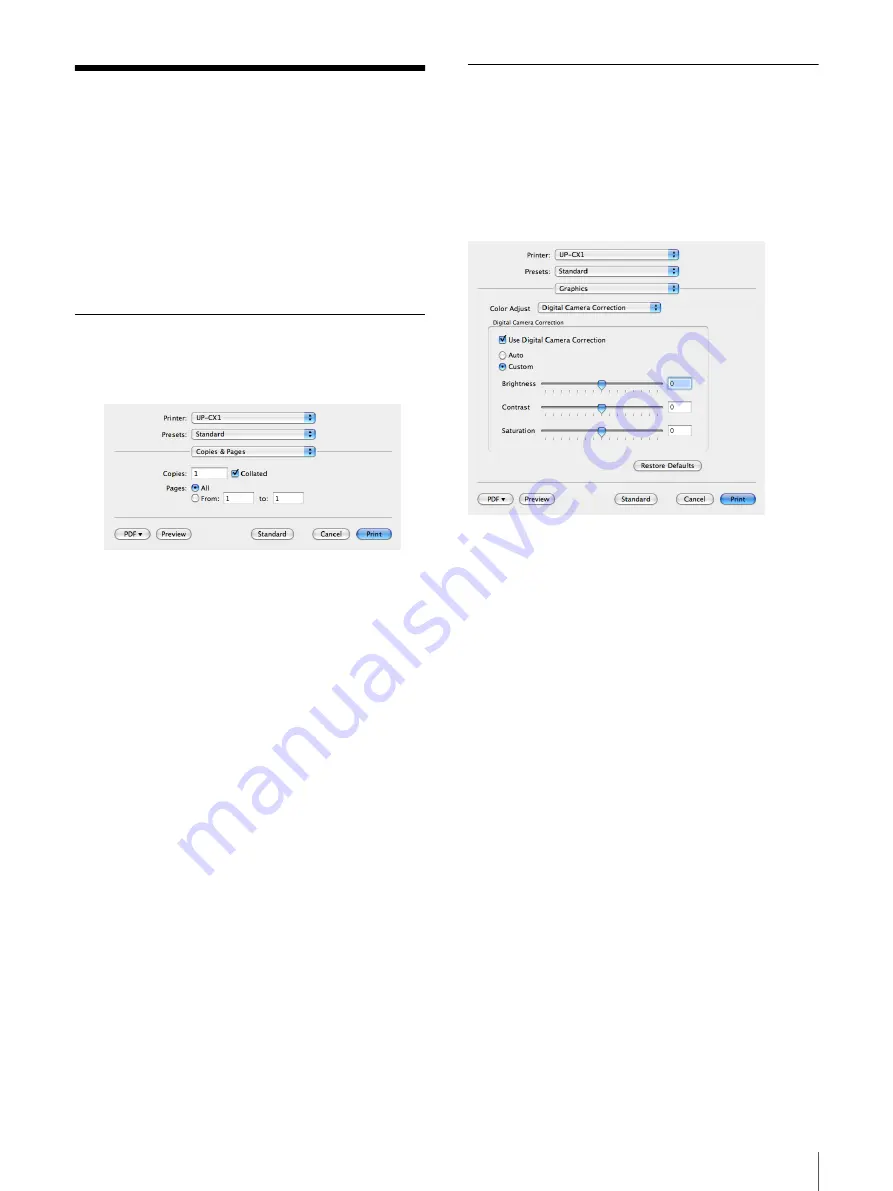
Setting the Graphics Attributes
Select the [Graphics] popup menu in the print sheet.
The settings for digital camera correction, color balance,
and lightness can be changed.
Digital camera correction
From the [Color Adjust] popup menu, select [Digital
Camera Correction]
When you select the [Use Digital Camera Correction]
check box, the settings become available.
• Selecting [Auto] will cause automatic processing for
optimum results.
• Selecting [Custom] causes the sliders for [Brightness],
[Contrast] and [Saturation] to become active. You can
also directly enter values in the edit boxes.
Click the [Restore Defaults] button if you wish to return
all digital camera correction settings to their default
condition.


