


Additional Operations
20
Operation (when
recording on this VCR)
You can make a copy of a tape using
this VCR for recording or playback.
The VCR cannot record TV
programmes directly since it does
not have a TV tuner.
Before you start editing
• Turn on your TV and set it to the
video channel.
1
Insert a source tape with its safety tab removed into the other
(playback) VCR. Search for the point to start playback and set it to
playback pause.
2
Insert a tape with its safety tab in place into this (recording) VCR.
Search for the point to start recording and press
X
PAUSE.
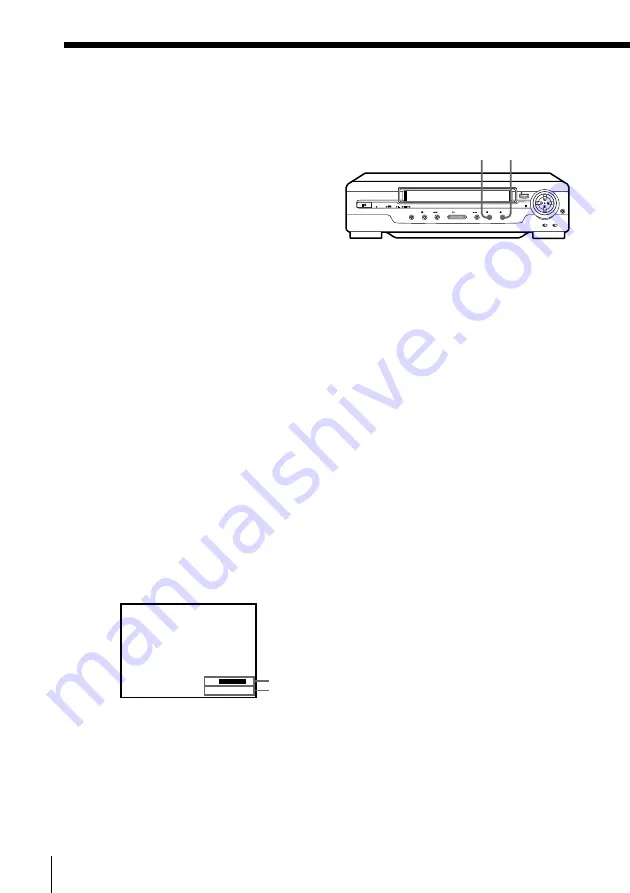
3
Press
z
REC on this VCR to set it to recording pause.
4
To start editing, press the
X
PAUSE buttons on both VCRs at the same
time.
To stop editing
Press the
x
STOP buttons on both VCRs.
To check the remaining tape length
Press DISPLAY.
The white bar indicates the approximate length of the tape recording.
Remaining tape length
Time counter
To turn the display off, press DISPLAY again.
Editing with another VCR (continued)
:
: 2
2
S
E
–
0 0
0
z
REC
X
PAUSE


