1-4
16
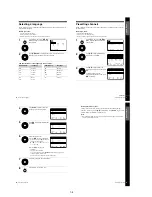
Selecting a language
Selecting a language
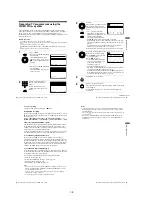
If you prefer an on-screen language other than English, use the on-screen display to
select another language.
Before you start
…
• Turn on the VCR and the TV.
• Set the TV to the video channel.
• Refer to “Index to parts and controls” for button locations.
The abbreviations of the languages are as follows:
1
Press MENU, then press
M
/
m
/
<
/
,
to highlight LANGUAGE SET
and press OK.
2
Press
M
/
m
/
<
/
,
to highlight the abbreviation of the desired
language from the table below, then press OK.
MENU
OK
PLAY
E X I T
M E N U
:
O K
:
S E T
S E L E C T
:
G B
I T
E S
D K
D E
N L
P T
F I
F R
G R
S E
OK
PLAY
Abbreviation
Language
GB
English
DE
German
FR
French
IT
Italian
NL
Dutch
GR
Greek
ES
Spanish
PT
Portuguese
SE
Swedish
DK
Danish
FI
Finnish
Abbreviation
Language
G
e
tting Star
te
d
17
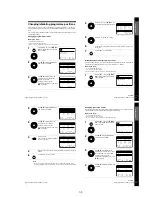
Presetting channels
Presetting channels
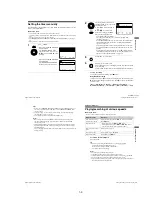
If some channels could not be preset using the Auto Set Up function, you can preset
them manually.
Before you start
…
• Turn on the VCR and the TV.
• Set the TV to the video channel.
• Refer to “Index to parts and controls” for button locations.
1
Press MENU, then press
M
/
m
/
<
/
,
to highlight INSTALLATION
and press OK.
2
Press
M
/
m
to highlight MANUAL
SET UP, then press
,
.
3
Press
M
/
m
to highlight the row
which you want to preset, then press
,
.
To display other pages for
programme positions 6 to 80, press
M
/
m
repeatedly.
MENU
OK
PLAY
E X I T
S E T
M E N U
:
:
O K
:
E N D
S E L E C T
A U T O S E T U P
M A N U A L S E T U P
C H 2 1
:
V C R O U T P U T C H
:
OK
PLAY
E X I T
M E N U
:
C L E A R
:
D E L E T E
S W A P P I N G
O K
T V S T A T I O N T A B L E
:
5
4
3
2
1
0
0
0
0
3
3
2
2
2
0
9
7
I
C
L
A
J
D
M
A
K
E
N
B
–
–
–
–
O F F
O F F
O F F
O F F
P R
C H
N A M E
D E C
OK
PLAY
M E N U
:
O K
:
E N D
S E L E C T
M A N U A L T U N I N G
P R
:
5
C H
:
– – –
M F T
:
–
N A M E
:
– – – –
:
S E T
:
E X I T
continued
G
e
tting Star
te
d
19
Presetting channels
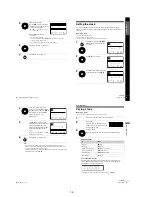
If the picture is not clear
If the picture is not clear, you may use the Manual Fine Tuning (MFT)
function. After step 4, press
M
/
m
to select MFT. Press
<
/
,
to get a clear
picture, then press MENU to exit the menu.
Note
• When adjusting MFT, the menu may become difficult to read due to interference
from the picture being received.
18
Presetting channels
4
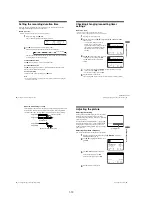
Press
<
/
,
repeatedly until the
channel you want is displayed.
5
Press
M
/
m
to highlight NAME, then
press
,
.
6
Enter the station name.
1
Press
M
/
m
to select a character.
Each time you press
M
, the character
changes as shown below.
A
t
B
t
…
t
Z
t
0
t
1
t
…
t
9
t
A
2
Press
,
to set the next
character.
The next space is flashed.
To correct a character, press
<
/
,
until the character you want to
correct is flashed, then reset it.
You can set up to 4 characters for the station name.
7
Press OK to confirm the station name.
8
Press MENU to exit the menu.
OK
PLAY
M E N U
:
O K
:
E N D
S E L E C T
M A N U A L T U N I N G
P R
:
5
C H
:
0 3 3
M F T
:
–
N A M E
:
– – – –
:
S E T
:
E X I T
OK
PLAY
M E N U
:
O K
:
E N D
S E L E C T
M A N U A L T U N I N G
P R
:
5
C H
:
0 3 3
M F T
:
–
N A M E
:
– – – –
:
S E T
:
E X I T
OK
PLAY
M E N U
:
O K
:
E N D
S E L E C T
M A N U A L T U N I N G
P R
:
5
C H
:
0 3 3
M F T
:
–
N A M E
:
O
– – –
:
S E T
:
E X I T
OK
PLAY
MENU
Содержание SLV-SE210B
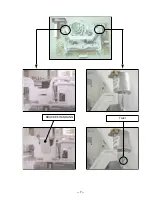
Страница 7: ... 7 BRACKET HANDLING Twist ...
Страница 8: ... 8 MEMO ...
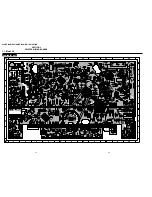
Страница 24: ...SLV SE210B SE210D SE210G SX110A SX110B SECTION 3 PRINTED WIRING BOARDS 3 1 3 2 3 1 Main PCB COMPONENT SIDE ...
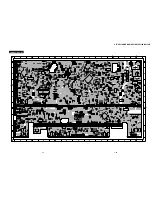
Страница 25: ...SLV SE210B SE210D SE210G SX110A SX110B CONDUCTOR SIDE 3 3 3 4E ...
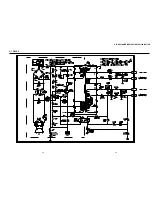
Страница 27: ...SLV SE210B SE210D SE210G SX110A SX110B 4 1 S M P S Œ 4 3 4 4 ...
Страница 28: ...SLV SE210B SE210D SE210G SX110A SX110B 4 2 Power 4 5 4 6 ...
Страница 29: ...SLV SE210B SE210D SE210G SX110A SX110B 4 3 System Control Servo ˇ ˆ 4 7 4 8 ...
Страница 30: ...SLV SE210B SE210D SE210G SX110A SX110B Æ Ú Ò Ô ı 4 4 Audio Video 4 9 4 10 ...
Страница 31: ...SLV SE210B SE210D SE210G SX110A SX110B 4 5 TM Block 4 11 4 12 ...
Страница 32: ...SLV SE210B SE210D SE210G SX110A SX110B 4 6 OSD VPS PDC 4 13 4 14 ...
Страница 33: ...SLV SE210B SE210D SE210G SX110A SX110B 4 7 SECAM SLV SE210B SX110B model 4 15 4 16 ...
Страница 34: ...SLV SE210B SE210D SE210G SX110A SX110B 4 8 Input Output 2 Scart Jack 4 17 4 18 ...
Страница 35: ...SLV SE210B SE210D SE210G SX110A SX110B 4 9 Input Output 1 Scart Jack 4 19 4 20 ...
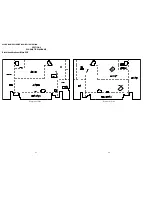
Страница 37: ...SLV SE210B SE210D SE210G SX110A SX110B 4 23 4 24E ...


