Using the System Recovery CD(s)
Your system may take a few minutes to load necessary files. A blue screen appears during the downloading process.
1.
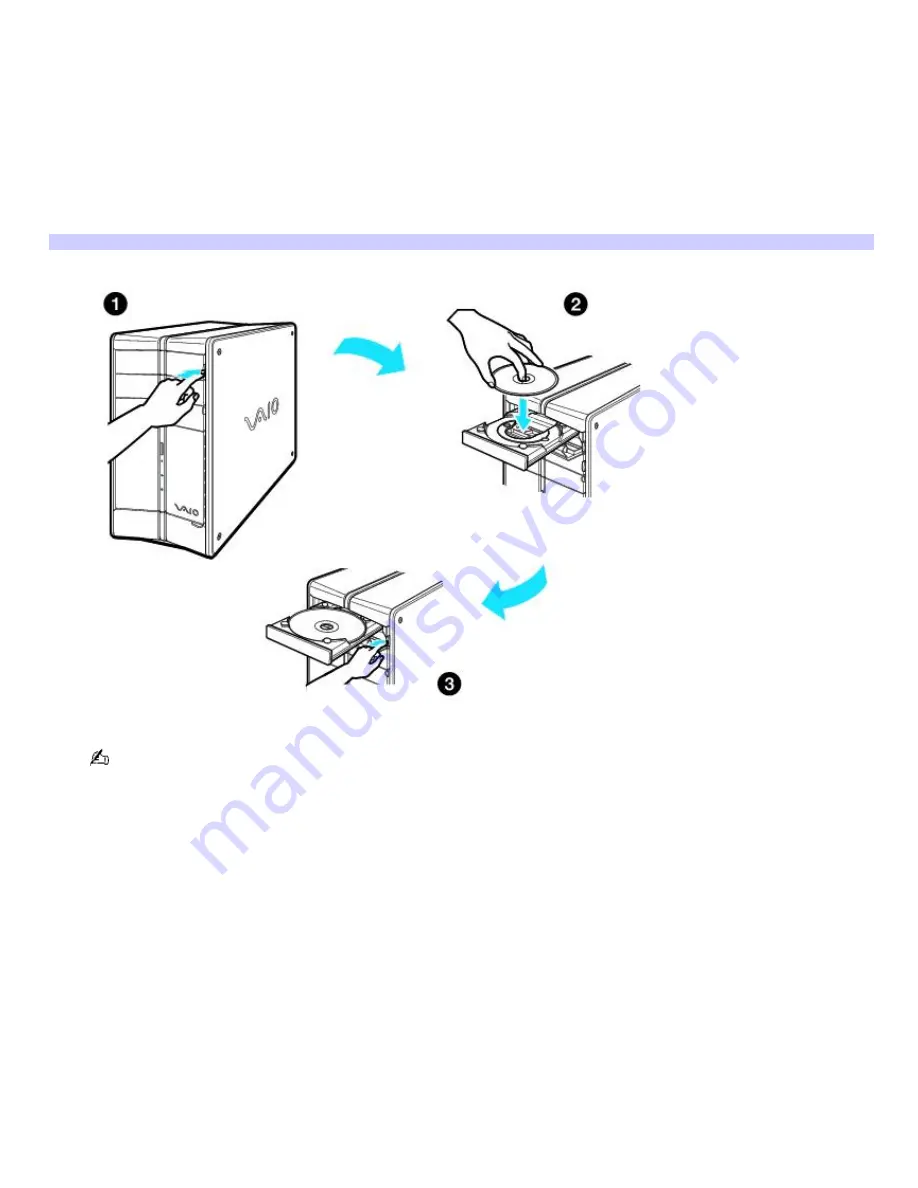
Press the disc eject button to open the optical disc drive and extend the disk tray.
2.
Insert the System Recovery CD (CD #1) in your computer's optical drive.
3.
Press the disc eject button to close the optical disk drive tray.
The System Recovery utility starts from the optical drive. The first CD must be in the drive when you turn on your
computer.
Inserting the System Recov ery CD (PCV- RZ series m odel shown)
If your system is equipped with two optical drives, insert the System Recovery CD into the upper optical drive.
4.
Turn off your computer.
5.
Wait 30 seconds and turn on your computer. Your screen displays the downloading progress, "Starting VAIO
Recovery Utility."
6.
When the VAIO System Recovery Utility dialog box appears, click
Next
.
7.
The Notes on Use window appears. Click
Next
.
8.
On the Main Menu - Product Recovery window, select the appropriate option to recover your system.
Follow the on-screen instructions to complete the recovery process.
Your system may include one or more System Recovery CDs. If you have more than one System Recovery CD, insert the first
CD to run the System Recovery program. You are prompted to insert the next CD(s) once the information from the first CD
has been installed.
The recovery process takes approximately 30 to 60 minutes to complete.
After recovering your system using the System Recovery CD(s), you may be prompted to insert your Application Recovery
CD(s) after restarting Windows. Use the Application Recovery CD(s) to complete full restoration of your system.
Page 50


