41
Note
When you erase a track mark between the two
consecutive tracks that are assigned into
different groups, the second track is re-assigned
into the group containing the first track. In
addition, if you combine a track that is assigned
to a group with a track that is not assigned to a
group (two consecutive tracks), the second
track takes the same group assignment as the
first track.
Erasing tracks and a
whole disc contents
(Erase)
You can erase unnecessary tracks or all
tracks on a disc.
Notes
•
You cannot erase tracks that have been
checked out from your computer. You cannot
erase an entire disc if it contains a checked-out
track. In this case, check in the track or tracks
to the computer.
•
When you erase groups, see page 49.
To erase a track
Note that once a recording has
been erased, you cannot retrieve it.
Make sure of the track you are
erasing.
1
While playing the track you want to
erase, press MENU.
2
Press
.
or
>
repeatedly until
“EDIT” appears in the display, and
then press ENTER.
3
Press
.
or
>
repeatedly until
“Erase” appears in the display, and
then press ENTER.
4
Press
.
or
>
repeatedly until
“T : Ers” appears in the display, and
then press ENTER.
“Erase?” and “ENTER” appear
alternately in the display.
5
Press ENTER.
The track is erased and the next track
starts to play. All the tracks after the
one erased are automatically
renumbered.
To erase a part of a track
Add track marks at the beginning and the
end of the part you want to erase, then
erase the part (page 39).
To return the preceding
settings
Press
x
.
To cancel erasing
Press MENU.
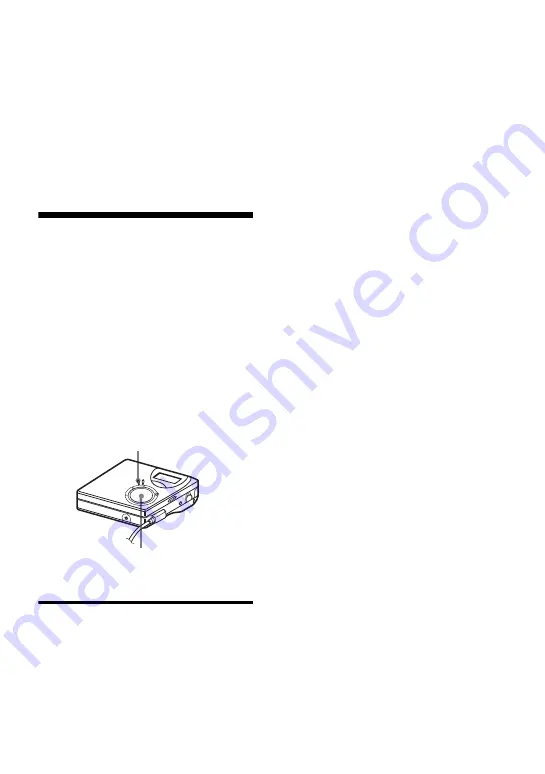
MENU
4-way control key
(
.
,
>
,
x
)


