


1-6
14
Adjusting the color temperature
(COLOR)
The COLOR settings allow you to adjust the picture’s color
temperature by changing the color level of the white color field.
Colors appear reddish if the temperature is low, and bluish if the
temperature is high.
9300K is generally suitable for word processing and other text
oriented applications, and 6500K is generally suitable for video
images.
You can set the color temperature to 9300K, 6500K, 5000K or
user adjustment.
1 Press the MENU button.
The main menu appears on the screen.
2 Press the
M
(+)/
m
(–) buttons to select
(COLOR)
and press the OK button.
3 Press the
M
(+)/
m
(–) buttons to select the desired
color temperature and press the OK button.
The preset color temperatures are 9300K, 6500K, and 5000K.
Since the default setting is 9300K, the whites will change
from a bluish hue to a reddish hue as the temperature is
lowered to 6500K and 5000K.
4 If necessary, fine tune the color temperature.
First press the
M
(+)/
m
(–) buttons to select ADJUST and
press the OK button. Then press the
M
(+)/
m
(–) buttons to
select R (Red) or B (Blue) and press the OK button, and then
press the
M
(+)/
m
(–) buttons to adjust the color temperature
and press the OK button. Since this adjustment changes the
color temperature by increasing or decreasing the R and B
components with respect to G (green), the G component is
fixed.
To change the GAMMA setting
You can select the GAMMA setting from [1] - [3]. The highest
setting is [3].
1 Press the MENU button.
The main menu appears on the screen.
2 Press the
M
(+)/
m
(–) buttons to select
(COLOR)
and press the OK button.
The COLOR menu appears on the screen.
3 Change the GAMMA setting.
First press the
M
(+)/
m
(–) buttons to select ADJUST and
press the OK button. Then press the
M
(+)/
m
(–) buttons to
select GAMMA and press the OK button, and then press the
M
(+)/
m
(–) buttons to select [1] -[3] and press the OK button.
If you fine tune the color temperature or change the GAMMA
setting, the new setting is stored in memory for USER
ADJUSTMENT and automatically recalled whenever USER
is selected.
To return to the main menu
Press the
M
(+)/
m
(–) buttons to select
, then press the OK
button.
Changing the menu’s position
(MENU POSITION)
You can change the menu position if it is blocking an image on
the screen.
1 Press the MENU button.
The main menu appears on the screen.
2 Press the
M
(+)/
m
(–) buttons to select
(MENU
POSITION) and press the OK button.
3 Press the
M
(+)/
m
(–) buttons to select the desired
position and press the OK button.
There are three positions each for the top of the screen and the
bottom of the screen, and one for the screen center.
R
1 6 8
G
1 7 0
B
GAMMA
1
2
3
1 7 5
EX I T
USE R AD J UST
T
MEN
R
1 6 8
G
1 7 0
B
GAMMA
1
2
3
1 7 5
EX I T
USE R AD J UST
T
MEN
15
GB
Resetting the adjustments (RESET)
This monitor has the following two reset methods. Use the
RESET menu to reset the adjustments.
1 Press the MENU button.
The main menu appears on the screen.
2 Press the
M
(+)/
m
(–) buttons to select
0
(RESET)
and press the OK button.
Reset the settings according to the following instructions.
Resetting the adjustment data most appropriately
for the current input signal
Press the
M
(+)/
m
(–) buttons to select SCREEN RESET
and press the OK button.
The automatic picture quality adjustment function of this monitor
automatically adjusts the picture position, phase, and pitch, to the
most appropriate value.
The RESET menu is automatically returned to the main menu
after the adjustment data is reset.
Resetting all of the adjustment data
Press the
M
(+)/
m
(–) buttons to select ALL RESET and
press the OK button.
The RESET menu is automatically returned to the main menu
after the adjustment data is reset.
To cancel resetting
Press the
M
(+)/
m
(–) buttons to select
and press the
OK button.
The RESET menu returns to the main menu without resetting the
adjustment data.
Additional settings (Option)
You can adjust the following options:
• BACKLIGHT
• POWER SAVE
• LANGUAGE
• MENU LOCK
1 Press the MENU button.
The main menu appears on the screen.
2 Press the
M
(+)/
m
(–) buttons to select
m
.
The option menu appears on the screen.
3 Press the
M
(+)/
m
(–) buttons to select the desired
option item and press the OK button.
Adjust the selected option item according to the following
instructions.
Adjusting the backlight
If the screen is too bright, adjust the backlight.
First press the
M
(+)/
m
(–) buttons to select
(BACKLIGHT) and press the OK button. Then press
the
M
(+)/
m
(–) buttons to adjust the desired light level.
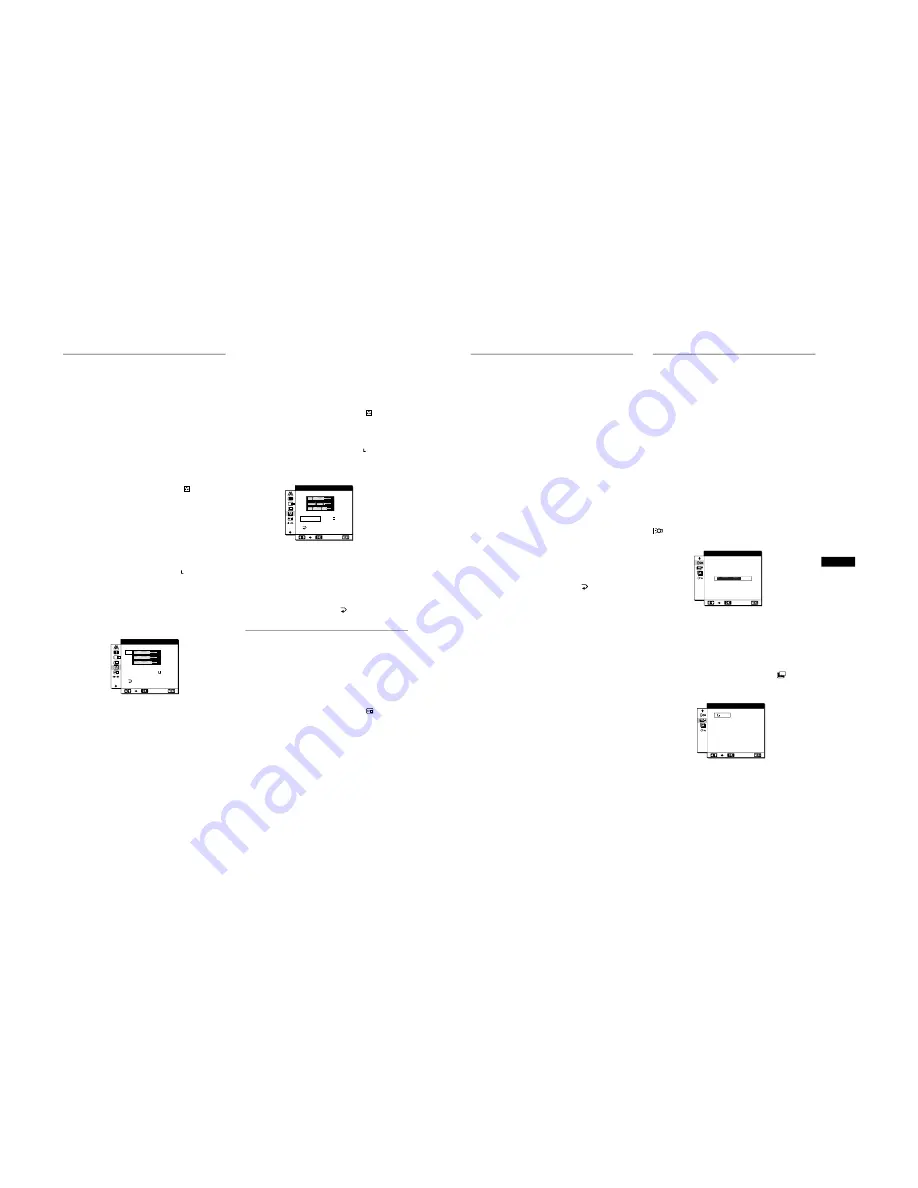
Setting up the power saving mode
This monitor has a function which enables it to enter the power
save mode automatically according to the power saving settings
of the computer. You can prevent the monitor from entering the
power saving mode by setting the following option to OFF.
For more information of the power saving mode, see page 17.
First press the
M
(+)/
m
(–) buttons to select
(POWER
SAVE) and press the OK button. Then press the
M
(+)/
m
(–) buttons to select either ON or OFF.
0
1 0
EX I T
BAC K L I GH T
ZZ...
EX I T
POWER S A
ON
OF F
V E
(continued)
Содержание Multiscan SDM-M51
Страница 22: ...SDM M51 3 4 MEMO ...
Страница 29: ... J1 BOARD Conductor Side j1 j2 J2 BOARD Conductor Side 4 13 ...


