KDL-32R434A 11
SECTION 3 - REPAIR INFORMATION
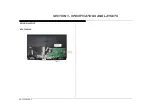
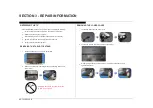
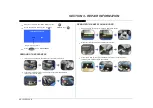
REPLACING THE MAIN BOARD
The Main Board used in these models is available for repair. For Part
Number information refer to
Section 4 - Exploded View/Part Number
Information on page 15.
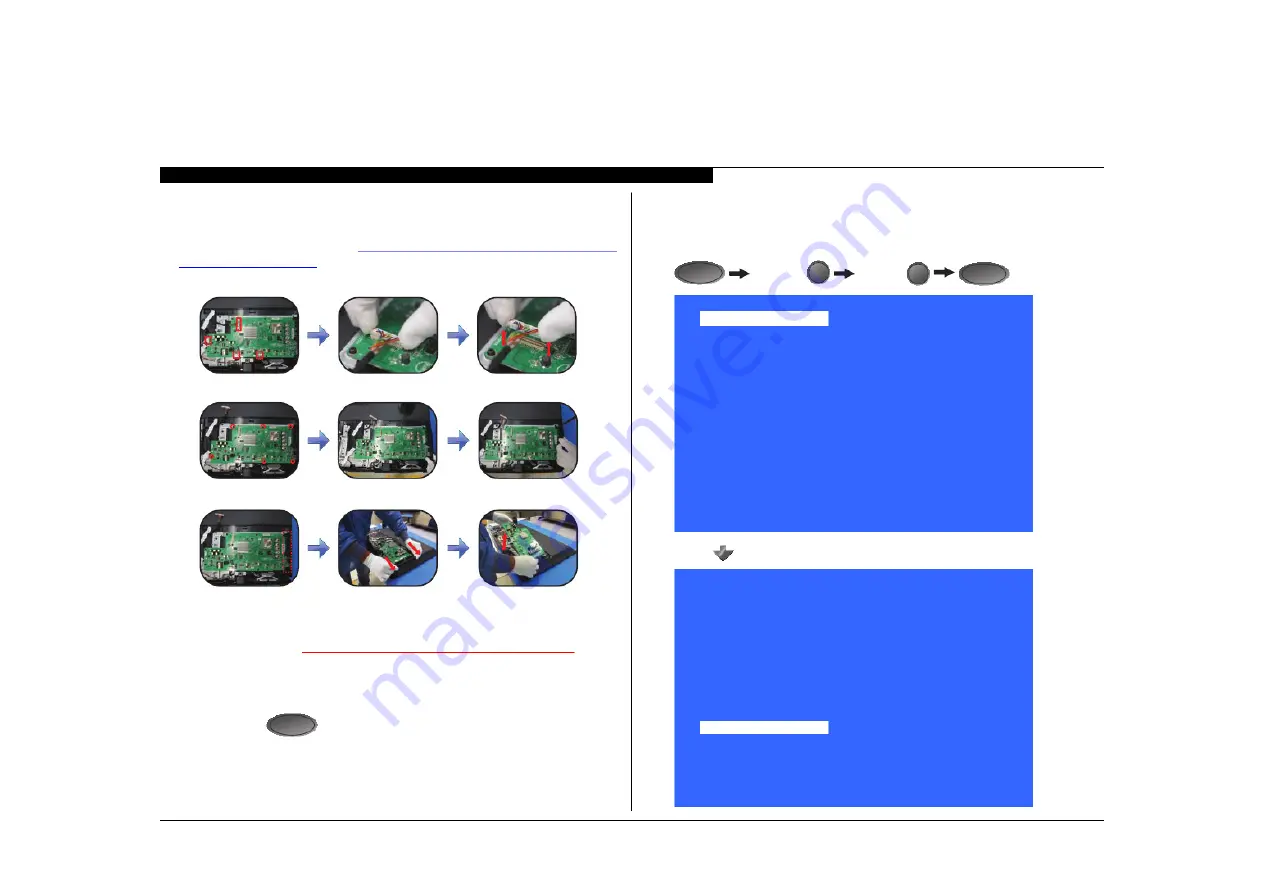
1. Disconnect all connectors from the Main Board.
2. Remove 6 screws from Main Board and Side Bracket.
3. Slide Side Bracket, then lift Main Board to detach.
4. Install the new Main Board, screws and all connectors.
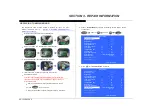
5. Update the Software.
After ALL repairs UPDATE the SOFTWARE to the latest version.
Instructions are included with the Software package on the Sony
Authorized website.
a. Insert the USB device with the latest Software into the TV.
b. Press
POWER
to turn on the TV.
c. Wait until the Software update is complete and TV turns OFF.
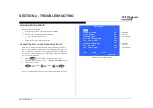
6. Access
Service Mode
by pressing the following buttons within 1 second
of each other:
DISPLAY
Channel
5
Volume
+
POWER
Sound Adjustment
>>
Wide Band Tuning
>>
Range Scan'
>>
Self diagnosis history
>>
Status Information'
>>
LVDS Spectrum(%0)
<[
30
]>
Low of HPD
<[
5
]>
TVD_MCDONE_CNT
<[
20
]>
Demo Special
>>
Bypass AVI Info Detect
<[
On
]>
Panel Selection
<[ 192_TPT315B5-XVN03
]>
UART Selection
No Log
SERIAL NUMBER EDIT
MODEL NAME EDIT
[</>]Set [Home] Exit
Service Mode
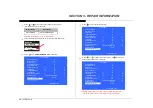
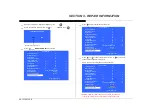
7. Press
until
Panel Selection
is selected.
Sound Adjustment
>>
Wide Band Tuning
>>
Range Scan'
>>
Self diagnosis history
>>
Status Information'
>>
LVDS Spectrum(%0)
<[
30
]>
Low of HPD
<[
5
]>
TVD_MCDONE_CNT
<[
20
]>
Demo Special
>>
Bypass AVI Info Detect
<[
On
]>
Panel Selection
<[ 192_TPT315B5-XVN03
]>
UART Selection
No Log
SERIAL NUMBER EDIT
MODEL NAME EDIT
[</>]Set [Home] Exit
Service Mode

