46
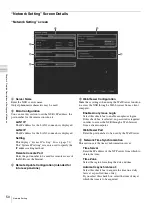
Recording Setting
Cha
p
te
r 4
Det
a
iled Des
c
ript
ion
s
of
Set
tings
and
Win
d
o
w
s
Making Settings Related to
Recording
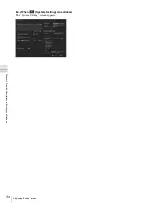
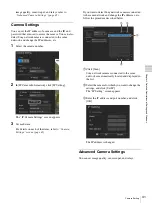
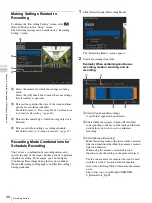
To display the “Recording Setting” screen, click
(Record Setting) in the “Setup” screen.
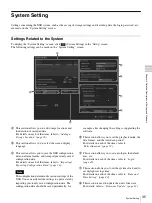
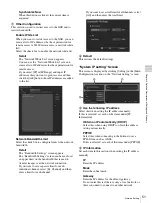
The following settings can be made on the “Recording
Setting” screen.
A
Select the camera for which the settings are being
made.
Select the [All] check box to make the same settings
for all cameras at one time.
B
This section specifies the days of the week and time
periods for recording schedules.
For details, refer to
for Schedule Recording” (page 46)
C
This sets the sensitivity at which moving objects are
detected.
D
This is used when setting a recording schedule.
For details, refer to
“Setting a Schedule” (page 47)
Recording Mode Combinations for
Schedule Recording
You can use a combination of recording modes, and
specify the days of the week and time periods to perform
schedule recording. For example, you can configure
[Continuous Recording] during the day on weekdays,
[Motion Recording] during nights, and [No Recording]
during weekends.
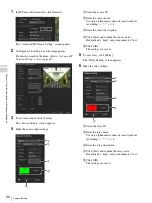
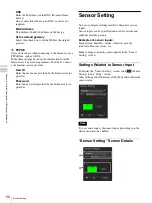
1
Click [Details] under [Recording Mode].
The “Recording Mode” screen appears.
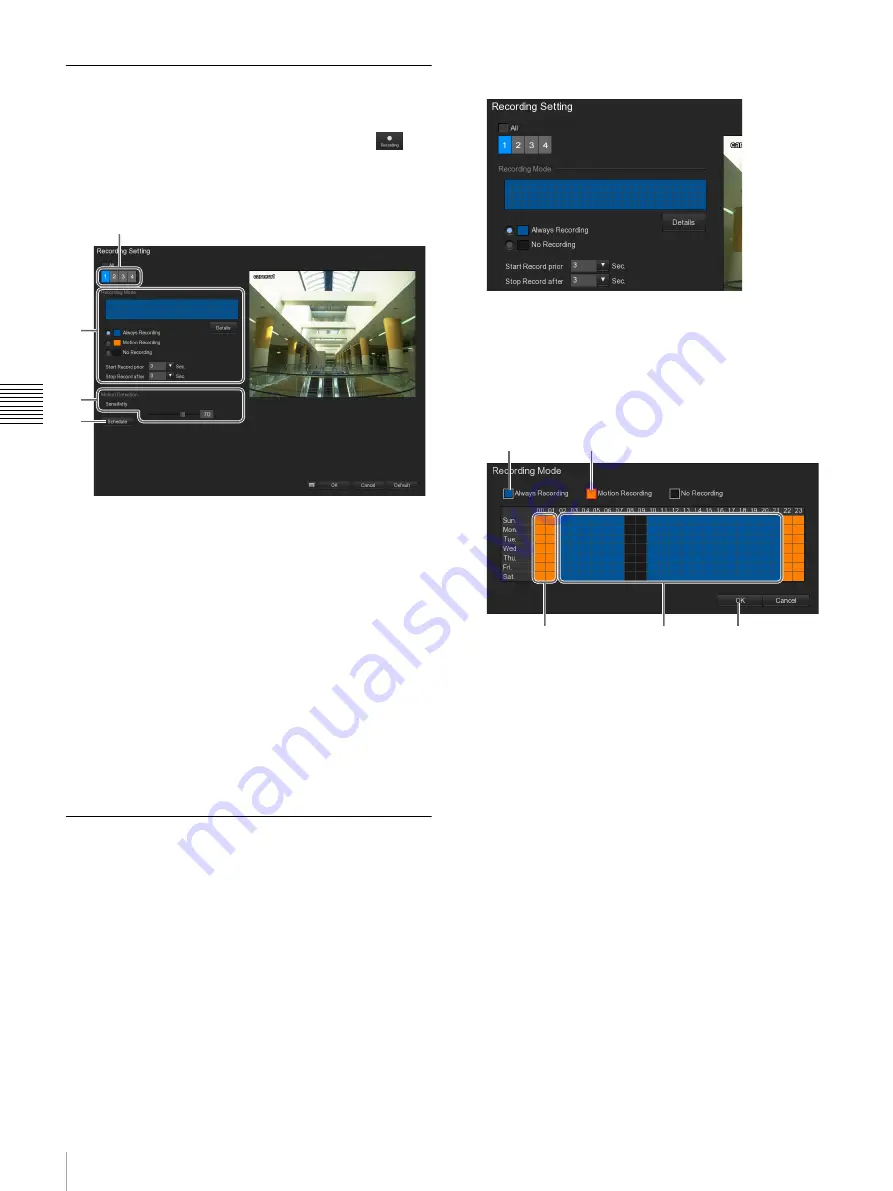
2
Create a recording time table.
Example) When combining continuous
recording, motion recording, and no
recording
1
Select [Continuous Recording].
A red border appears when selected.
2
Click within the squares (which will turn blue)
corresponding to the days of the week and the time
periods that you wish to set to continuous
recording.
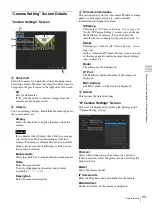
3
Select [Motion Recording].
Make this setting when using the recorder’s motion
detection function rather than the camera’s motion
detection function.
When using the camera’s motion detection
function, make the setting on the camera instead.
See the release notes for cameras that can be used
with the recorder’s motion detection function.
Access the following URL to download the release
notes.
http://www.sony.co.jp/Products/NSR/NSR-
S_ReleaseNote_E.pdf
A
B
D
C
4
2
5
1
3
Содержание Ipela NSR-S10
Страница 67: ......

