


22
GB
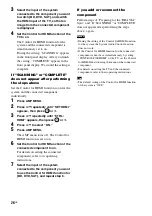
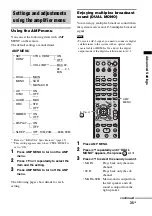
Enjoying satellite tuner
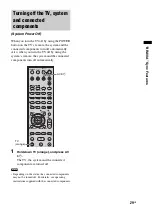
1
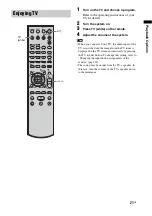
Turn on the TV.
Refer to the operating instructions of your
TV for details.
2
Turn the satellite tuner and the system
on.
3
Press SAT on the remote.
4
Change the TV input.
Refer to the operating instructions of your
TV for details.
5
Adjust the volume of the system.
• The sound may be output from the TV’s speaker. In
this case, turn the volume of the TV’s speaker down
to the minimum.
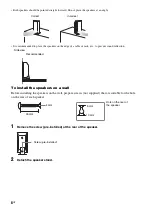
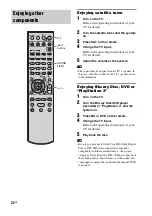
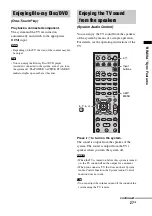
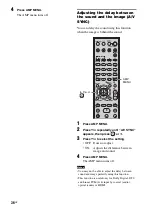
Enjoying Blu-ray Disc, DVD or
“PlayStation 3”
1
Turn on the TV.
2
Turn the Blu-ray Disc/DVD player
(recorder) or “PlayStation 3” and the
system on.
3
Press BD or DVD on the remote.
4
Change the TV input.
Refer to the operating instructions of your
TV for details.
5
Play back the disc.
• Even if you play back Dolby True HD, Dolby Digital
Plus or DTS HD with a connected component
compatible with these sound formats, the system
accepts as Dolby Digital or DTS. When you play back
these high-quality sound formats, set the connected
component to output the sound in multi channel PCM,
if possible.
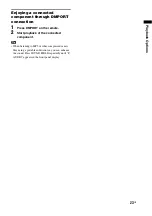
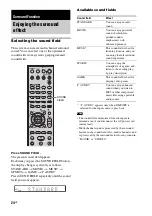
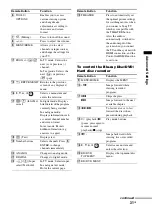
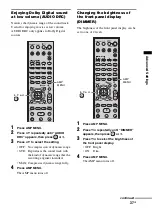
Enjoying other
components
1
2
3
4
6
7
8
0
ENTER
9
THEATRE
TV
?/1
AV
?/1
TV
BD
DVD
SAT
TOP MENU MENU
BD/DVD
RETURN/EXIT
TV
F1
F2
AMP MENU
CLEAR
DISPLAY
SOUND
FIELD
LEVEL
MODE
A/B
DIGITAL
ANALOG
DMPORT
?/1
PROG -
PROG +
F
G
g
f
.
H
m
M
X
x
<
<
>
5
SYSTEM STANDBY
MENU/HOME
TOOLS/
OPTIONS
?/1
2
+/–
Input
buttons
SOUND
FIELD
Tip
Tip
Содержание HT-FS1
Страница 1: ...Home Theatre System 2008 Sony Corporation 4 108 142 11 1 HT FS1 Operating Instructions ...
Страница 45: ......
Страница 46: ......
Страница 47: ......
Страница 48: ...Sony Corporation Printed in China 1 ...