32
Controlling the On-board Functions
When you specify the size and the part of the source
picture to be displayed by setting the width, height,
horizontal position, and vertical position of the
cropped picture, the cropped picture is downconverted
and output so that it fits the HD picture size.
To enter a new value
Besides entering a numeric value, you can increase or
decrease a value in increments of 1 by clicking the
respective arrow to the side of the slide bar. If you hold
down the Shift key on the keyboard, the value
increases or decreases in units of 10 with each click on
an respective arrow. To increase or decrease the value
in units of 50, click the respective arrow while holding
down the Shift key and Control key on the keyboard.
To restore a value to its default, double-click the slide
bar.
The downconverter settings are applied to the output from
the AUX OUTPUT connectors.
In addition to performing step
2
in
in
, set the following
item.
In the table below, the default setting is indicated by an
asterisk (*).
If “Auto” or “Manu” is selected, be sure to click the SET
button after performing a setting.
When “Manu” or “Manu(i)” is selected, the monitor
picture may not be displayed properly if the size of the
source picture determined by the ASPECT setting and the
size of the playback picture do not match. To avoid this
problem when playing a tape containing pictures of
various sizes, select “Auto.”
Lookup Table (LUT) Settings
It is possible to load lookup table (LUT) files to the LUT
banks of the VTR using the web application.
The eight LUT banks provided in the VTR are used to
store LUTs that are used for importing, exporting, and
monitor signal output through the AUX OUTPUT
connectors.
LUT files stored in the banks are maintained even after the
VTR is turned off.
The bit depth of LUT files can be applied 8, 10, 12, and 16-
bit data. Note, however, that the lower four of 16 bits are
ignored because of the hardware’s 12-bit process.
On the contrary, when the bit depth of the input data is 8 or
10, the signal is linearly interpolated into 12-bit data.
For details on applicable LUT file formats, see “LUT File
Formats Applicable to This Board” in “Appendix”.
1
Access the VTR from the web client to display the web
application, click the VTR SETUP menu select button,
and then click the LUT tab.
The LUT tag display appears.
MODE
Specifies whether to allow a
change in the aspect ratio of the
cropped picture.
Keep Aspect
*
: The aspect ratio of
the cropped picture is
maintained. Blank sections in
the picture are displayed in
black.
Variable Aspect: The aspect ratio
changes according to the
cropped picture size and
output picture size (HD).
REF IMAGE
Loads the reference image (DPX
or CIN file) and displays it as the
source picture.
FLIP
Specifies how reference images
are flipped.
H FLIP: Reference images are
flipped horizontally.
V FLIP: Reference images are
flipped vertically.
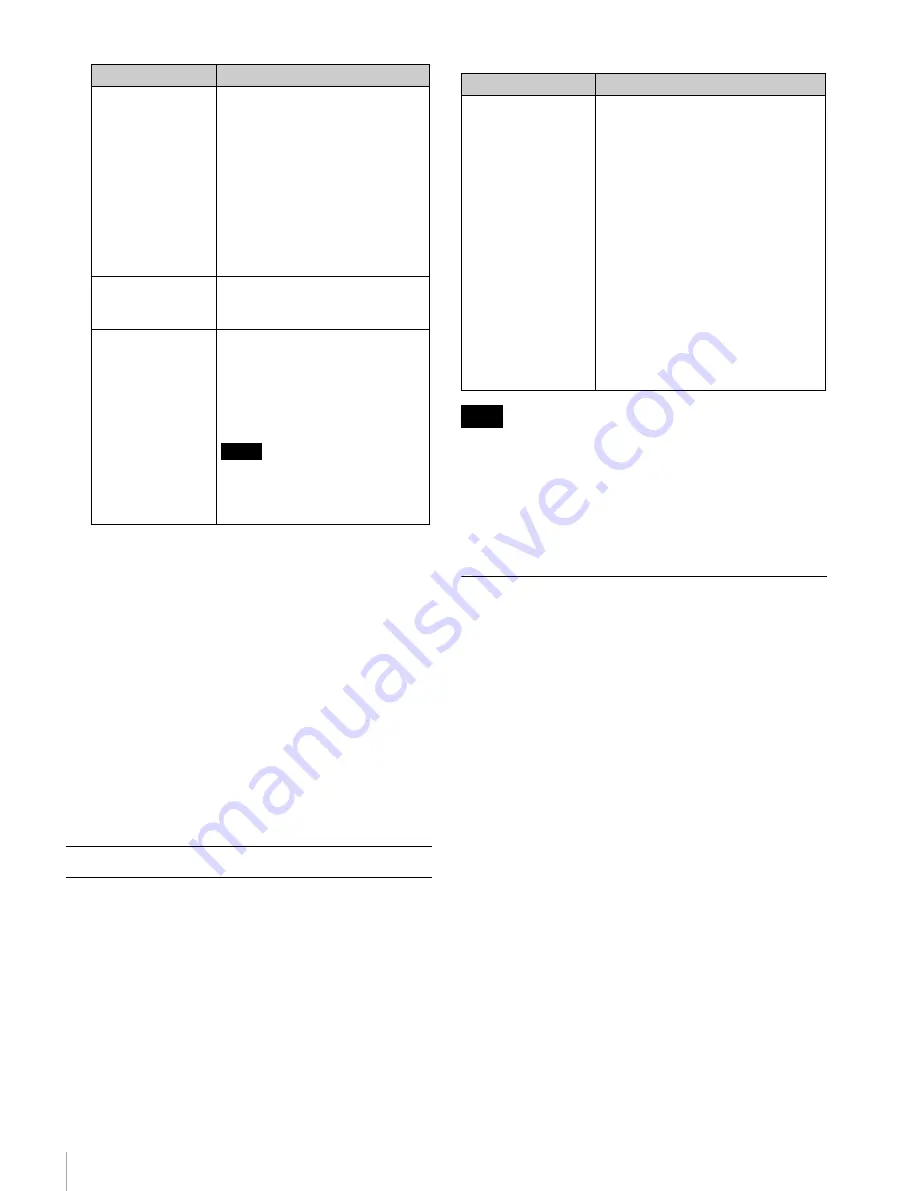
Note
This setting affects only reference
images. Main picture files to be
imported or exported are not
flipped.
For uncompressed data
Item
Function/settings
Item
Function/settings
MON DC
Selects the downconverter setting
that is applied to the monitor output.
Auto
*
: Settings that match the size
of the source picture are
automatically applied. At this
time, the settings in the table
under “For compressed data”
become
ineffective.
Manu: The settings in the table under
“For compressed data”
are applied to the
monitor output when you click
the SET button.
Manu(i): Any changes made to the
settings in the table under “For
compressed data”
are applied to the monitor output
immediately.
Note


