0
0
oPeRaTIonal ConVenIenCe
The HDR-FX1000 is designed to be very compact and lightweight,
for a high level of mobility in the field. It weighs approximately 4 lb
9 oz (2.1kg)
3
with Lens hood and Lens cover.
Compact and lightweight Design
The design of the HDR-FX1000 is based on years of Sony
experience in camera ergonomics and provides ease of use
and operational comfort.
ergonomic Design
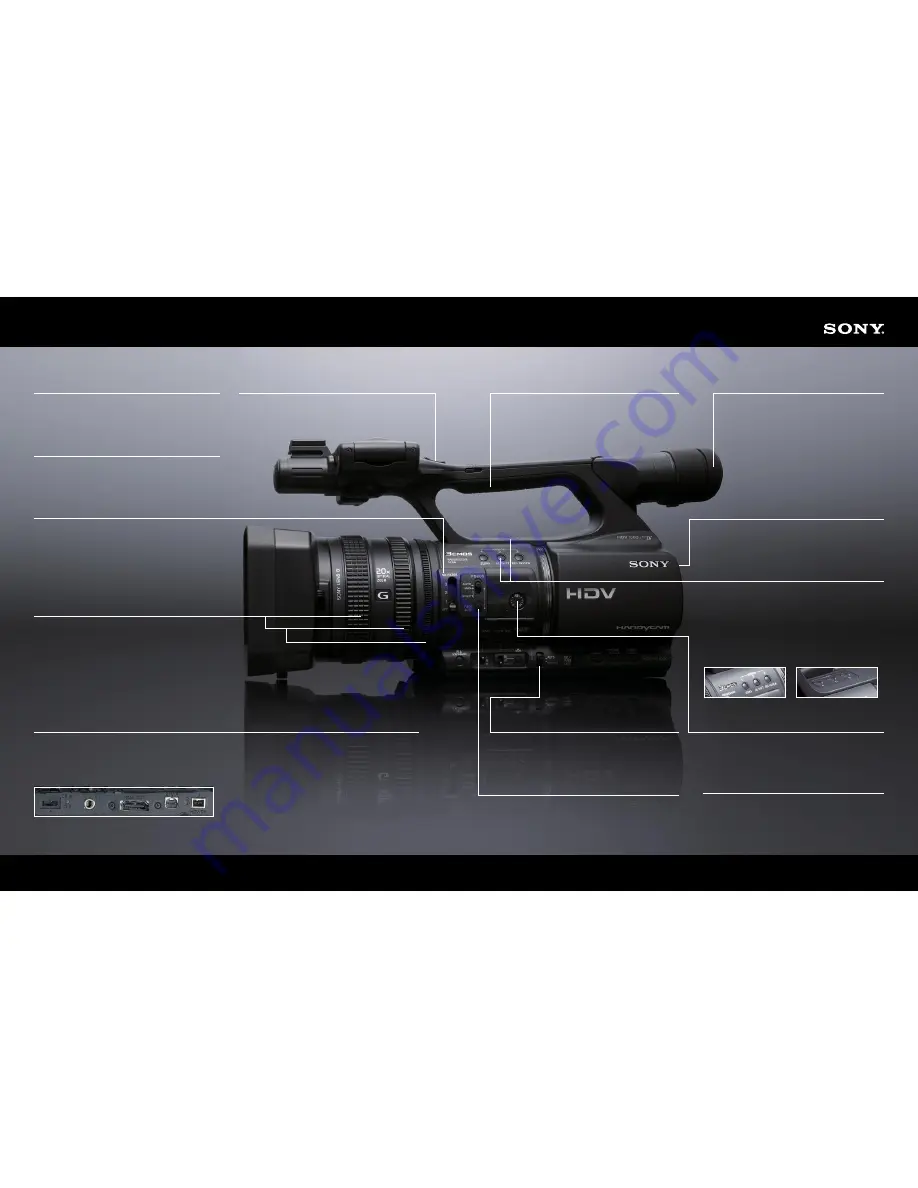
In order to facilitate zoom control and recording operations
during low-angle shooting, an additional zoom lever and a record
start/stop button is available. Fixed speed zoom and VAR mode
are also available on this On-Handle Zoom feature.
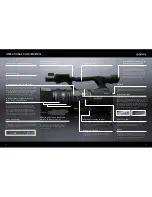
on-Handle Zoom lever and
Record start/stop button
The one-push auto focus button, which is used for temporary
auto focus adjustments, make it easy to attain focus when in
manual mode.
one-push af button
The audio level dial is located on the side of the HDR-FX1000
where it is easy to adjust. The audio level can easily be
switched between manual and auto modes.
audio level Dial
Gain more color control in extreme settings with three built-in ND
filters for adjusting the amount of light entering the Image Sensor
through the lens. Depending on shooting conditions, the operator
can choose from Clear, 1/4, 1/16, or 1/64 filters. In strong, glaring
sunlight these filters give users more flexibility in choosing the
shutter speed and aperture for superior creative control.
x built-in neutral Density (nD) filters
The HDR-FX1000 has three independent manual rings (zoom,
focus and IRIS) for superior control and flexibility while filming
which make it easier to promptly make adjustments to meet
shooting needs. The IRIS ring allows you to adjust the aperture
to attain optimal brightness and express beautiful depth of
field shots, highlighting a subject while blurring a foreground
or background. Exposure can also be assigned to the IRIS ring
enabling the camera to automatically select the optimal IRIS, gain
or shutter speed, seamlessly enabling adjustment of exposure.
x Manual Rings for superior Control:
Zoom, focus, and IRIs filters
A large space is offered on the bottom of the HDR-FX1000’s
handle for secure carrying of the camcorder, even when
wearing gloves.
Carrying Handle
The side grip is located near the HDR-FX1000 camcorder’s center
of gravity. By tilting it to the front by approximately 10 degrees, it
lightens the load on the operator’s wrist during shooting.
side Grip
The HDR-FX1000 features a high-resolution 0.45"
Xtra Fine (approximately 1,227K pixels) (852 x
3[RGB] x 480) View Finder that offers extra clear
visibility in wide-screen aspect ratio of 16:9. In
addition to a standard-size eye cup, a large-size
eye cup is also supplied. This can be attached
to the standard-size eye cup to provide superb
light-blocking capability, easy focusing, and
more comfortable use of the viewfinder.
0." Xtra fine View finder with
supplied large-size eye Cup
This feature allows you to assign features you use often to shortcut
buttons. The commonly used features can be used quickly without
going through a menu selection (default: Zebra, AE Shift and
Record Review). Features that can be assigned: Extended Focus /
Digital Extender (approximately 30x) / IRIS Ring Rotate Direction /
AE Shift / Index Mark / SteadyShot / Back Light / Spotlight / Fader /
Smooth Slow Rec / Color Bar / Rec Review / End Search / Zebra /
Marker / Peaking / Pict. Profile / Shot Transition.
six assign buttons
When shooting in 16:9 aspect ratio mode, markers such as
“center marker” and “Guide Frame” can be displayed on the
HDR-FX1000’s LCD monitor and viewfinder, allowing scenes to
be captured to match the aspect ratio of the edited master.
Marker
Gain, shutter speed, white balance and menu buttons are
located on the left side of the HDR-FX1000 for convenient
access during shooting.
Manual/auto setting switches
The HDMI
™
output connector transfers non-compressed,
high definition digital video and audio signals from and
to the HDR-FX1000 and other HDMI-equipped devices,
such as consumer HDTV monitors, via a single cable
(cable sold separately).
HDMI
™
(High Definition Multimedia
Interface) output Connector
Video connectors such as i.LINK
®2
, analog component output,
and multi-AV output connectors are located on the right side of
the HDR-FX1000’s rear panel where they do not get in the way of
camera operations during shooting.
Video Connectors


