3
Sa
ving images with a DVD wr
iter
, r
ec
or
der
Creating a high
definition image
quality (HD) disc with a
DVD writer, etc.
(USB cable connection)
You can save high definition image quality
(HD) movies on a disc by connecting
your camcorder to disc creation devices,
such as a Sony DVD writer, with the USB
cable. Refer also to the instruction manuals
supplied with the devices to be connected.
The method used to create a disc by
connecting your camcorder to a Sony DVD
writer with the USB cable is described here.
Connect your camcorder to the wall outlet (wall
socket) using the AC Adaptor supplied for this
operation (p. 11).
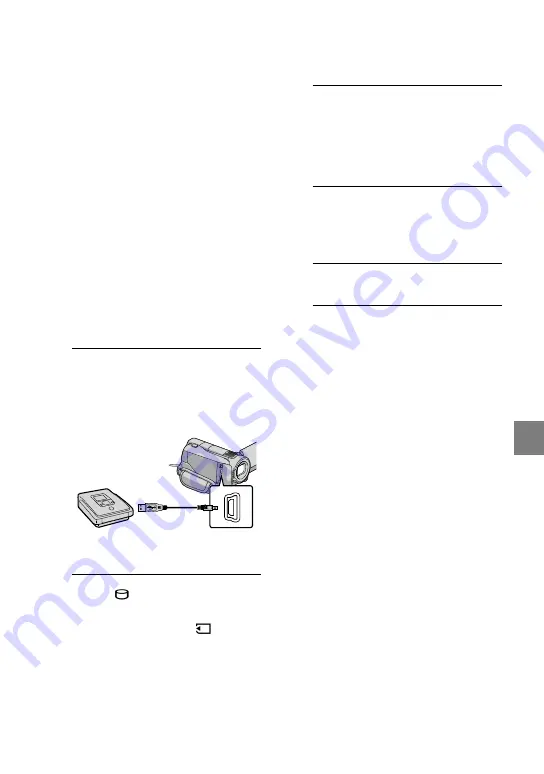
1
Turn on your camcorder, and
connect a DVD writer, etc. to the
(USB) jack of your camcorder
with the USB cable (supplied).
The [USB SELECT] screen appears on
the camcorder screen.
2
Touch [
USB CONNECT] when
movies are recorded on the
internal hard disk, or [
USB
CONNECT] when movies are
recorded on a “Memory Stick PRO
Duo” media on the camcorder
screen.
3
Record movies on the connected
device.
For details, refer to the instruction
manuals supplied with the device to be
connected.
4
After the operation is completed,
touch [END]
[YES] on the
camcorder screen.
5
Disconnect the USB cable.
The high definition image quality (HD) disc
that you created should not be used in DVD
players/recorders. Because DVD players/
recorders are not compatible with the AVCHD
format, DVD players/recorders may fail to eject
the disc.
Sony DVD writer may not be available in some
countries/regions.
Содержание HANDYCAM 4-131-475-11(1)
Страница 63: ......