


32
Step 5: Quick Setup
Follow the steps below to make the minimum number of basic adjustments to use the player. To
skip an adjustment press
>
, to return to the previous adjustment, press
.
.
A
Turn on the TV.
B
Switch the input selector on the TV to the player.
C
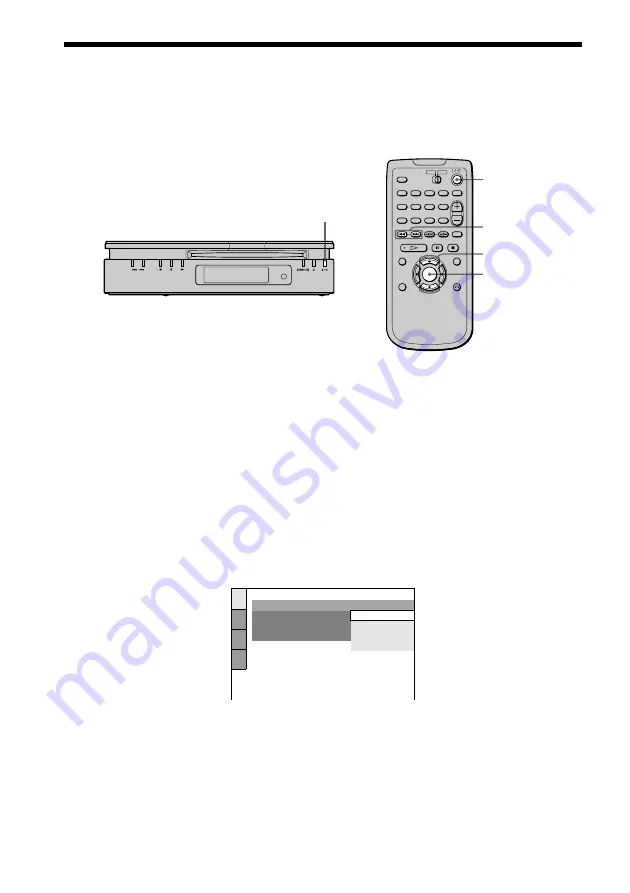
Press
?/1
on the player or the remote.
“Press [ENTER] to run QUICK SETUP.” appears at the bottom of the screen. If this message
does not appear, select “QUICK” under “SETUP” in the Control Menu (page 66) to run Quick
Setup.
D
Press ENTER without inserting a disc.
The Setup Display for selecting the language used in the on-screen display appears.
E
Press
X/x
to select a language.
The player uses the language selected here to display the menu and subtitles as well.
?
/
1
./>
X
/
x
ENTER
?
/
1
LANGUAGE SETUP
OSD:
MENU:
AUDIO:
SUBTITLE:
FRENCH
ENGLISH
ENGLISH
SPANISH
PORTUGUESE