147
P
ri
n
ti
ng
im
ag
es
1
Select the image to print with
b
/
B
on the multi-selector, then press
the center.
• To cancel, press the center again.
2
Repeat step 1 if you want to print
other images.
3
Press the MENU button and set
up each item.
For details on setting items, see
“PictBridge menu”.
4
Select “Print”, then press the
center of the multi-selector.
The message “Print images?” appears.
5
Select [OK] with
v
on the multi-
selector, then press the center.
The image is printed.
6
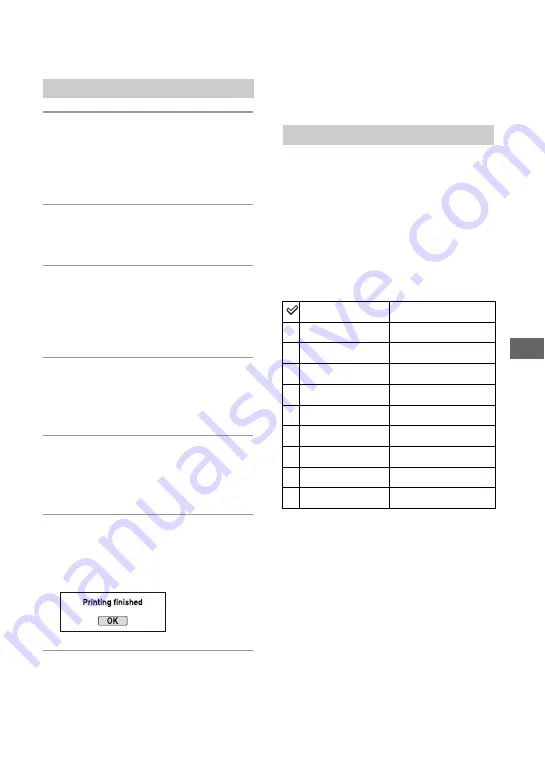
After the message “Printing
finished” appears, press the
center of the multi-selector.
To cancel the print
During printing, pressing the center of the
multi-selector cancels the print. Remove the
USB cable or turn off the camera. When
you want to print again, follow the
procedure (Stages 1 to 3) above.
Page 1
Prints the selected images. For details, see
“Stage 3: Printing”.
Set print q’ty
You can specify the number of prints, up to
20. The same number of prints is specified
on all the selected images.
Paper size
Stage 3: Printing
PictBridge menu
Auto
Printer setup
9×13cm/3.5"×5"
89×127mm
Hagaki
100×147mm
10×15cm
10×15cm
4"×6"
101.6×152.4mm
A6/4.1"×5.8"
105×148.5mm
13×18cm/5"×7"
127×178mm
Letter
216×279.4mm
A4/8.3"×11.7"
210×297mm
A3/11.7"×16.5"
297×420mm


