


Ge
tting Star
te
d
15
GB
10
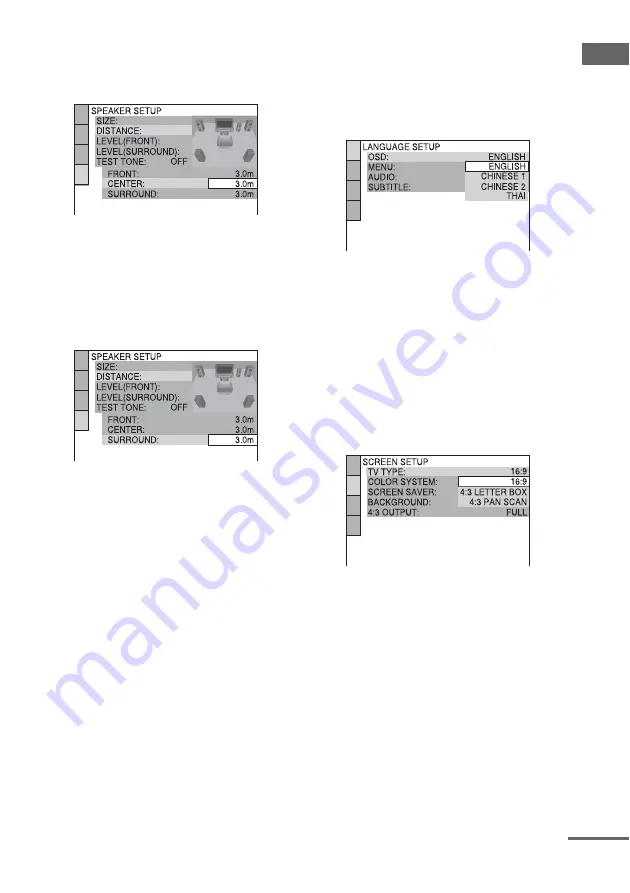
Press
M
or
m
repeatedly to select the
center speaker distance from the
listening position, then press ENTER.
You can set from 0.0 to 7.0 m.
Note
The setting range changes depending on the front
speaker setting.
11
Press
M
or
m
repeatedly to select the
surround speaker distance from the
listening position.
You can set from 0.0 to 7.0 m.
Note
The setting range changes depending on the front
speaker setting.
12
Press ENTER.
The Quick Setup is complete.
For DHC-AZ3DM
1
Turn on the TV and select the video
input.
2
Press
?/1
to turn on the system.
3
Press FU or – repeatedly (or
touch DVD on the unit) to switch the
function to DVD.
The guide message appears on the TV
screen.
Notes
• When a disc is in the system, the guide message
does not appear on the TV screen. Press
Z
on
the unit to remove the disc.
• When you press CLEAR, the guide message
disappears. When you need to perform the
Quick Setup, see “To recall the Quick Setup
display” (page 16).
4
Press ENTER.
“LANGUAGE SETUP” appears.
The language you select in “LANGUAGE
SETUP” is for “OSD”, “MENU” and
“SUBTITLE” (page 42).
5
Press
M
or
m
repeatedly to select a
language used in the on-screen
display.
The selectable language is different
depending on the area.
6
Press ENTER.
The setting is selected and “SCREEN
SETUP” appears.
7
Press
M
or
m
repeatedly to select the
setting that matches your TV type.
x
When you connect a 4:3 standard TV
“4:3 LETTER BOX” or “4:3 PAN SCAN”
(page 43)
x
When you connect a wide-screen TV
or a 4:3 standard TV with a wide-screen
mode
“16:9” (page 43)
8
Press ENTER.
The Quick Setup is complete.
If you make a mistake
Press
.
, then select the item again.
continued


