Sony Cyber-shot W50 Basics
Recording Still Images
1. Press the
POWER
button.
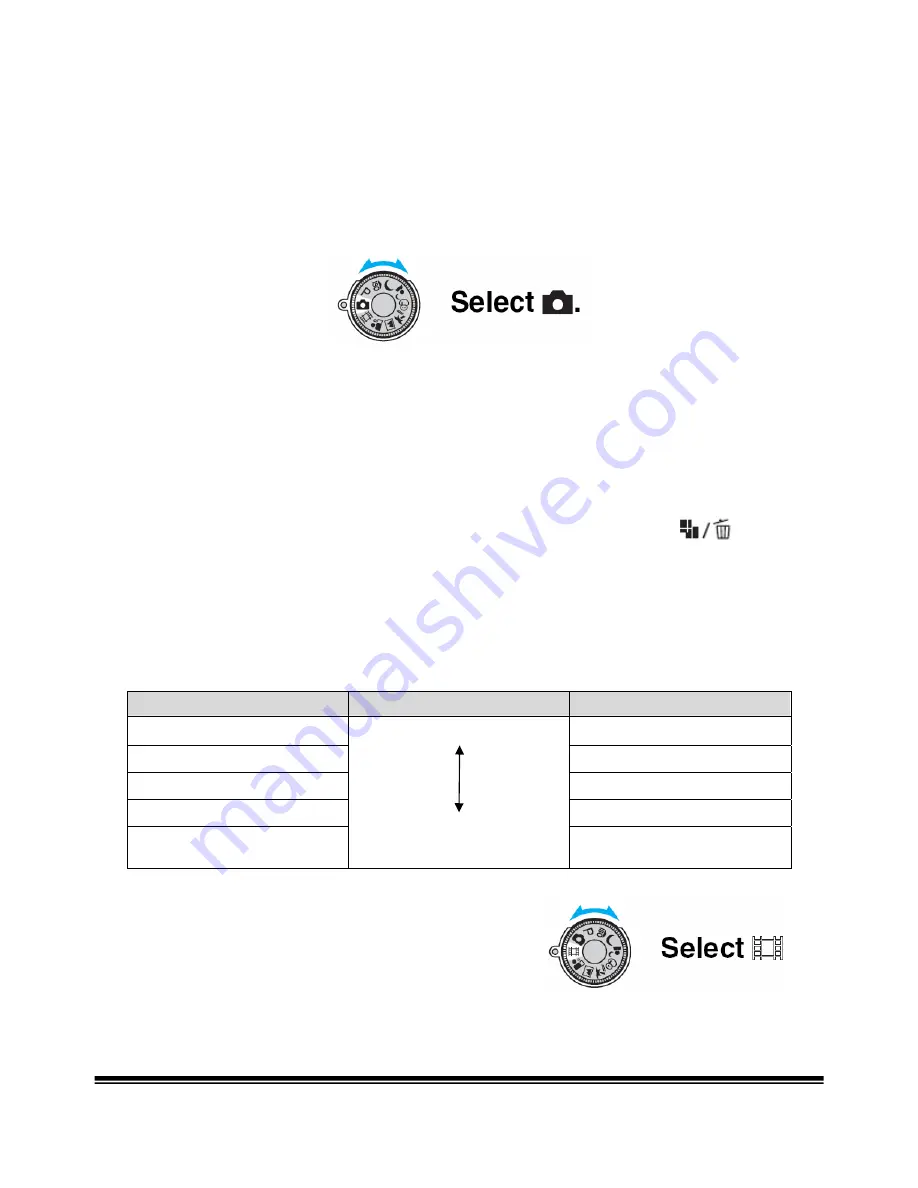
2. Turn the mode dial to
Auto Adjust Mode
. This allows easy shooting with the
settings automatically adjusted for you.
3.
Press and hold the Shutter Button halfway down
and check the image in
the LCD display. The camera will automatically adjust. Once a green dot
appears in the display, the camera has finished adjusting and the shutter button
should be pressed all the way down.
4. The image is saved to a memory card inside of the camera.
5. To change the
image quality
(before taking the picture) push the
button on the camera. A digital image is made up of a collection of small dots
called pixels. If it contains a large number of pixels, the picture becomes large, it
takes up more memory, and the image is displayed in fine detail. Although you
cannot see the differences on the screen of the camera, the fine detail and data
processing time differ when the image is printed or displayed on a computer
screen.
Image Size
Usage Guidelines
6M (2816 X 2112)
Up to 8”X10” print
3M (2048 X 1536)
Up to 5”X7” print
2M (1632 X 1224)
Up to 4”X6” print
VGA (640 X 480)
For E-mail
16:9 (1920 X 1080)
Larger
Smaller
Display on HDTV or
Widescreen TV
Recording Video Clips
1. Press the
POWER
button.
2. Turn the mode dial to
Video Mode
.
3. Press the shutter button fully down and recording will begin.
4. To stop recording, press the shutter button fully down again.
Page 3 of 6
PISD Instructional Technology


