


24
•
You cannot use the flash in the Burst mode.
•
If the menu is currently displayed, press MENU
first so that the menu disappears.
•
The recommended shooting distance using the
flash is approximately 0.5 m to 1.8 m (1 foot
7 3/4 inches to 5 feet 10 3/4 inches). The
recommended shooting distance for
(Red-
eye reduction) is approximately 0.5 m to 1.5 m
(1 foot 7 3/4 inches to 4 feet 11 inches).
•
When using the Auto,
(Red-eye reduction)
or
(Forced flash) mode, you may notice
some noise in the image when you look at the
LCD screen in a dark place, but this will have
no effect on the shot image.
•
While you are using
(No flash) mode, the
shutter speed is slower in a dark place. Be
careful not to allow your hand to shake while
holding the unit.
•
While charging the flash, the
(
Flash charge)
lamp flashes. After the charging is complete,
the lamp goes out.
•
This setting is maintained even when the power
is turned off.
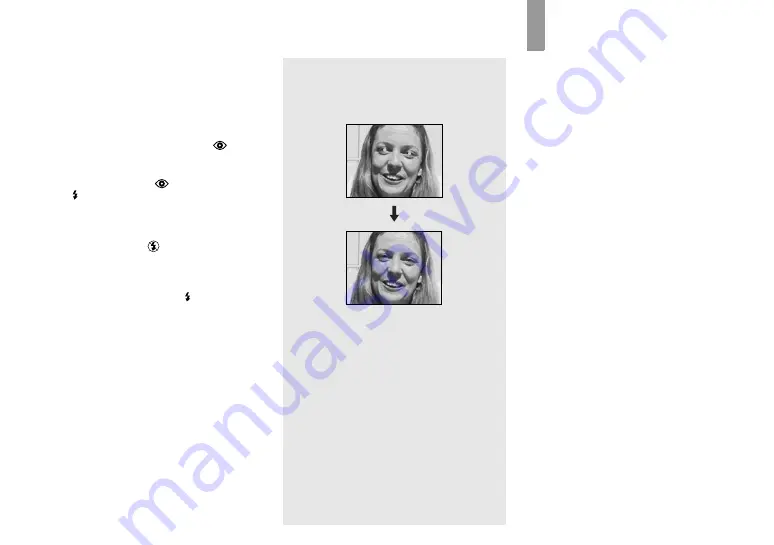
Red-eye reduction
The flash pre-strobes before shooting to
reduce the red-eye phenomenon.
•
Red-eye reduction may not produce the desired
effects depending on individual differences, the
distance to the subject, if the subject does not
see the pre-strobe, or other conditions.
Creating or
selecting a folder
Your camera can create multiple folders in
a “Memory Stick Duo.” Also, you can
select the folder used to store images.
When not creating a new folder,
“101MSDCF” folder is selected as the
recording folder.
You can create folders up to “999MSDCF.”
•
Up to 4,000 images can be stored in one folder.
When the folder capacity is exceeded, a new
folder is automatically created.
Содержание Cyber-shot DSC-U40
Страница 91: ......


