background image

Recording From CDs

Recording From CDs

Recording From CDs

Recording From CDs

Recording From CDs

23

Recording From CDs

Recording From CDs

Adjusting the Recording Level
(Peak Search)

The player locates the highest level among the tracks to
be recorded to let you adjust the recording level before
you start recording.

1

Before you start playing, press PEAK SEARCH.
“PEAK” flashes in the display and the player starts
scanning the disc searching for the highest peak
level.
After scanning all the tracks, the player repeats the
portion with the highest peak level.

2

Adjust the recording level on the deck.

3

Press 

p

 on the player to stop Peak Search.

“PEAK” disappears from the display.

Notes

The portion with the highest level may differ every time
you try the adjustment on the same disc. The difference is,
however, so slight that you won’t find any problem in
adjusting the recording level precisely.

Peak Search does not operate while you open the disc tray
by pressing the EX-CHANGE button.

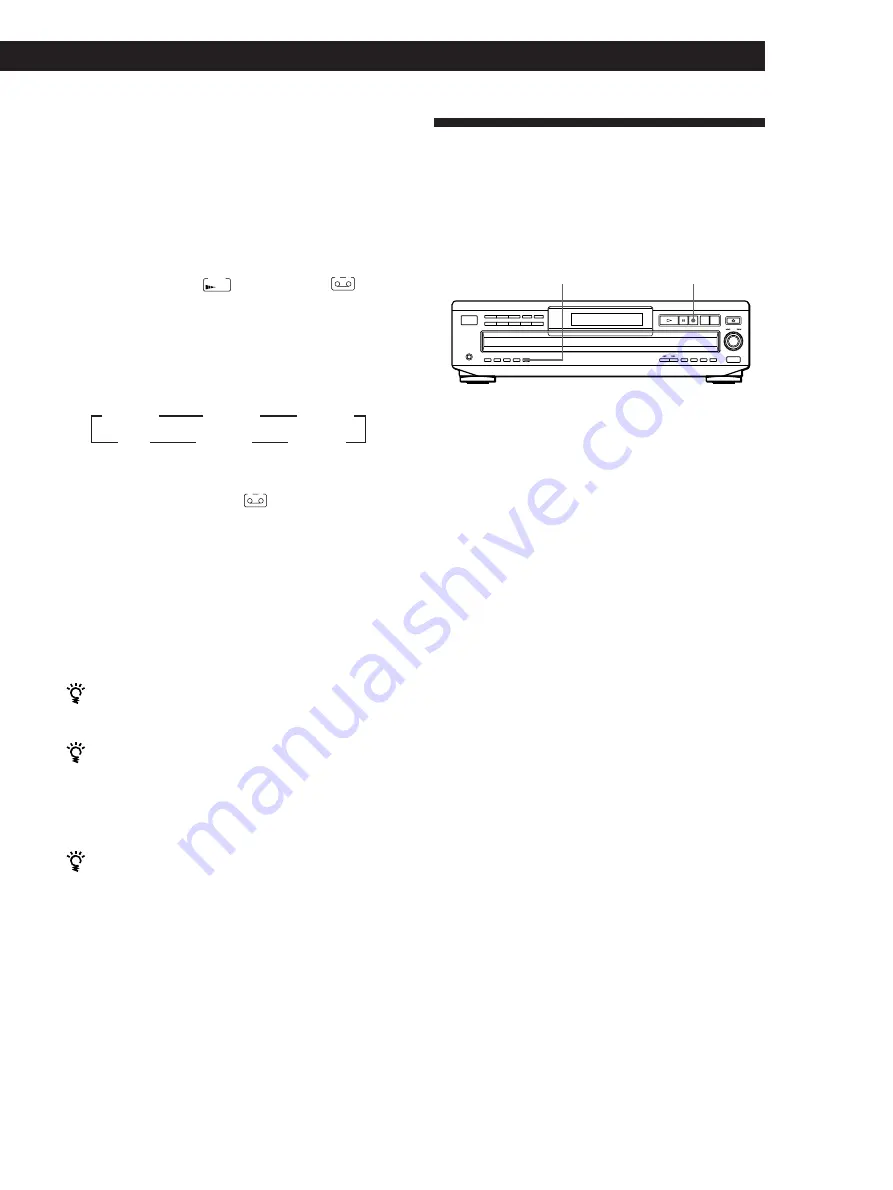
PEAK SEARCH

p

Fading out at the specified time
(Time Fade)

You can have the player fade out automatically by
specifying the playing time. Once you set the Time
Fade, it works twice, that is, the play fades out at the
end of both sides of a tape.

1

Press EDIT/TIME FADE repeatedly before you
start playing until 

FADE

TIME

 and “A” in the 

A

indication appear in the display.

2

Press 

0

 or 

)

 to specify the playing time.

Each time you press these buttons, the display
changes as shown below with the playing time of
one side.

3

Press 

·

 to start playing.

At the specified time the play fades out and the
player pauses. “B” in the 

B

 indication appears

in the display.

4

To record on side B, reverse the tape and press 

·

or 

P

 on the player to resume playing.

Again, the play fades out at the specified time.

To cancel Time Fade

Press EDIT/TIME  FADE.

You can freely specify the playing time

See “You can freely specify the tape length” on page 22.

You can change discs during Time Fade

The specified fade-out time is counted only during
playing. So, you can change discs if the play ends before
the specified fade-out time (for example, when you
record CD-singles on a tape).

You can fade in to resume playing in Step 4

After you reverse the tape, press FADER.

Note

If you press the 

0

 or 

)

 button during Time Fade Play,

Time Fade will be canceled.

n

 C-46  23.00 

N

n

 C-54  27.00 

N

n

 C-60  30.00 

N

n

 - -. - - 

N

n

 C-90  45.00 

N

n

 C-74  37.00 

N

Содержание CDP-CE525 - Compact Disc Player

Страница 1: ...3 862 359 12 1 1998 by Sony Corporation CDP CE525 Operating Instructions ...

Страница 2: ... reasonable protection against harmful interference in a residential installation This equipment generates uses and can radiate radio frequency energy and if not installed and used in accordance with the instructions may cause harmful interference to radio communications However there is no guarantee that interference will not occur in a particular installation If this equipment does cause harmful...

Страница 3: ...Program Program Play 16 Controlling Another CD Player Advanced Mega Control 18 Playing Alternately No Delay Play X Fade Play 20 Recording From CDs Recording Your Own Program 21 Recording a CD by Specifying Tape Length Time Edit 21 Fading In or Out 22 Adjusting the Recording Level Peak Search 23 Storing Information About CDs Custom Files What You Can Do With the Custom Files 24 Labeling Discs Disc ...

Страница 4: ...hite L Red R What cords will I need Audio cord supplied 1 To an AC outlet When to replace batteries With normal use the batteries should last for about six months When the remote no longer operates the player replace all the batteries with new ones Notes Do not leave the remote near an extremely hot or humid place Do not drop any foreign object into the remote casing particularly when replacing th...

Страница 5: ...ONTROL A1 Control System instructions When using another Sony CD player together with this player You can make the supplied remote effective only for this player When using a player equipped with the COMMAND MODE selector Leave the COMMAND MODE selector of this player to CD 1 which is set at the factory and set that of another player to CD 2 or CD 3 Then set the CD 1 2 3 switch on the remote suppl...

Страница 6: ...dure below Be sure to turn off the power of each player before making this connection CDP CX200 etc CDP CE525 To 2ND CD IN CDP CX200 etc To an AC outlet To an AC outlet Signal flow To audio input To audio output To LINE OUT Amplifier CDP CE525 CDP CX200 etc CDP CE525 For details on this connection refer to the supplementary S LinkTM CONTROL A1 Control System instructions 3 Set the COMMAND MODE sel...

Страница 7: ...ord of both players to AC outlets Notes Do not connect a player other than that you use as the second player to the 2ND CD IN jacks of this player When connecting a second CD player do not connect the DIGITAL OUT OPTICAL connector of this unit to the amplifier ...

Страница 8: ...ou can place the discs in the empty disc compartments The player plays the disc in front of you first Press CONTINUE to select ALL DISCS or 1 DISC Continuous Play mode Each time you press the CONTINUE button ALL DISCS or 1 DISC appears in the display When you select ALL DISCS 1 DISC The player plays All discs in the player consecutively in the order of disc number Only the disc you ve selected 6 3...

Страница 9: ...f you press the LINE OUT LEVEL buttons on the remote while recording the recording level will change even when it is preset on the tape deck etc To stop play Press p To Pause Resume play after pause Go to the next track Go back to the preceding track Go to the next disc Select a disc directly Stop play and remove the CD You need to Press P Press P or Turn AMS clockwise Turn AMS counterclockwise Pr...

Страница 10: ...hows the current disc number current track number playing time of the track and the music calendar Current disc number Playing time INPUT Total number of tracks Music calendar Music calendar Current track number The track numbers in the music calendar disappear after they are played Checking the remaining time Each time you press the TIME TEXT button while playing a disc the display changes as sho...

Страница 11: ...ote This player can only display the disc titles track titles and artist names from CD TEXT discs The other CD TEXT information cannot be displayed To play disc highlights Z Some CD TEXT discs have a feature to play only the highlights of the discs When you select such a disc HIGH LIGHT appears in the display Press HIGH LIGHT on the remote to start playing disc highlights in the stop mode HIGH LIG...

Страница 12: ... the disc tray to close it in Step 5 as you may damage the player DISC SKIP Selecting the language of the CD TEXT information You can select the language used to display the CD TEXT information when you select a CD TEXT disc with multi language information Once you select the language the display shows the information in the selected language until you turn off the player If the player cannot read...

Страница 13: ...any disc before or while playing a disc DISC 1 5 DISC CHECK DISC SKIP DISC SKIP Number buttons DISC ENTER To locate The next disc The next or succeeding discs Z The current or preceding discs Z A specific disc directly A disc while checking the labels A disc by scanning the first track of each disc for 10 seconds Press DISC SKIP while playing a disc DISC SKIP repeatedly until you find the disc DIS...

Страница 14: ...ote To enter 0 use button 10 0 Example To play track number 30 Press 10 first then 3 and 10 0 You can extend the playing time during Music Scan Press MUSIC SCAN repeatedly until the playing time you want 10 20 or 30 appears in the display Each time you press the button the playing time changes cyclically Locating a Specific Track You can quickly locate any track while playing a disc using the AMS ...

Страница 15: ...er repeats All the tracks on all discs All the tracks on the current disc All the tracks on all discs in random orders All the tracks on the current disc in random orders The same program To cancel Shuffle Play Press CONTINUE You can start Shuffle Play while playing Press SHUFFLE and Shuffle Play starts from the current track You can specify discs during Shuffle Play Select Shuffle Play You can sp...

Страница 16: ...g programmed Last programmed track Playing order After one second Total playing time Programmed tracks Repeat Step s 2 3 and 4 2 through 4 A 2 5 8 1 2 3 4 5 DISC TRACK MIN SEC CD1 1 5 1 3 1 8 PROGRAM A 2 5 8 1 2 3 4 5 DISC TRACK STEP CD1 1 5 3 PROGRAM A 2 5 8 1 2 3 4 5 DISC TRACK MIN SEC CD1 1 5 1 3 1 8 PROGRAM Creating Your Own Program Program Play You can arrange the order of the tracks on the d...

Страница 17: ...on the same disc Other tracks on other discs 8 Press to start Program Play To cancel Program Play Press CONTINUE You can select a track directly using the number buttons Press the number button of the track in Step 5 To select a track numbered over 10 use the 10 button see page 14 You can create your program while checking the disc labels While the disc tray is open follow Steps 1 to 8 with pressi...

Страница 18: ...y not be able to operate all the functions of the second CD player The controls indicated in the illustration below are effective while the MEGA CONTROL button is lit DISCS ALL DISC CD1 D I S C 1 AMS DISC INPUT CLEAR Checking the track order You can check your program before or after you start playing Press CHECK Each time you press this button the display shows the track the disc and track number...

Страница 19: ...rently from they do to this player Loading the Disc Memos of the second CD player If the second CD player has the Disc Memo function see page 24 you can load the Disc Memos of the second CD player to this player s memory and display them on this player 1 Press INPUT 2 Turn AMS until LOADING MEMO appears in the display 3 Push AMS This player starts loading Loading takes about one minute Note If eac...

Страница 20: ...second player you can play tracks in this player and those in the second player alternately in any play mode see Connecting Another CD Player on pages 6 and 7 Select one of the following methods No Delay Play The current player changes at each track Each time the current player changes to the other player the other player starts play without a break in sound immediately after the current player en...

Страница 21: ...ck and change your program See page 18 The A indication appears while checking the program for side A and B while checking the program for side B Recording a CD by Specifying Tape Length Time Edit The player automatically creates a program that will fit the length of the tape keeping the original order of the disc The program can contain up to 32 steps a pause inserted between steps is counted as ...

Страница 22: ...he fading time from 2 to 10 seconds before fading in or out If you don t change it fading lasts for 5 seconds 1 Press FADER before you start playing FADE 5 SEC appears in the display 2 Press 0 to specify the fading time FADER EDIT TIME FADE 0 P 7 When you record on side B reverse the tape and press or P on the player to resume playing To cancel Time Edit Press CONTINUE You can program the tracks y...

Страница 23: ...ally by specifying the playing time Once you set the Time Fade it works twice that is the play fades out at the end of both sides of a tape 1 Press EDIT TIME FADE repeatedly before you start playing until FADE TIME and A in the A indication appear in the display 2 Press 0 or to specify the playing time Each time you press these buttons the display changes as shown below with the playing time of on...

Страница 24: ...lect the disc The Disc Memo can be anything you like such as a title musician s name category or date of purchase When you select a CD TEXT disc The disc title is stored as the Disc Memo automatically If the disc title has more than 12 characters the first 12 characters of the disc title are stored see page 11 Note that you cannot change the Disc Memo of the CD TEXT disc 1 Insert or select the dis...

Страница 25: ...Each time you press the button the letter changes cyclically among the ones indicated beside the button To input symbols press the number button 1 repeatedly until the symbol you want appears in the display DISC CAPS MEMO INPUT DEL Number buttons ENTER CLEAR SPACE 7 Press INPUT to store the Disc Memo Repeat Steps 1 to 7 to assign Disc Memos to other discs Labeling discs using the remote Z n D n E ...

Страница 26: ...9 10 1 2 3 4 5 DISCS ALL DISC TRACK CD1 1 1 O N To correct the character currently being input 1 Press DEL to delete the incorrect character 2 Input the correct character To insert a character between the input characters Press 0 or until the cursor moves next to the point you want to insert and enter the character Erasing the Disc Memo 1 Follow Steps 1 and 3 in Labeling discs on the player on pag...

Страница 27: ... as it is connected to the wall outlet even if the player itself has been turned off If you are not going to use the player for a long time be sure to disconnect the player from the wall outlet To disconnect the AC power cord mains lead grasp the plug itself never pull the cord AC power cord must be changed only at the qualified service shop On placement Place the player in a location with adequat...

Страница 28: ...ove the disc and leave the player turned on for about an hour see page 27 Place the CD in the correct position on the disc tray The remote does not function Remove the obstacles in the path of the remote and the player Point the remote at the remote sensor g on the player Replace all the batteries in the remote with new ones if they are weak Set the CD 1 2 3 switch on the remote according to the p...

Страница 29: ...Repeat Play 14 Shuffle Play 15 Program 16 changing 18 checking 18 for recording 21 R Recording 21 a program 21 using Time Edit 21 Remaining time 10 Remote control 4 Repeating 14 Replacing discs while playing a disc 12 S Scanning See Music Scan Searching See Locating Select Shuffle Play 15 Selecting the language 12 Shuffle Play 15 Storing information about CDs 24 specific tracks 26 T Time Edit 21 T...

Страница 30: ...30 ...

Страница 31: ...31 ...

Страница 32: ...32 Sony Corporation Printed in China ...

Отзывы: