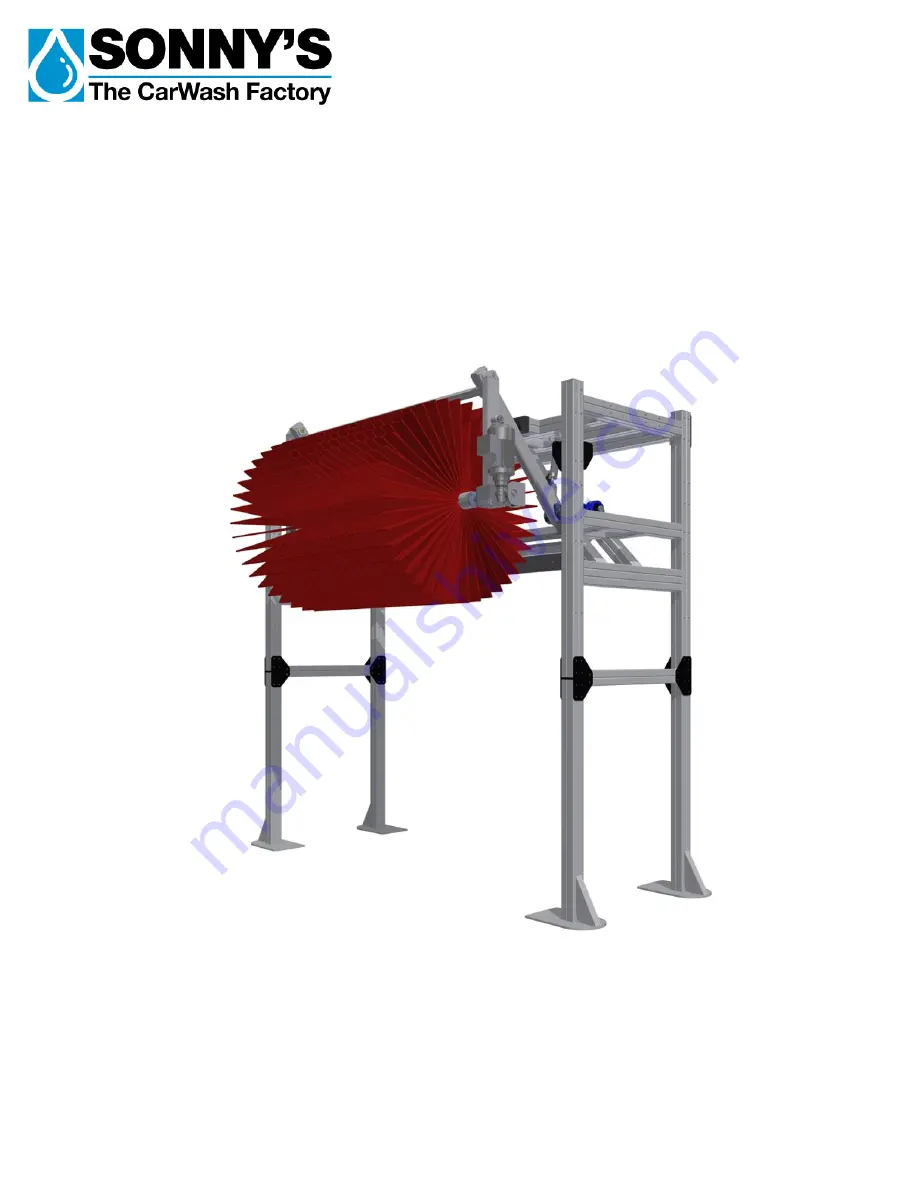
Top Brush
Dual Counterweight (DCW)
Owner’s Manual
Sonny's Enterprises, Inc.
5605 Hiatus Road
Tamarac, Florida 33321
16v1
Страница 1: ...Top Brush Dual Counterweight DCW Owner s Manual Sonny s Enterprises Inc 5605 Hiatus Road Tamarac Florida 33321 16v1 ...
Страница 2: ...ange without notice 4 29 2019 OwnersManual_TopBrush_DualCounterweight_16v1 docx Table of Contents WARNING SAFETY REQUIREMENTS WARNING 3 INTRODUCTION 5 Product Specifications 6 INSTALLATION 8 Utilities Requirements 8 Dimensions NEED TO UPDATE 9 Equipment Installation 12 Installation Tools and Consumables 12 Brush Hub Installation 15 Electric Flender Motor 16 Adjustments and Testing 17 GENERAL OPERA...
Страница 3: ...ment are permitted to enter the wash tunnel to perform inspections or maintenance At least two qualified maintenance people must be present when performing equipment repairs or preventive maintenance 7 Do not perform any maintenance or work on equipment unless you first perform Lock Out Safety Precautions All electrically powered equipment must have manually operated disconnects capable of being l...
Страница 4: ... hazardous safety conditions Be certain to follow all safety procedures on SDS Sheets for each chemical product used 14 All hydraulic and electric systems in the wash tunnel equipped with a torque relief or overload should be checked and set at the minimum amount that will allow for proper functionality under normal washing conditions 15 No unauthorized people should ever be permitted in the wash ...
Страница 5: ...his Owner s Manual contains information that is vital to the successful installation operation and maintenance of your SONNY S vehicle washing equipment Please read and understand the full contents of this manual before installation and operation of the equipment Keep this booklet in a location where it may be used for ongoing reference Should you have any questions on the operation or servicing o...
Страница 6: ...sh_DualCounterweight_16v1 docx Product Specifications Designed to occupy 108 of tunnel length and 152 width attachments available and add more length 4 x 4 Aluminum alloy frame and legs for stability and durability Heavy duty double roller pivot bearings increase durability and smoothness of operation Dual counterweights allows for smooth vehicle profiling Simple linkage design is easy to maintain...
Страница 7: ...d proprietary to SONNY S and cannot be used disclosed or Page 7 of 21 duplicated without prior written consent Content prices and availability subject to change without notice 4 29 2019 OwnersManual_TopBrush_DualCounterweight_16v1 docx For Parts Accessories Information Please Reference our Catalog or Website ...
Страница 8: ...hemical distribution system The Customer s Electrician is to provide and install single phase power from the remote push button station through the tunnel equipment programmer to the supplied air solenoid valve on the Air Distribution Manifold for retract of both washers upon selective signal see Figure 6 in Dimensions Section The Customer s Electrician is to provide materials and install 208VAC o...
Страница 9: ...document is confidential and proprietary to SONNY S and cannot be used disclosed or Page 9 of 21 duplicated without prior written consent Content prices and availability subject to change without notice 4 29 2019 OwnersManual_TopBrush_DualCounterweight_16v1 docx Dimensions Figure 1 ...
Страница 10: ...Page 10 of 21 duplicated without prior written consent Content prices and availability subject to change without notice 4 29 2019 OwnersManual_TopBrush_DualCounterweight_16v1 docx NOTE 28 Brush is the maximum size that can be used When using a 28 brush it will require retracts to hold the brushes retracted until the Top Brush is on the hood of the vehicle Figure 2 ...
Страница 11: ...or Page 11 of 21 duplicated without prior written consent Content prices and availability subject to change without notice 4 29 2019 OwnersManual_TopBrush_DualCounterweight_16v1 docx Figure 3 CAUTION Do not plumb any air to the back side of the cylinder air is for retract only NOTE Flow control adjustment required upon installation Meter Out Flow Control Valves ...
Страница 12: ...unterweight_16v1 docx Equipment Installation Installation Tools and Consumables Tools Consumables 1 Safety Glasses 1 Anti Seize Compound 2 Drive Ratchet Set 2 Marine Grease 3 Standard Combo Wrenches 4 4 Level 5 Electric Impact Wrench 6 1 Hammer Drill 7 Tape Measure 8 Forklift 2 Ton Load Capacity 4 000 Lbs Work Force Time assuming no problems Four 4 persons 5 00 6 00 hours NOTE Use Anti Seize Compo...
Страница 13: ...ion and the tunnel layout drawings for your location 2 Sweep any debris from where the Top Brush will stand 3 Insert aluminum couplers into the leg posts Holes must be in alignment Place the legs in the location where the top brush will stand 4 Place a small amount of Anti Seize Compound on each bolt included in the kit 5 Using the recommended forklift place the assembled frame with the brush towa...
Страница 14: ... lag bolts Before lagging the frame into position have a second person double check all measurements against your tunnel equipment layout drawings to ensure all measurements were performed correctly 1 Run the air supply line hose from the air manifold to the retract cylinders for the retract operation see Figure 3 in the Dimensions Section 2 Retract cylinder air regulators Actuators needs to be ad...
Страница 15: ...s to the PS Spindle 2 Hold the brush straight insert the end of the brush to the PS top brush arm spindle and tighten into place with the screws Use anti seize compound on screws CAUTION Extra foam spacers are sent with the brush and may need to be added After the first week of operation check the brush for gaps in the foam If any gaps are found add spacers to the end of the brush Failure to do so...
Страница 16: ...nersManual_TopBrush_DualCounterweight_16v1 docx 5 Slide the brush hub into the DS spindle and tighten the screws 6 Once the top brush assembly is securely tighten to both spindles DS PS go ahead and tighten the PS bearing set screws Check the DS bearing set screws to make sure they are also tighten Electric Flender Motor 1 Loosen the DS and PS shaft bearing set screws to adjust the brush to the ce...
Страница 17: ... on vehicle should be made by moving the counterweight 1 8 1 4 at a time this is equivalent to 1 2 full rotations at the 1 1 16 nut Once adjusted properly the cloth penetration should be about three to four inches across the entire vehicle If brush bounces too much the counterweight has been adjusted to far out Adjustment is easiest if made in small amounts approximately 1 4 to 1 2 at a time The t...
Страница 18: ...s front hood contacts the brush and brush travels across the vehicle maintaining steady contact while washing the hood just after the front windshield the brush should smoothly change directions to wash the roof and rear of the vehicle Proper cloth penetration on flat vehicle surfaces should be 3 to 4 inches As the brush rounds corners such as on windshields the cloth penetration may be greater bu...
Страница 19: ...tract and extend for proper operation smoothness and correct application pressure WEEKLY 1 Spray lubricant on the clevis pins on both ends of the retract cylinders 2 Grease the brush shaft bearings Do not allow grease to come in contact with brush cloth FOR THE FIRST MONTH OF OPERATION CHECK ALL HARDWARE AND FITTINGS FOR TIGHTNESS EACH WEEK PERFORM THIS INSPECTION TO THE SCHEDULE SHOWN BELOW AFTER...
Страница 20: ...o be defective within the warranty period In the event of repair or replacement this limited warranty is noncumulative The Purchaser must supply the Seller with immediate written notice when any defects are found The Seller shall have the option of requiring the return of defective material to establish the Purchaser s claim Neither labor nor transportation charges are included in this warranty Tr...
Страница 21: ...ontact SONNY S Equipment Department for installation and or operational questions regarding this piece of equipment Please refer to the Parts Catalog and contact SONNY S Customer Service Order Entry Department for any replacement parts for this piece of equipment You can also visit the web at www SonnysDirect com DEPARTMENT PHONE NUMBERS FAX NUMBERS Toll Free Main Line 800 327 8723 800 495 4049 Eq...