SonicWALL SSL-VPN 4000 Getting Started Guide Page 47
Testing Your SSL-VPN Connection
Now you have configured your SonicWALL UTM appliance and SonicWALL SSL-
VPN 4000 for secure SSL-VPN remote access.This section provides instructions to
verify your SSL-VPN connection using a remote client on the WAN.
Verifying a User Connection from the Internet
1. From a WAN connection outside of your corporate network, launch a Web browser
and enter the following:
https://
<
WAN_IP_address_of_gateway_device>
______________________
Note:
It will be easier for your remote users to access the SonicWALL SSL-VPN
appliance using an FQDN (fully qualified domain name) rather than an IP address. For
example, browsing to “http://www.sonicwall.com” is simpler than browsing to “http://
64.41.140.167”. It is therefore recommended, if you have not already done so, that you
create a DNS record to allow for FQDN access to your SonicWALL SSL-VPN appliance.
If you do not manage your own public DNS servers, contact your Internet Service
Provider for assistance.
For configurations where your ISP provides dynamic IP addressing rather than a static IP
address, refer to the steps in “Configuring Dynamic DNS” on page 51 to set up DDNS for
your remote users.
2. When prompted, enter the
User Name
and
Password
User” on page 9 of this guide.
3. Select
LocalDomain
from the drop-down menu and click the
Login
button.
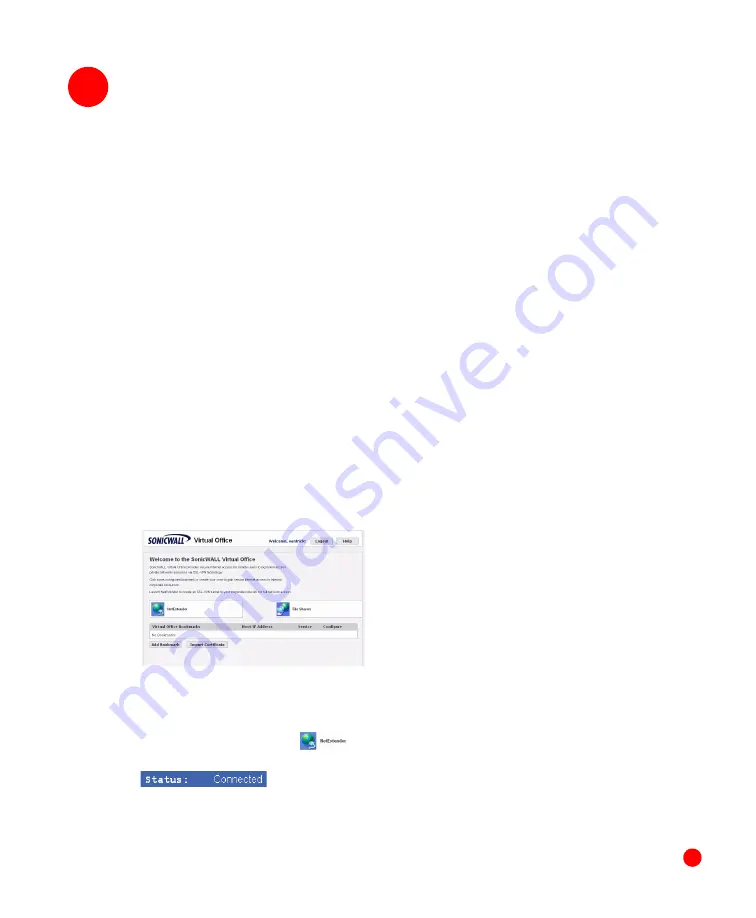
4. The SonicWALL Virtual Office screen appears in your Web browser.
5. Select
NetExtender
from the left navigation bar. This will start the NetExtender client
installation.
6. Click the
NetExtender
button and complete the client installation. When
complete, the following message is displayed:
7. Ping a host on your corporate LAN to verify your SSL-VPN remote connection.
Congratulations! You have successfully set up your SonicWALL SSL-VPN 4000.
7
7
Содержание SSL-VPN 4000
Страница 60: ...SonicWALL SSL VPN 4000 Getting Started Guide Page 59 Notes...
Страница 61: ...Page 60 Notes...


