


SonicWALL ESA 4300 Getting Started Guide
Page 7
Logging Into the Web Management Interface
The SonicWALL Email Security appliance comes pre-
configured with an IP address of
192.168.168.169
. Set the
administration computer to have a static IP address on the
192.168.168.168.0/24 subnet.
To configure a static IP address on your computer, refer to
Configuring a Static IP Address
section, on page 18.
1.
Connect the Ethernet cable from the
LAN (eth 1) port
on
the SonicWALL to the
Ethernet port
of the computer.
Note:
One or more
security warnings may display while
connecting to the Email Security Web management
interface. Accept the certificates in order to log in to the
SonicWALL Email Security appliance.
2.
Open a Web browser and enter
http://192.168.168.169
(the default IP address of the appliance) in the
Location
or
Address
bar.
3.
On the SonicWALL ESA 4300 Web management login
screen, enter “admin” in the
Name
field and “password” in
the
Password
field, select your language from the
Language
drop-down menu, and click
Login
.
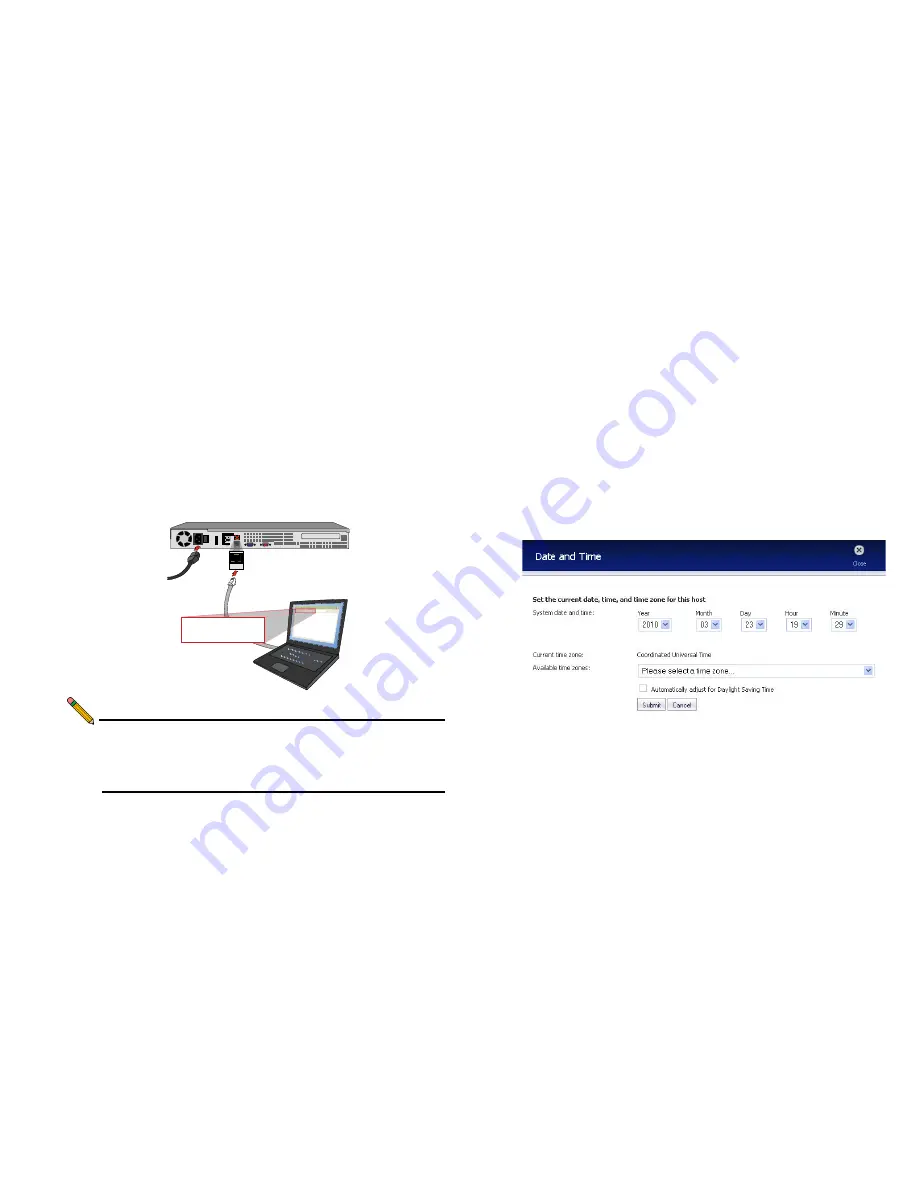
Configuring Local Time Zone Settings
1.
Navigate to
System > Host Configuration
in the left
navigation menu.
2.
Scroll down to the More Settings section, and click
Set
Date and Time
.
I
o
eth 1
http://192.168.168.169/
http://192.168.168.168/
SonicWALL LAN IP