


Manual FRAME-EVO-E10
Version 1.6
14.01.2019
Page
3
of
39
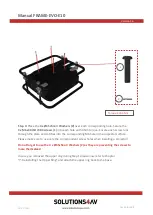
1. Preamble
Congratulations on your purchase of the
FRAME-EVO-E10
projector frame from LANG AG.
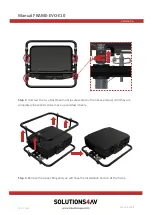
Please read very carefully the instructions provided in this manual. In the following pages
you will find all the information needed for a safe and fast installation.
After the installation is done properly, you can enjoy all the features of your new product.
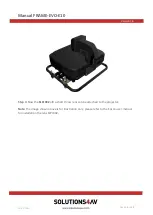
Please consider keeping the original box and packaging materials, in case you ever need to
ship the frame.
Model number:
FRAME-EVO-E10
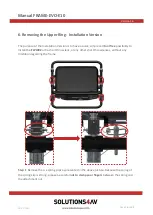
1.1 FRAME-EVO-E10 designation
Note
: In this manual, when reference is made to the manufacturer model number it is also
automatically a reference to the Epson model number like described in the table below:
Description
Number
Manufacturer model number
FRAME-EVO-E10
Epson model number
ELPMB59
Epson SKU
V12H996B59


