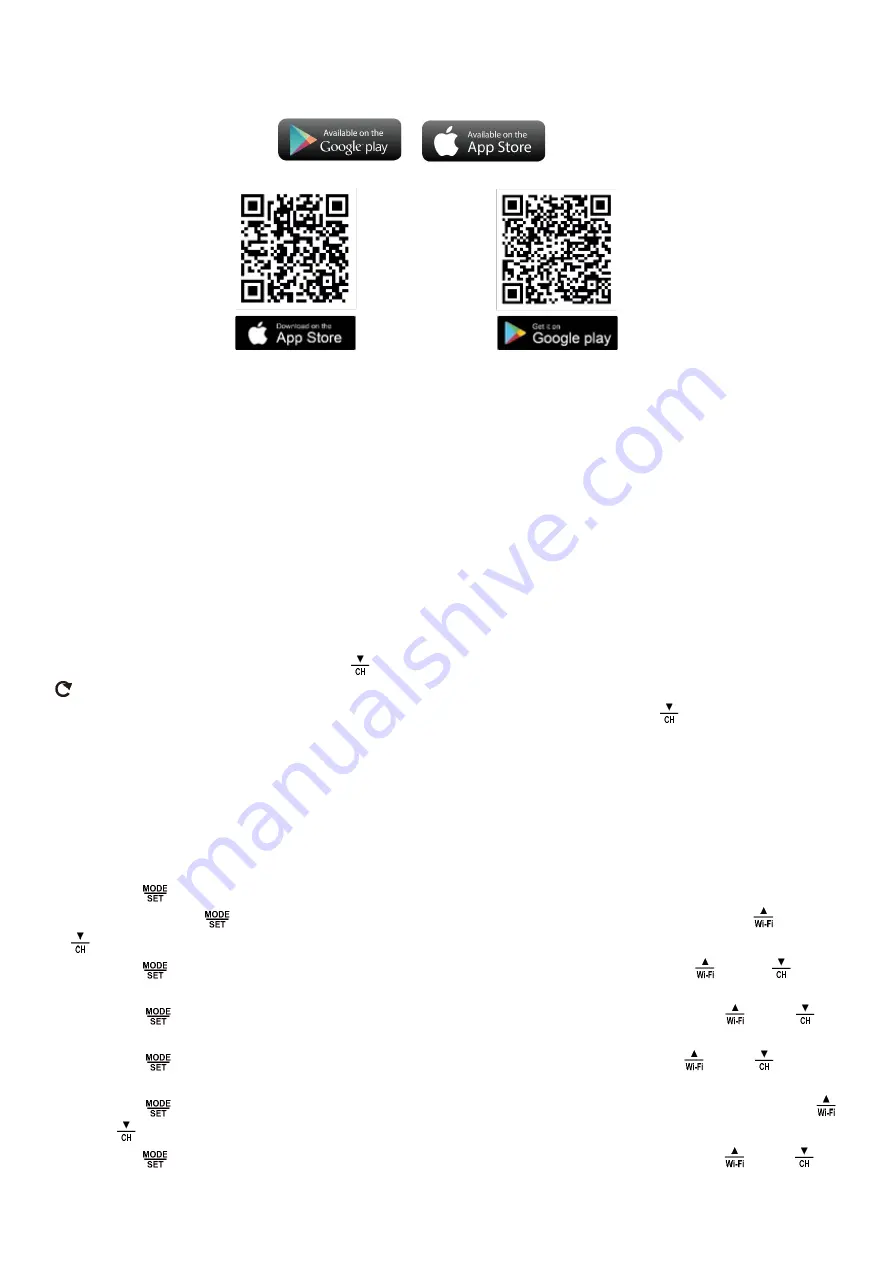
Preparing for pairing with Smart LIfe / TUYA
Download the Smart Life / TUYA app:
By phone brand, search for the Smart Life / TUYA app in the iOS APP Store or in Google play for Android, find the app
and download it. Open the "Smart Life / TUYA" app, tap "Register" and register your "Smart Life" account using your
phone number or email. Then log in to the app.
Go to the app and tap "Add device" or tap the "+" symbol located in the upper right corner -> Add manually -> Small
Home Appliances -> Weather clock (Wi-FI). On the next screen, select your Wi-Fi network and enter your password.
On the next screen, make sure "EZ Mode" is selected in the upper right corner. If not, select it. Then click "Confirm
indicator slow blink" and click Next. Within seconds, the weather station will be paired with your Smart Life account.
Detailed video instructions for pairing and operating the app can be found in English on YouTube - search for "
Solight
TE81WiFi app instructions".
Outdoor sensor
When the weather station successfully receives a signal from the wireless sensor, the temperature and humidity
inthe OUTDOOR field will be displayed on weather stations. The weather station can connect up to 3 wireless
sensors, you can choose to display the value of one sensor or cyclic display of several sensors in sequence (1, 2, 3
channels can be selected). By pressing the "
" button you can switch the display of different sensors, when the "
" symbol is displayed, the channel is automatically switched every 5 seconds.
If the station failed to receive a
signal from the outdoor sensor (the display shows "- -"),
press and hold down the "
" button for 3
seconds to trigger signal reception. The outdoor temperature display will show animation of the RF
antenna symbol, the weather station receives the wireless signal from the outdoor sensor again.
Note: If you set the outdoor sensors to channels 1 and 3, for example, the measured sensor value will be displayed
on these channels during cycling, but channel 2 will display "--" since no sensor is connected on channel 2.
Manual settings
Press the "
" button to toggle the calendar or time/second or time/week display.
Press and hold the "
" button for 2 seconds, the 12/24 hour mode display will flash. Now use the "
" and "
" buttons to set the correct 12/24 hour mode.
Press the "
" button to confirm the setting, the time zones will start flashing, now use the
" " and "
"
buttons to set the correct time zone (-12 to +12).
Press the "
" button to confirm the settings, the clock display will start flashing. Now use the "
" and "
"
buttons to set the correct hour.
Press the "
" button to confirm the setting, the minutes display will flash. Now use the "
" and "
" buttons
to set the correct minute.
Press the "
" button to confirm the setting, the month and date icon will flash on the display. Now use the "
" and "
" buttons to set the date display to Month/Date or Date/Month.
Press the "
" button to confirm the settings, the 2016 display will start flashing. Now use the "
" and "
"
buttons to set the correct year.
Содержание TE81WiFi
Страница 2: ...Description...


